emanagerLast update : september 2025
¶ Introduction
¶ Presentation of E-MANAGER
Thanks to the E-MANAGER digital dashboard, you can control your digital signage anywhere, continuously, on any device.
Designed and developed by EMITY, E-MANAGER is a digital dashboard that allows you to control a fleet of screens and their dynamic display..
Thus, you create, program, and broadcast your dynamic content:
• Anywhere :
E-MANAGER works on all devices (PC, smartphone, etc.) and all operating systems (Mac, Windows, Linux, iOS, Android).
• Continuously :
E-MANAGER allows you to schedule content delivery 24/7.
• On all types of screens, of all sizes :
TVs, monitors, interactive kiosks, E-MANAGER can manage not only a single screen but an entire network! No matter the size or number of screens.
Intuitiv, E-MANAGER offers a quick setup and ease of use
Unique, it allows you to broadcast your communication with just one click to your entire screen network. It’s the first digital platform that can simultaneously manage as many communication channels.
¶ SAAS WebManager
You can use E-manager without any prior installation
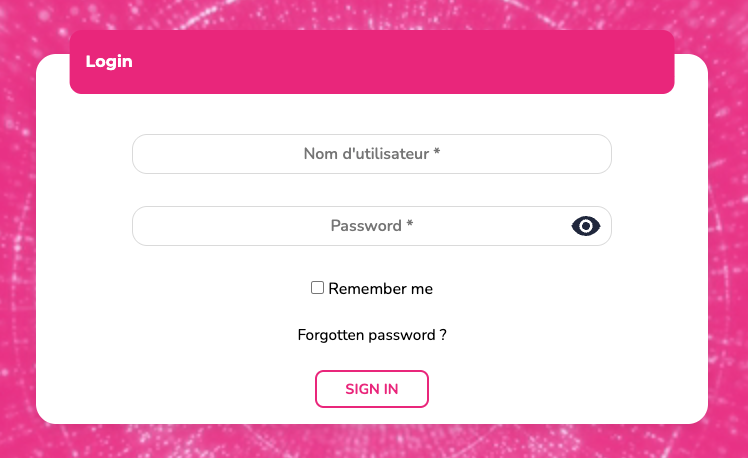
From a browser, go on:
• On emity.io, section « Connexion »,
• Or directly on this address https://link.emity.io/WebManager.
Fill in your login information, that you have received while your account was created by a third party.
At the bottom right, you will find this button :

If you click on it you can adjust your preferences : Light/dark mode and the language of the platform
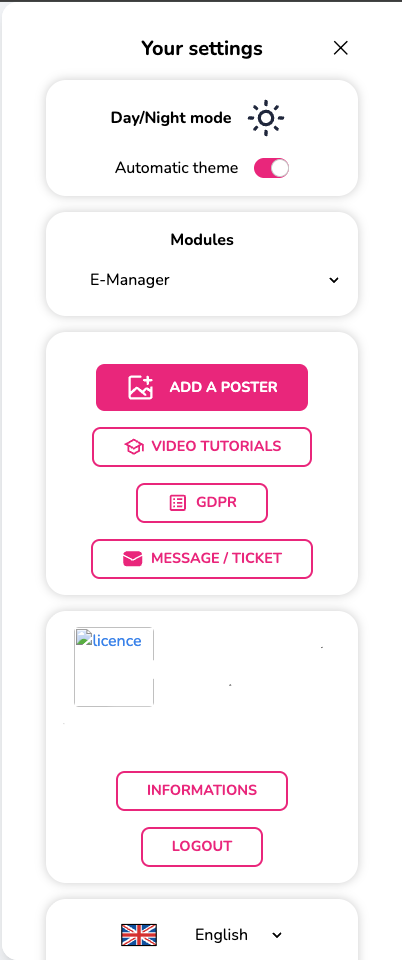
Our platform is available in various languages as : French, English, Spanish, Italian, Deutsch and German.
You can no longer create your account on your own, for that you need to contact us or one of our distributors to have access to to a free trial period of 3 months.
An account will be therefore created in your name and you will receive an email to confirm the enrollment and activate your E-MANAGER account.
You will therefore be able to start using our platform.
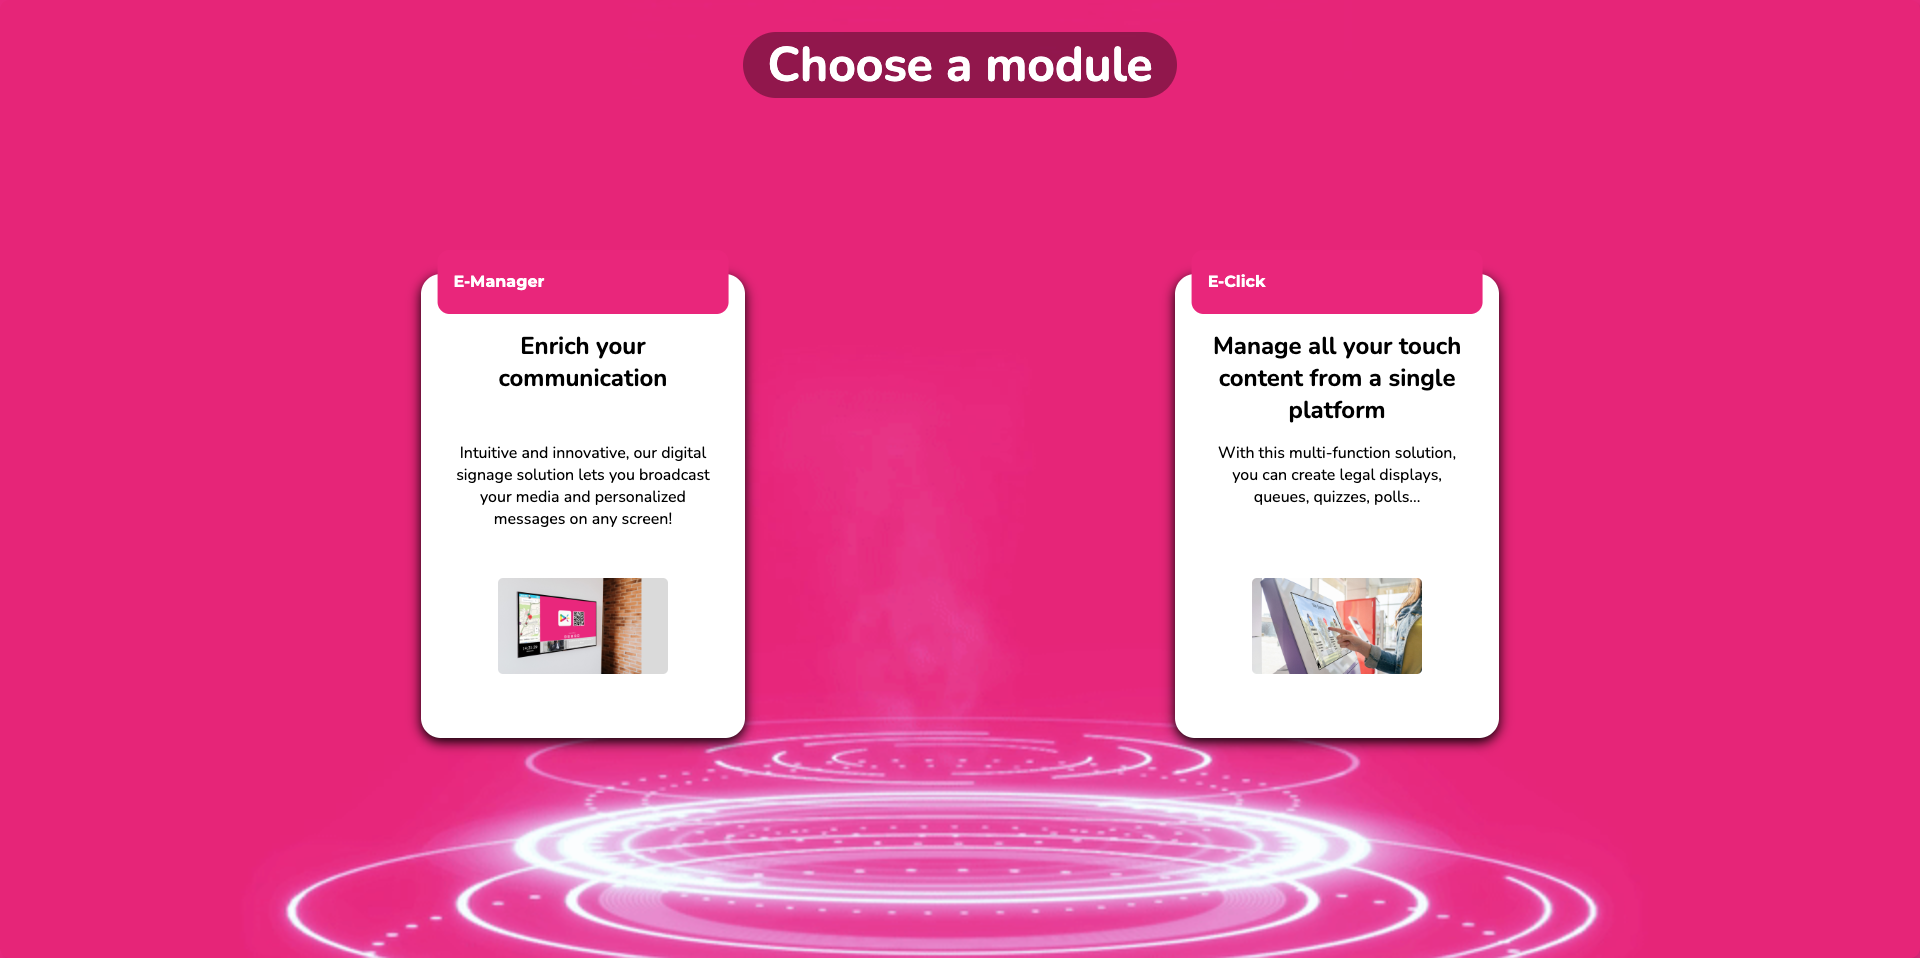
Choose the module you want here - ici E-MANAGER - on the home page which arrives upon connection.
The modules are not accessible at first on the website you need to have access to them.This access is only given by the commercial service once your have placed an order or a trial account request.
¶ Tutorials
This E-MANAGER user manual is a written training resource. For a more interactive version, you can find all our video tutorials:
• Either on the EMITY website, on the “Training” page : http://www.emity.io/formations/
• Or directly on our YouTube channel : https://www.youtube.com/channel/UCxjAkfG_v0QOr8YtFRCFA9w
¶ Lexique
upcoming
¶ Fonctionalities
¶ The menus
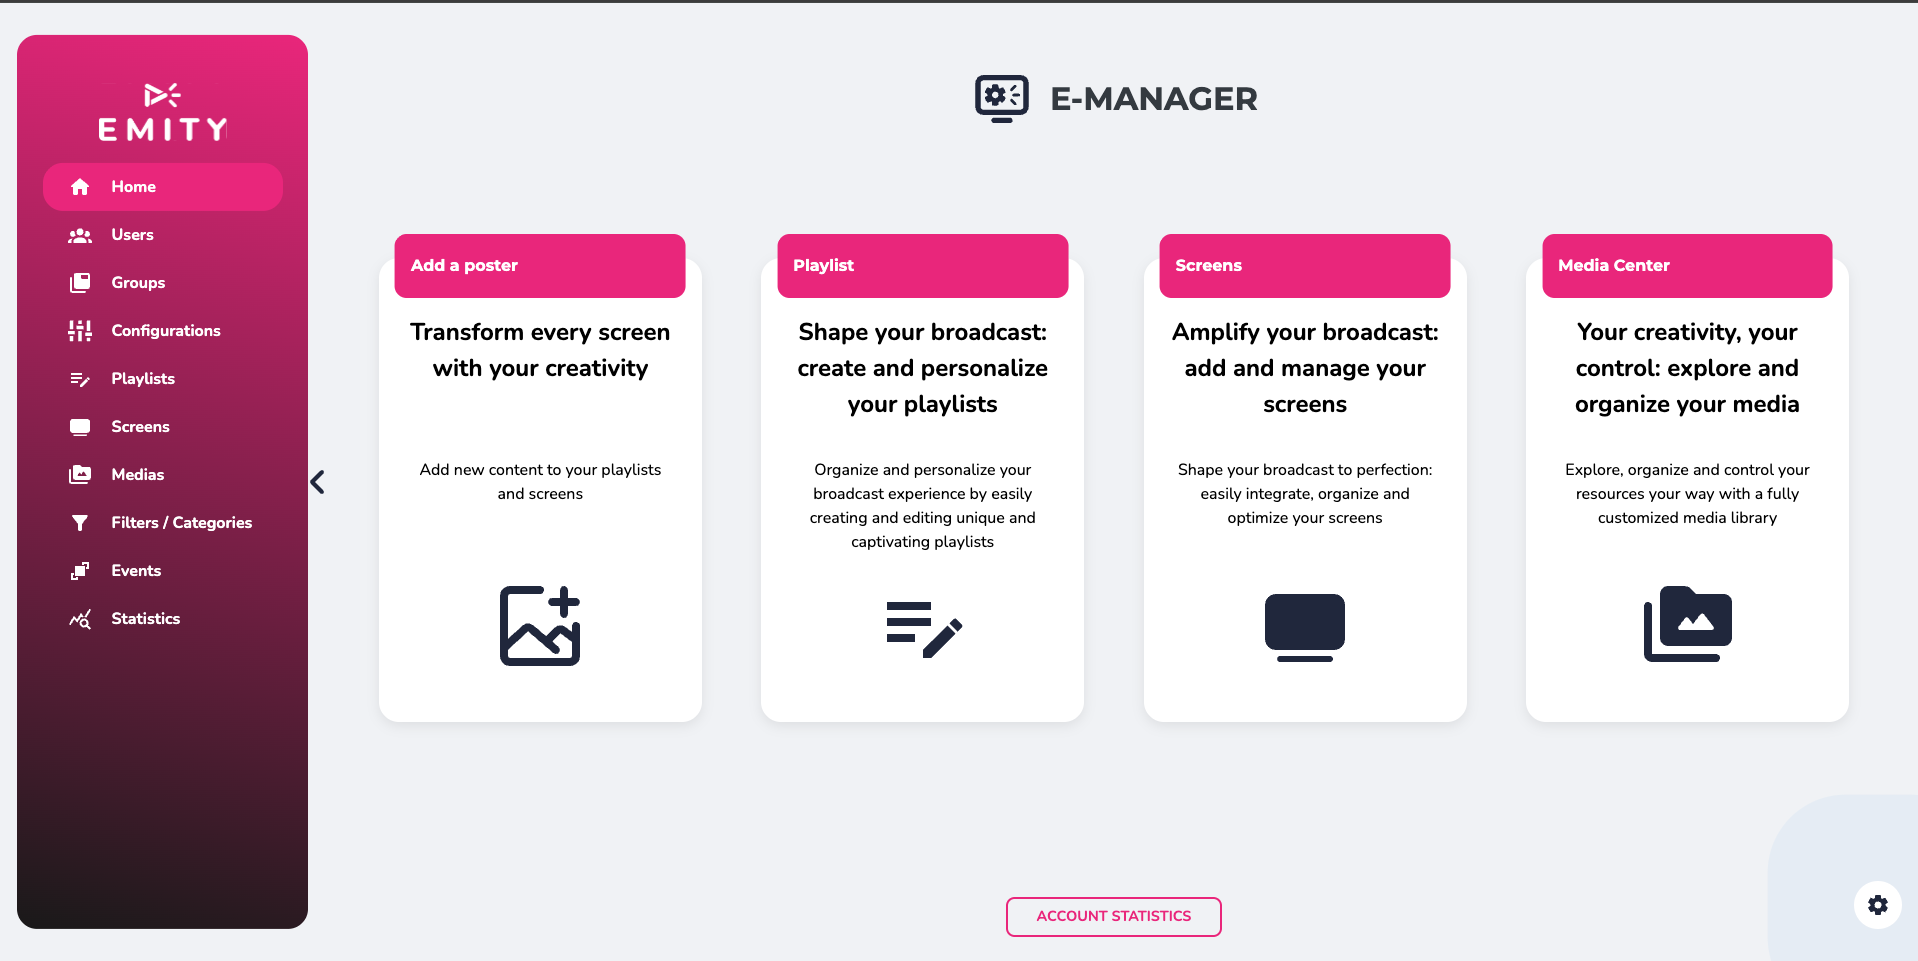
The E-manager main page contains shortcuts for adding a poster, managing playlists and screens, and direct access to your media library.
This page also features a menu on the left, with the following main options:
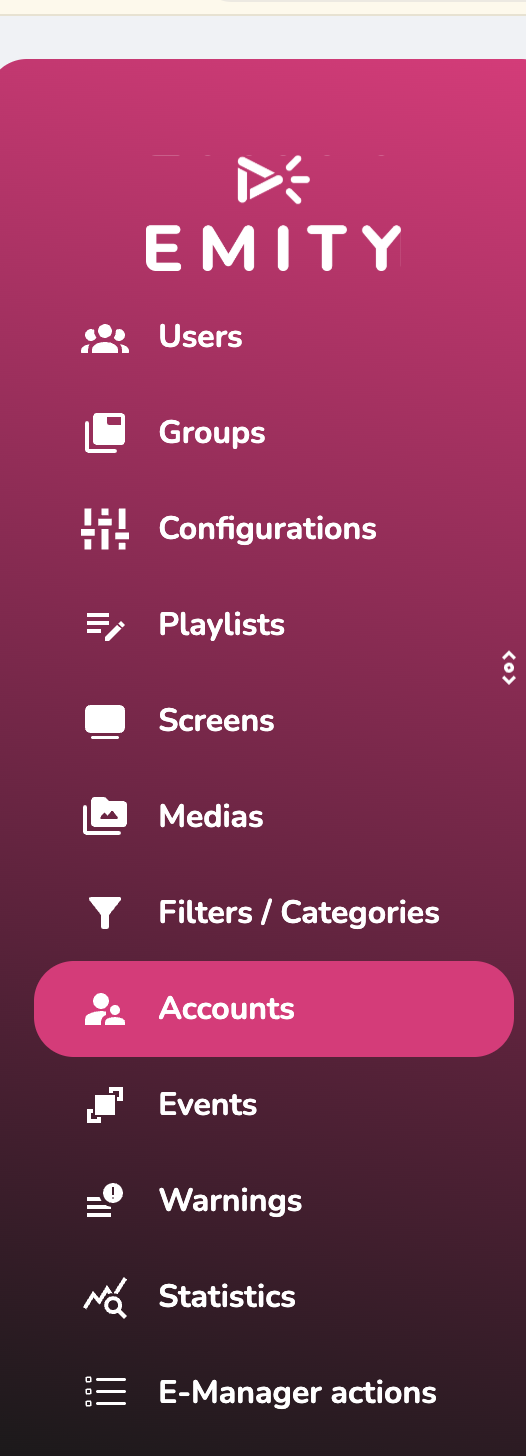 |
• Your users, groups and configuration , if you are logged in as an administrator. • Your playlists, to directly access playlist management and creation. • Your screens, to manage your distribution tools and easily add new ones. • Your media, You can add all kinds of media and quickly access it in your media library. • Your filters / categories. • Your alerts, to be set up with the sales or support department in order to receive a notification about the status of your screen. • Your statistics, related to your media programming. Access is on demand, not automatic. |
|---|
E-MANAGER is designed to be user-friendly and easy to use: All control functions are accessible on the main page.
At the bottom right, you will find this button:

The mechanism will give you access to the settings or your account.
It is here where you will be able to access the dark mode of E-MANAGER. It is also here where you will be able to access to the other Emity solutions is you have the (E-CLICK, E-TASK) authorization.
You will also be able to see our tutorials, The button will redirect you automatically on our « formation » page.
On this tab, you will find the « ticket » space that enables you to contact us rapidly.
Whether you have a sales question, a bug report, or a request for improvement, you can send us your message and track its progress directly on the platform.
Furthermore, it is in these parameters that you will see your login and your E-MANAGER version. You have also the opportunity to change de language of use and do log-out.
The “account statistics” button allows you to view general information about your account, such as the percentage of your screens that are on or off, the number of playlists or screens connected to your account, etc.
¶ Adding of a media
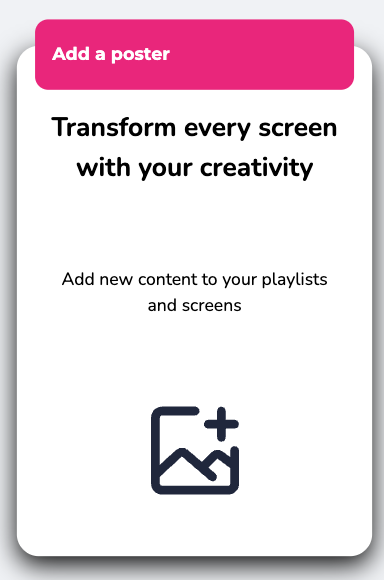
On this same home page, you will find the shortcut “add a poster,” which allows you to add any media to your media library and then insert it directly into one or more playlists at once.
.jpg)
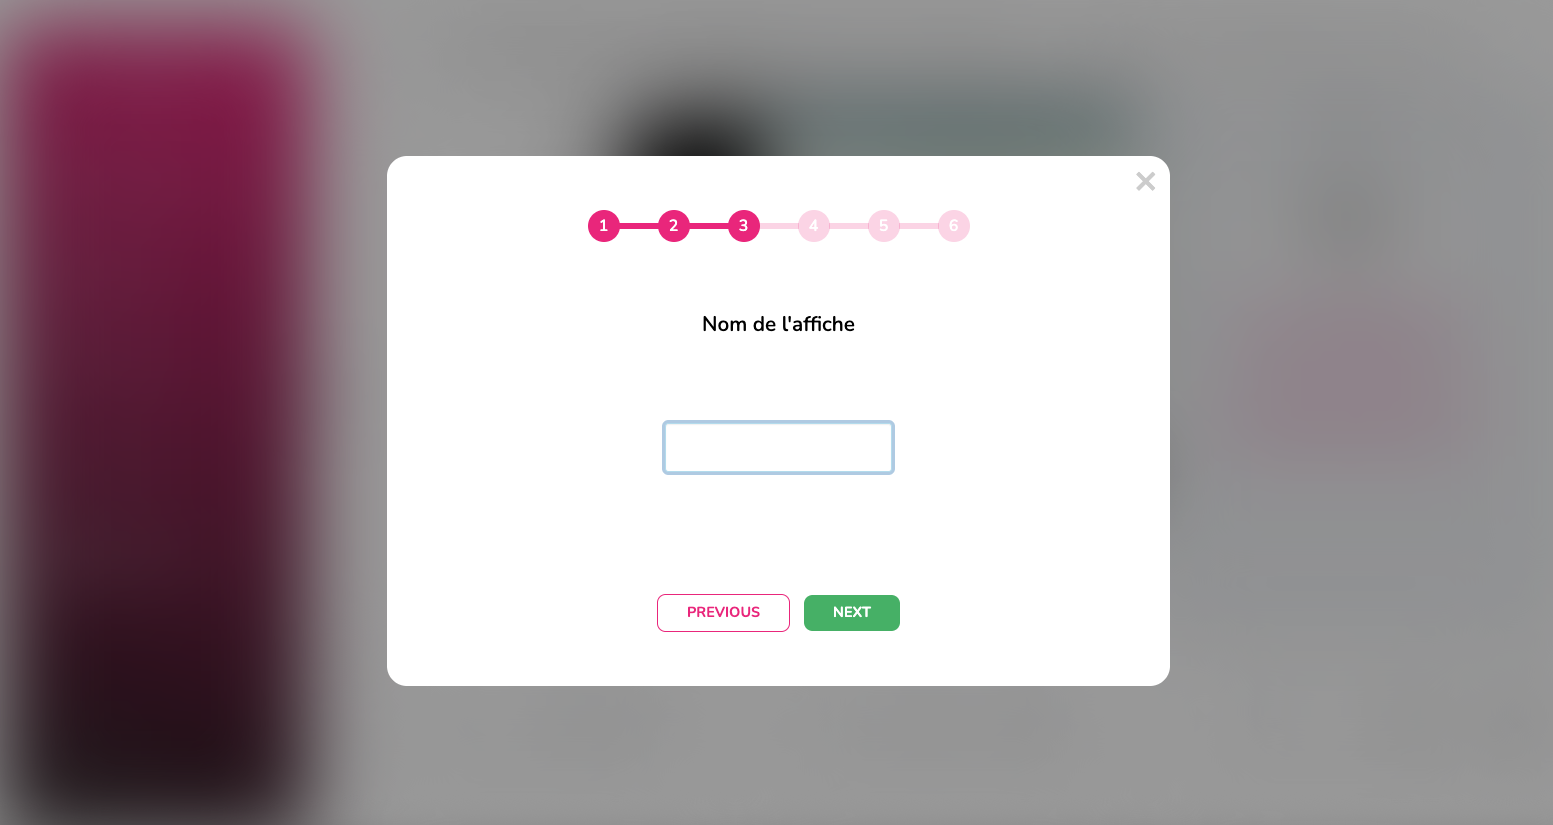
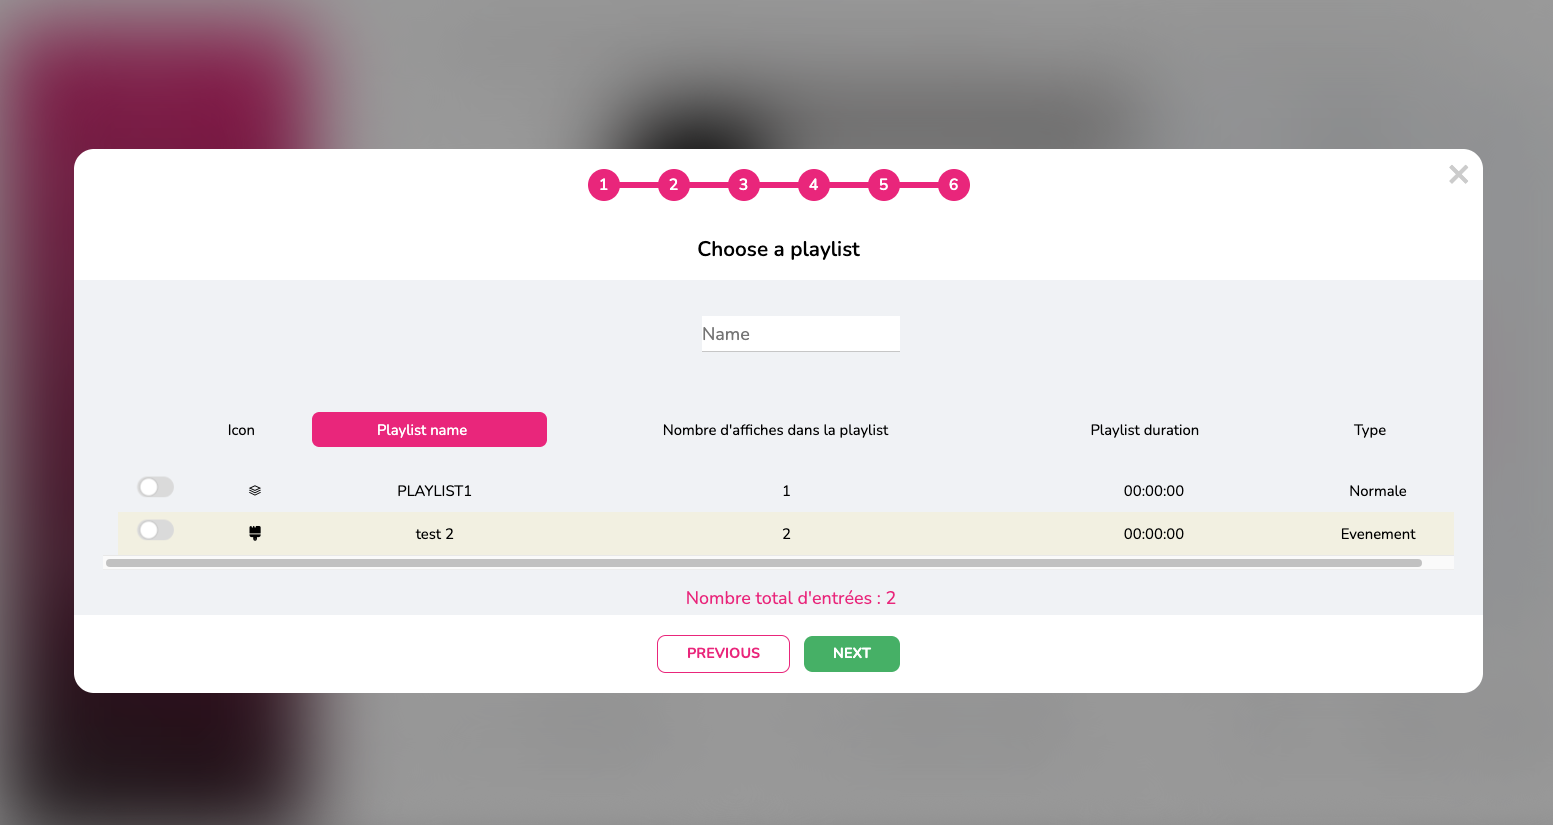
Once you have added or selected your media from your media library, select them and click on the “Add to poster” button. You will then need to rename your poster, set its duration, and, if you wish, assign it a date and time. Finally, choose the playlist(s) you want to insert your poster into:
Then click here : 
¶ The media library
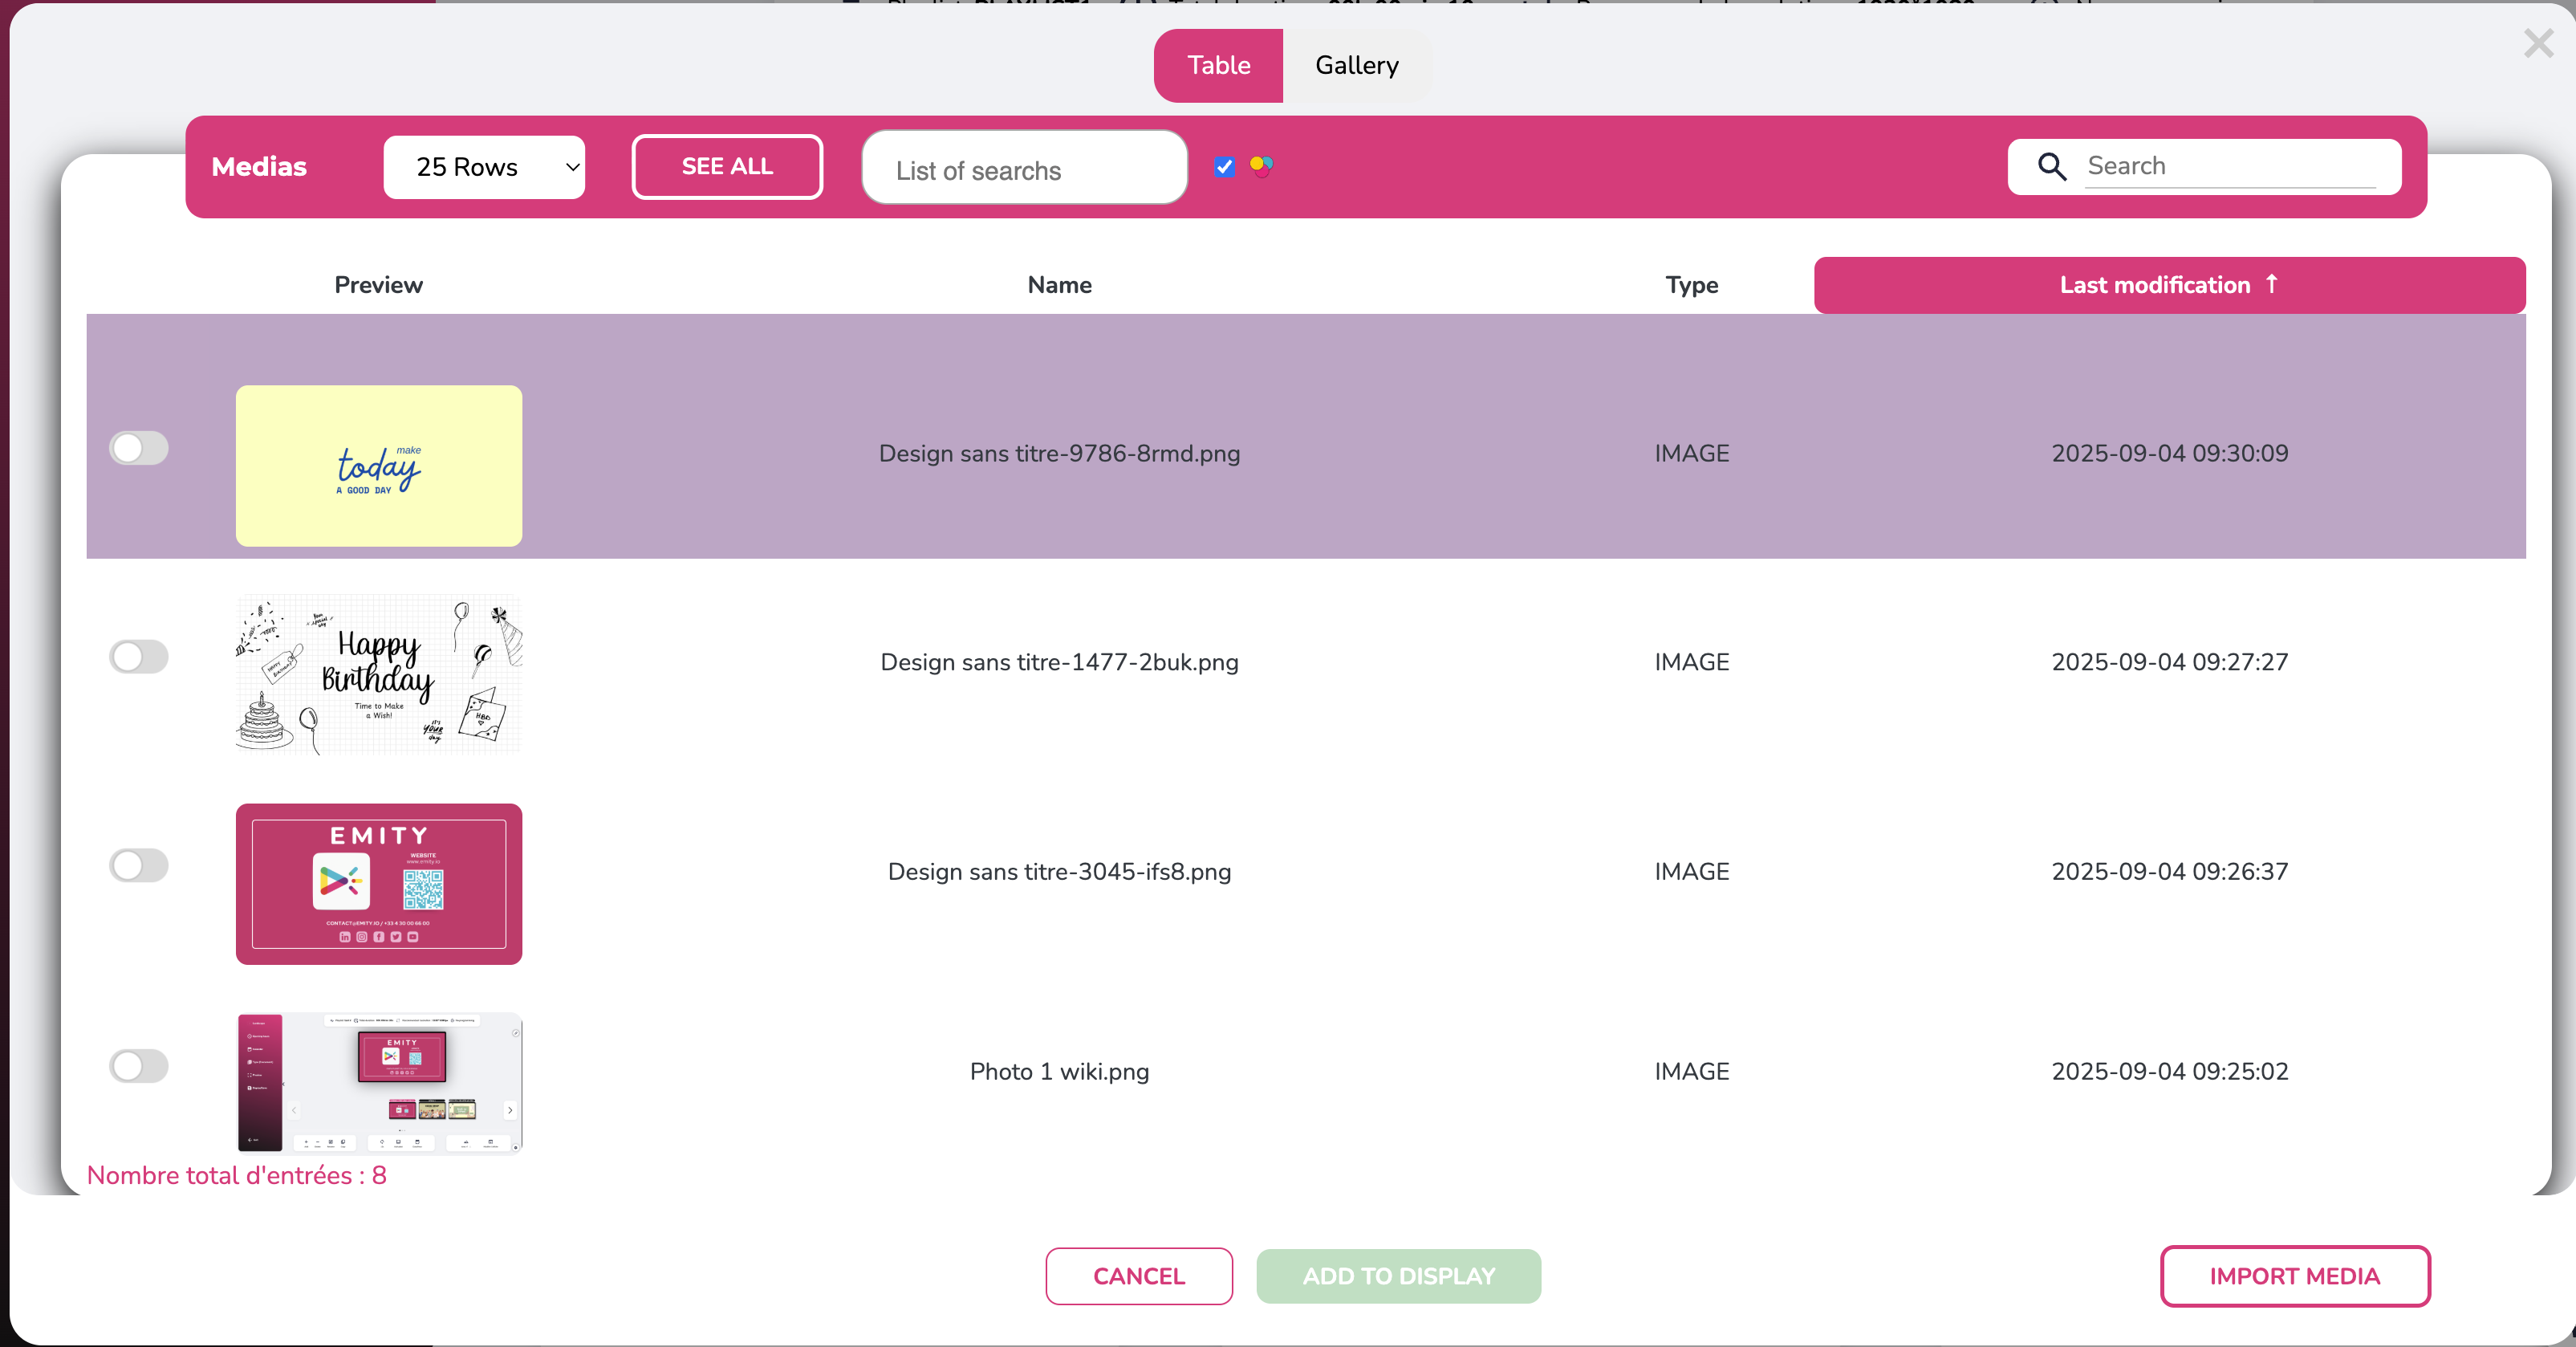
The media library is accessible from the home page, from the left side menu, but also when adding posters to your playlists.
You can then manage all your medias (images and videos) as well as the E-templates of Emity !
- You will never run out of inspiration with E-Templates (see « Administration » paragraph)
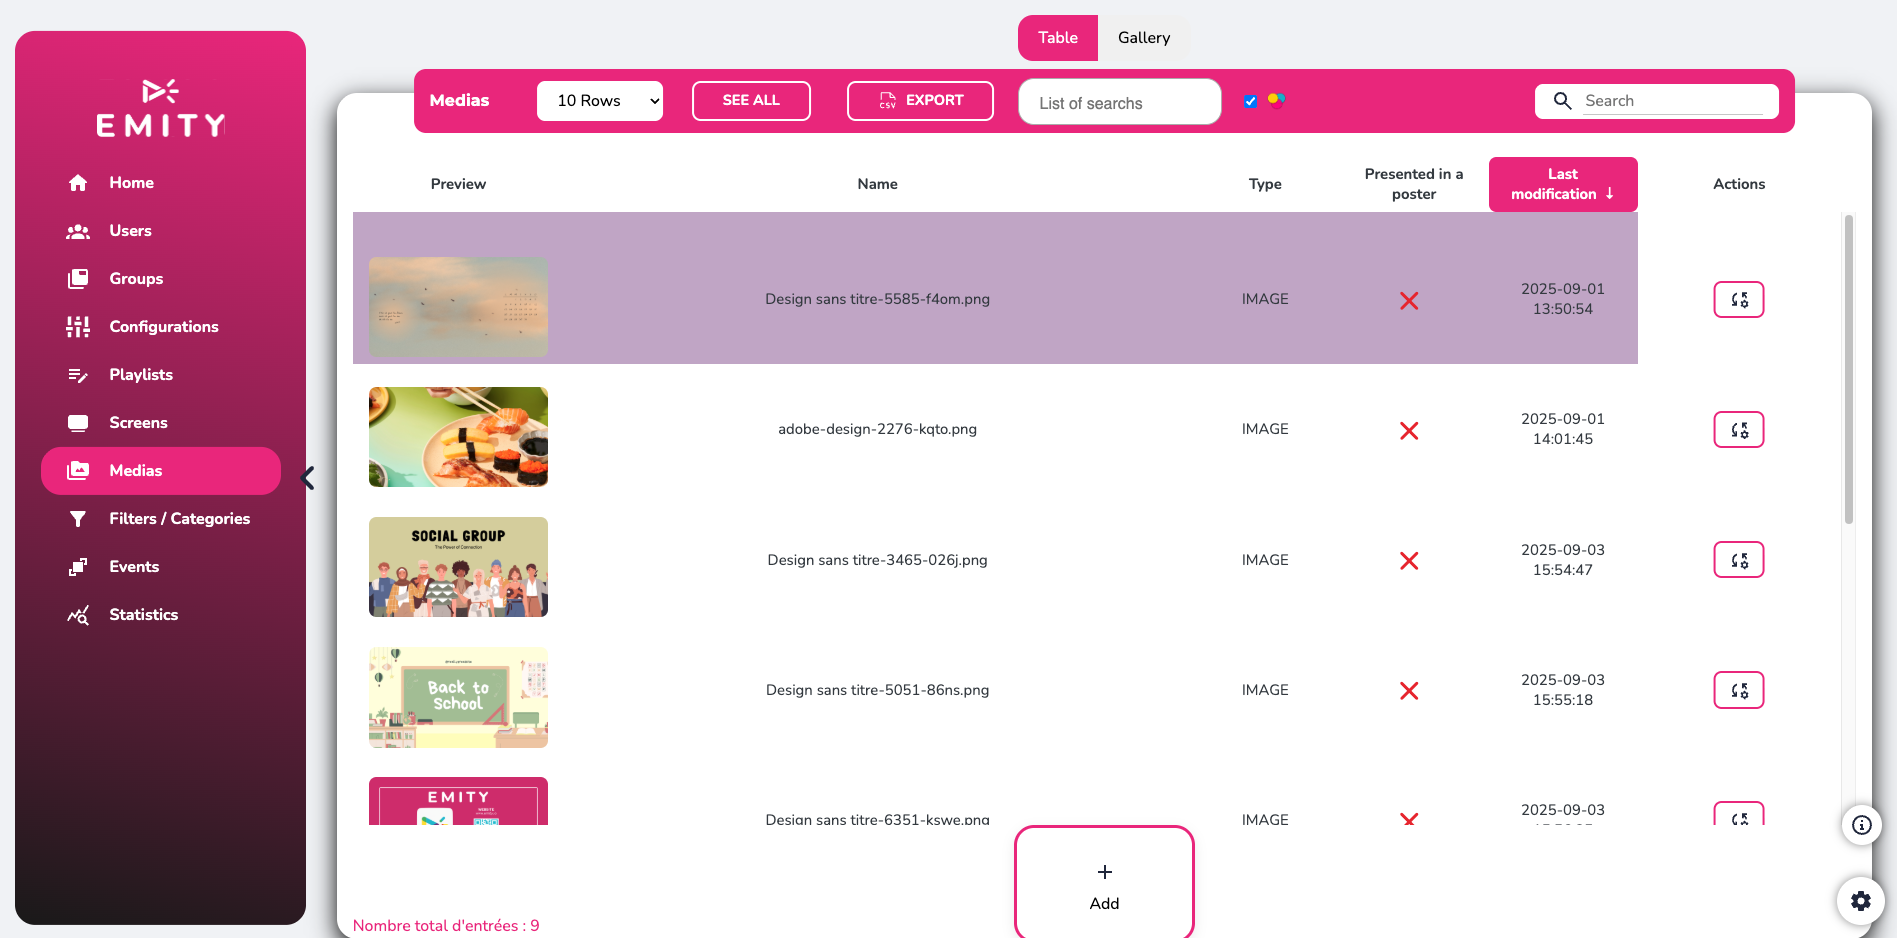
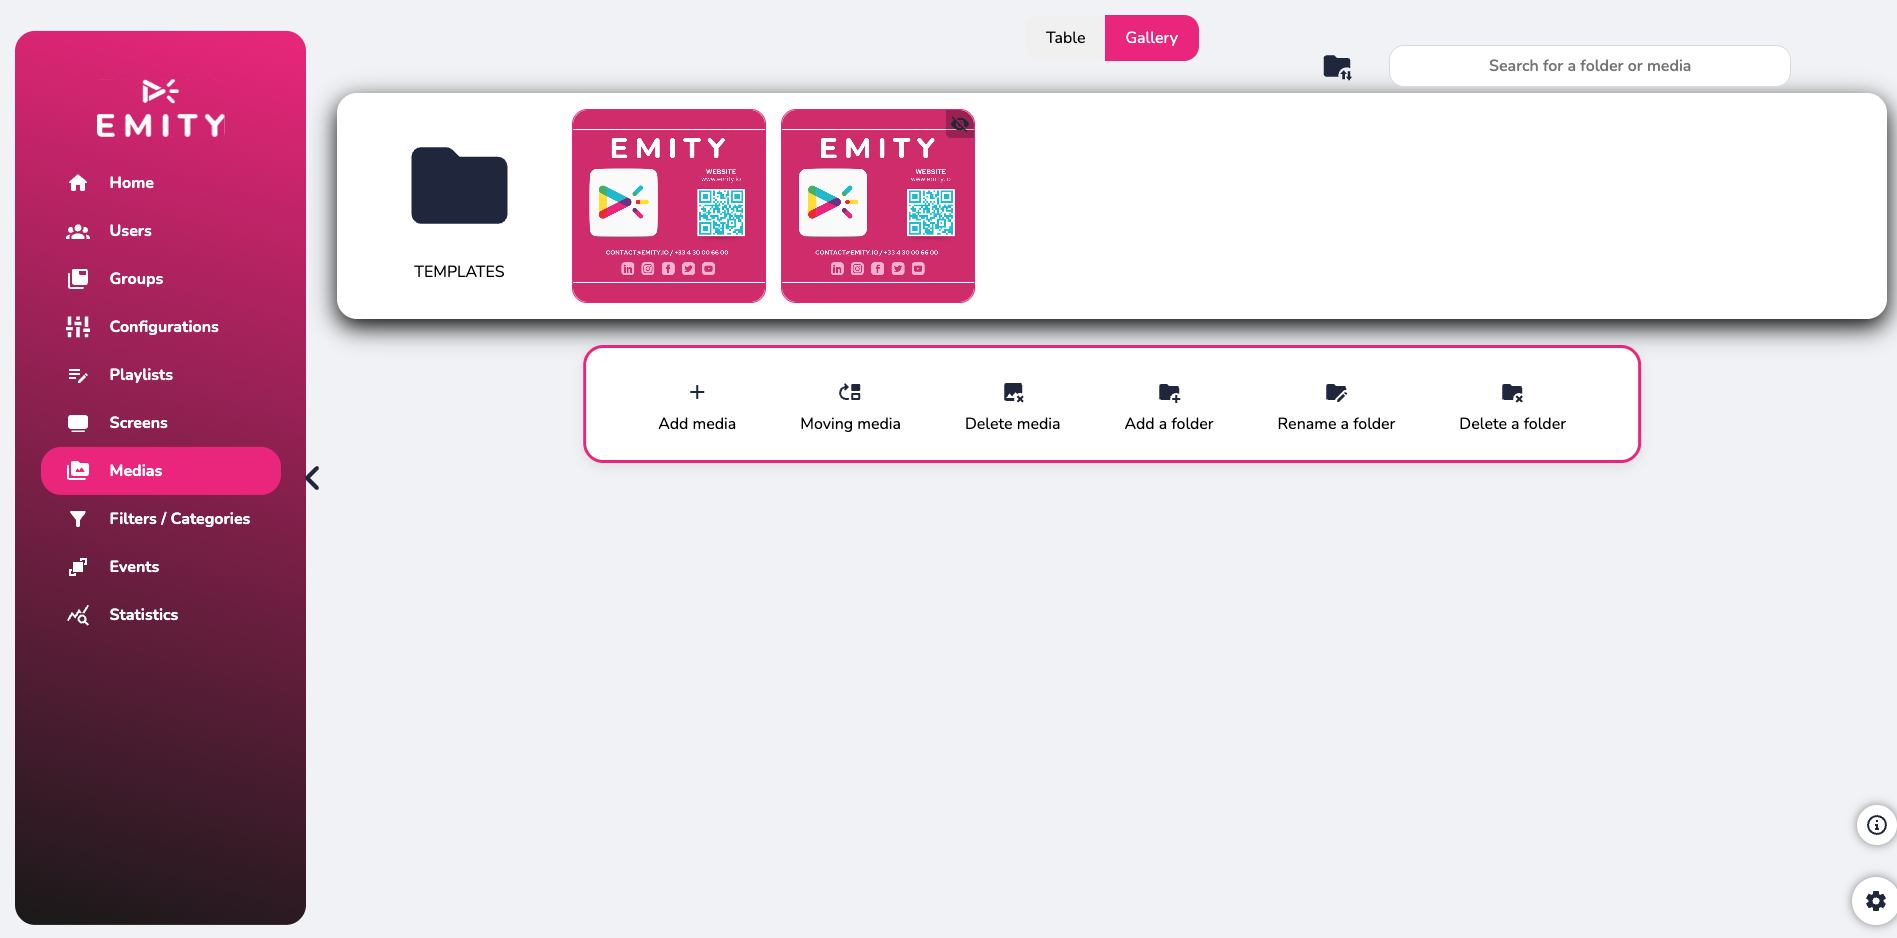
The media library can be displayed in two ways, depending on your preferences. In the ‘Gallery’ version, you can create folders to sort your media by category.

In the ‘Table’ version of the media library, create some filters to group and find your medias easily.
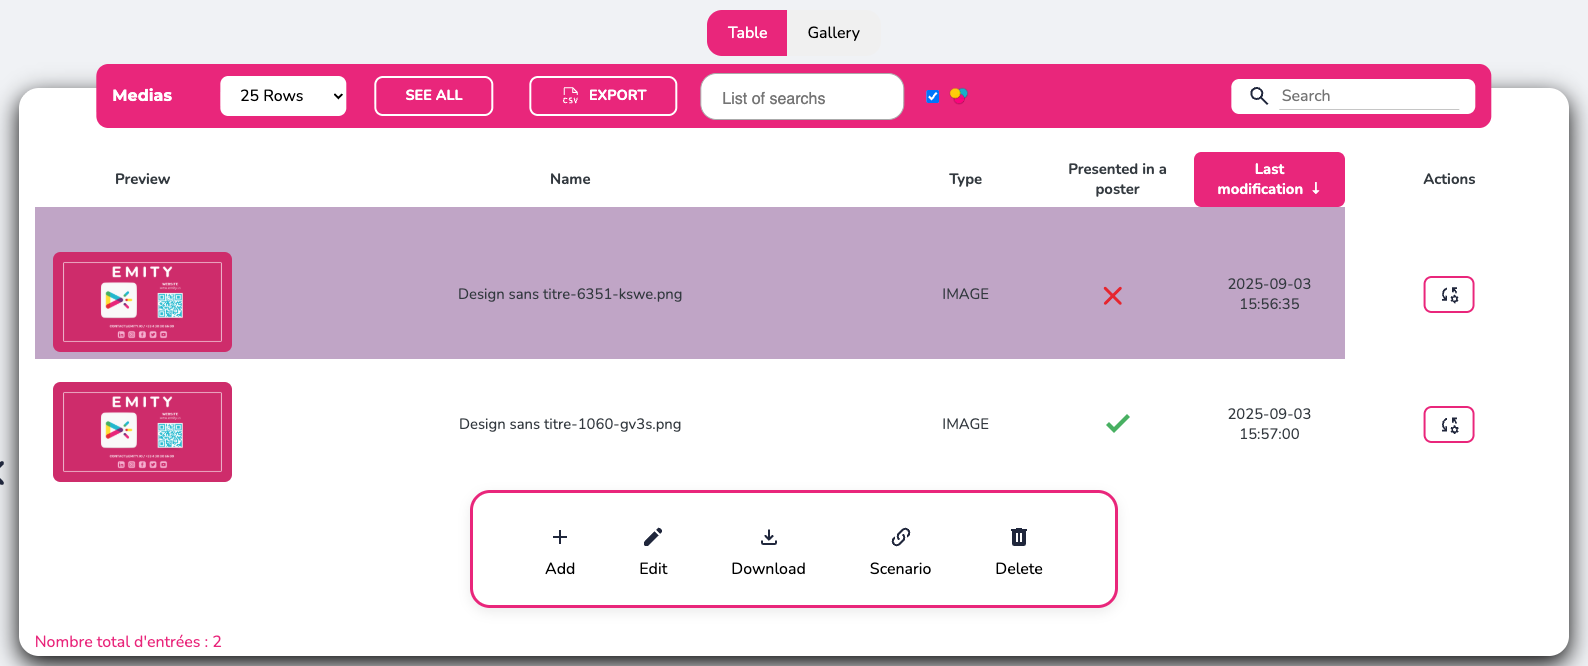
Click on « add a media » at the bottom of the page to download and import your files. You will then be able to change the name, associate them with a folder and find information about the media.
You can edit the media, download, and delete them in a few clicks.
The ‘table’ version will enable you to discover in which playlist is the media you have selected :

¶ The filters
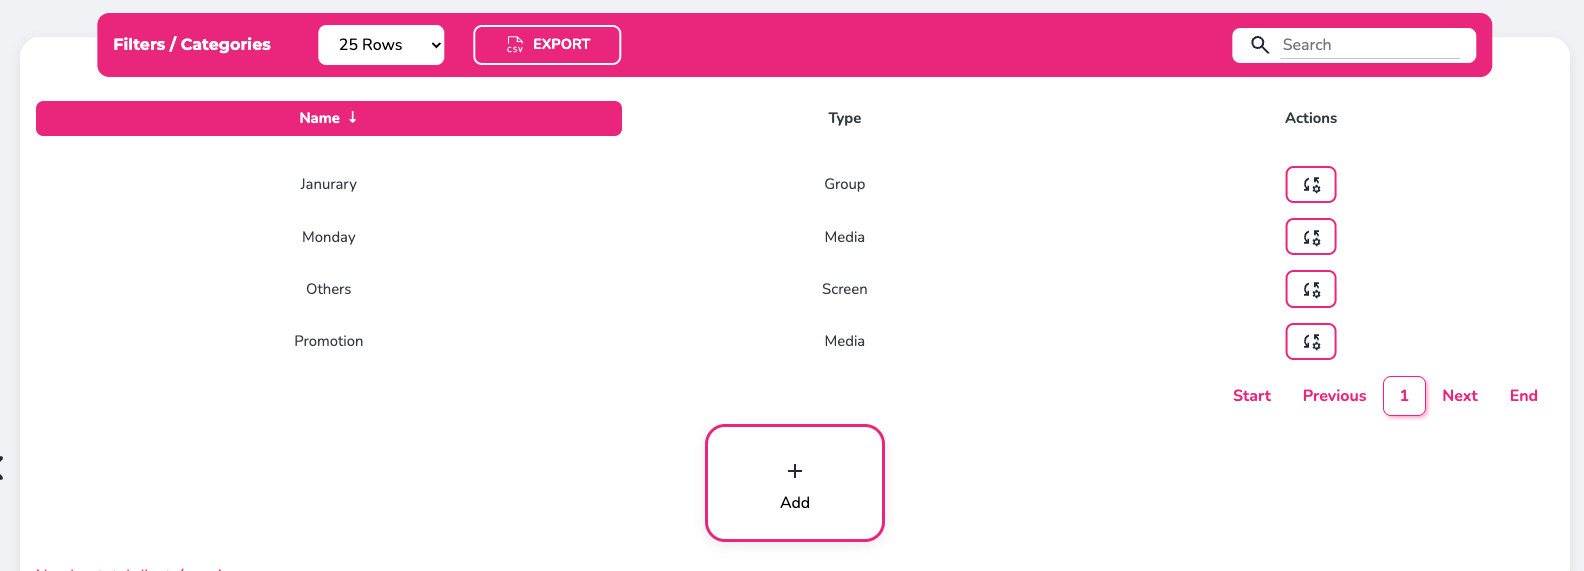
These filters will allow sorting in your media/playlist/screen. It is particularly useful for marketing campaigns.
¶ The players and screen
On the screen page, you will also find the general control panel, which allows you to manage screen display. This means you can immediately see the status (on/off, connected/not connected, up to date/ not up to date) of all your screens thanks to the green and red colors.

Adding and removing screens is no longer possible from this page. You must now submit a request to your contact or to our sales/support department.
You can rename your players (boxes) and view their status : indicator lights will illuminate next to the players registered on the platform. If the box and screen are not connected to each other, this icon will appear red with the last connection date. If they are connected, the icon will be green. If the screen is not registered, the icon will be black; if the screen is off, it will be red; and if the screen is on, it will be green. Visuals that are not up to date or have just been modified cannot be automatically displayed on the screens, so the icon will be red. On the other hand, if the visuals are saved and up to date on the screen, the icon will be green.

Then by clicking on the screen of your choice, you can access other features.
For example, you can:
• Edit ➡ rename, geolocate, manage filters and playlists.
• Update broadcasts on this screen.
• Monitor ➡ estart, shut down, access more precise settings.
- Here is the screen monitoring feature, with all its settings when it is turned on :
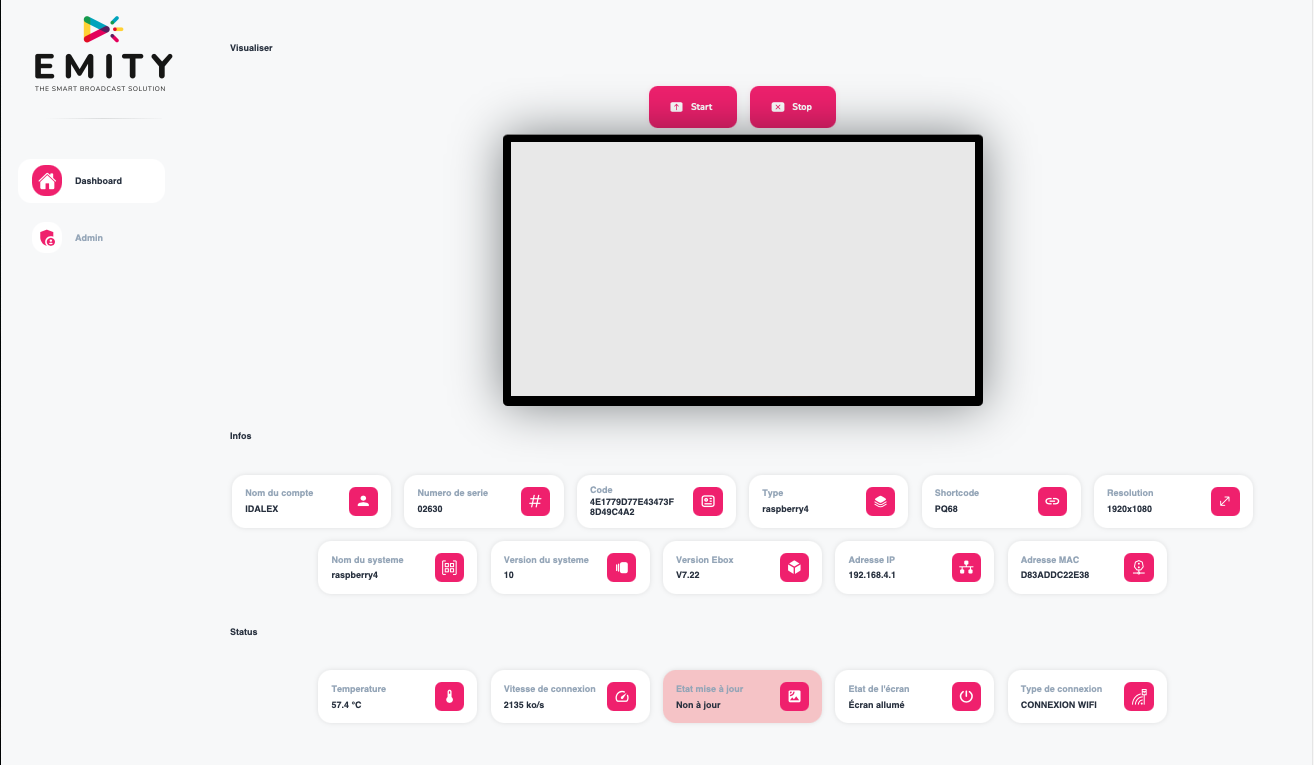
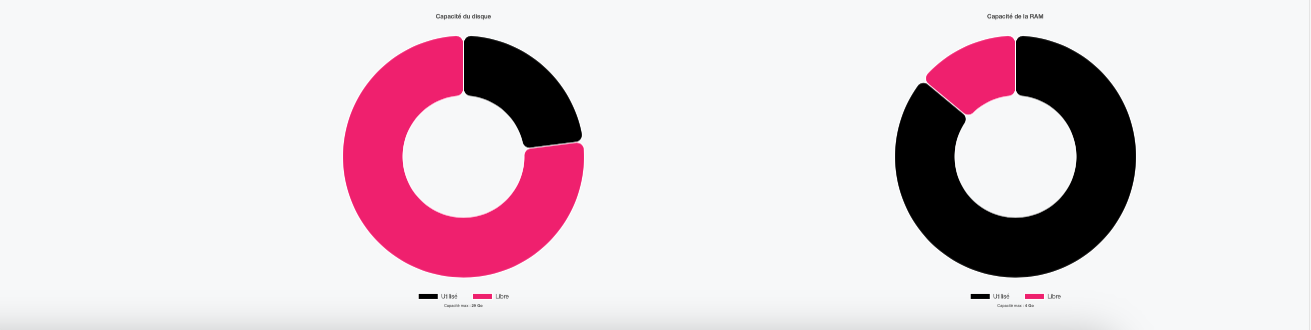
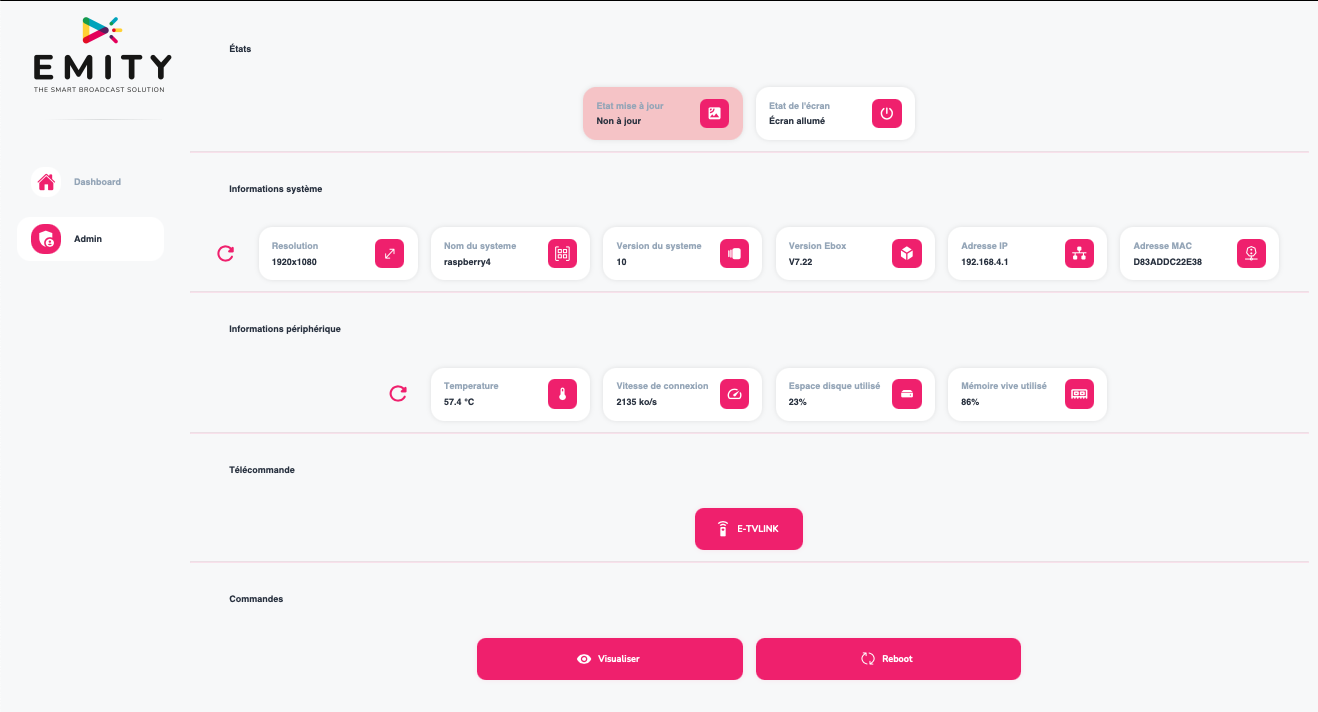
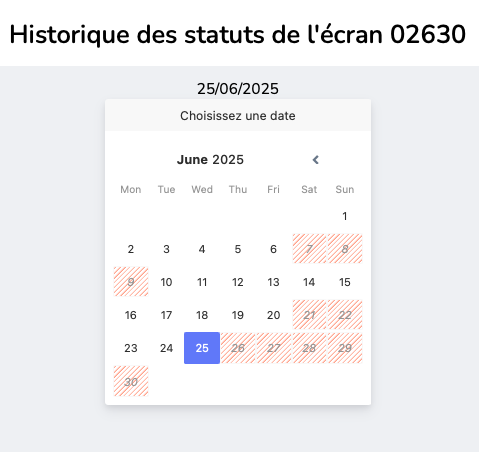
• Access to the status of your screen :
• WebTV ➡ see what the screen is broadcasting.
• Scenario ➡ download the scenario of the screen.
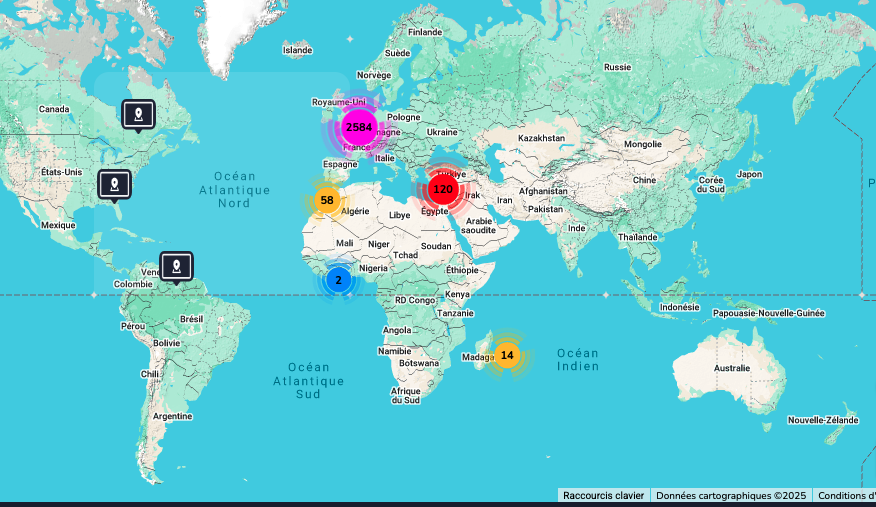
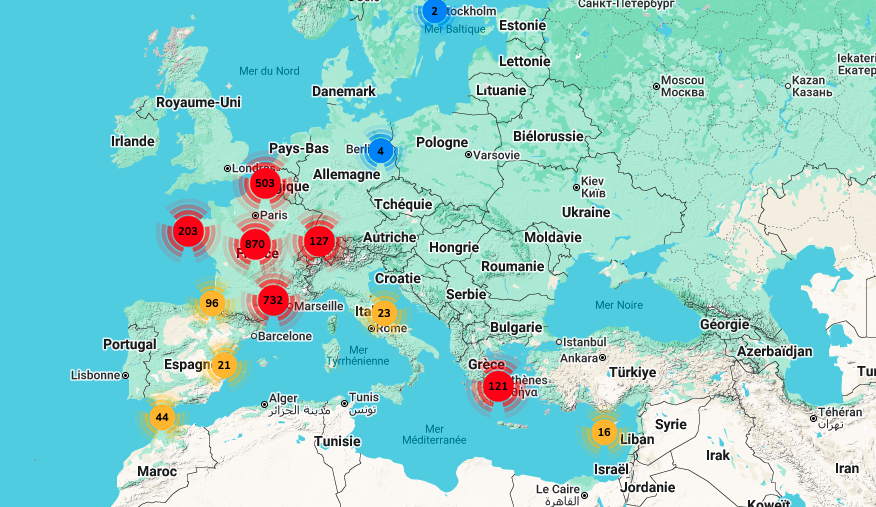
On this part you can also find the geographical information of your screens :
:
¶ The playlist
To help you organize your content when you have a lot of visuals and/or screens, we recommend creating and using playlists. To create a playlist, simply click on « playlists » on the home page. At the bottom of this page, click on ‘add’ to create a new playlist.
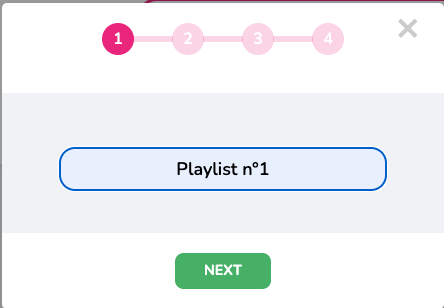
Once you have named the playlist, you can then edit it and associate the playlist with one or more screens. Each screen, and therefore each player, can have several playlists. The player first plays its local playlist, this means all the poster contained on the player. It then plays the playlist associated with it one after the other, in alphabetical order. The only exception is a priority playlist.
¶ Types of playlists
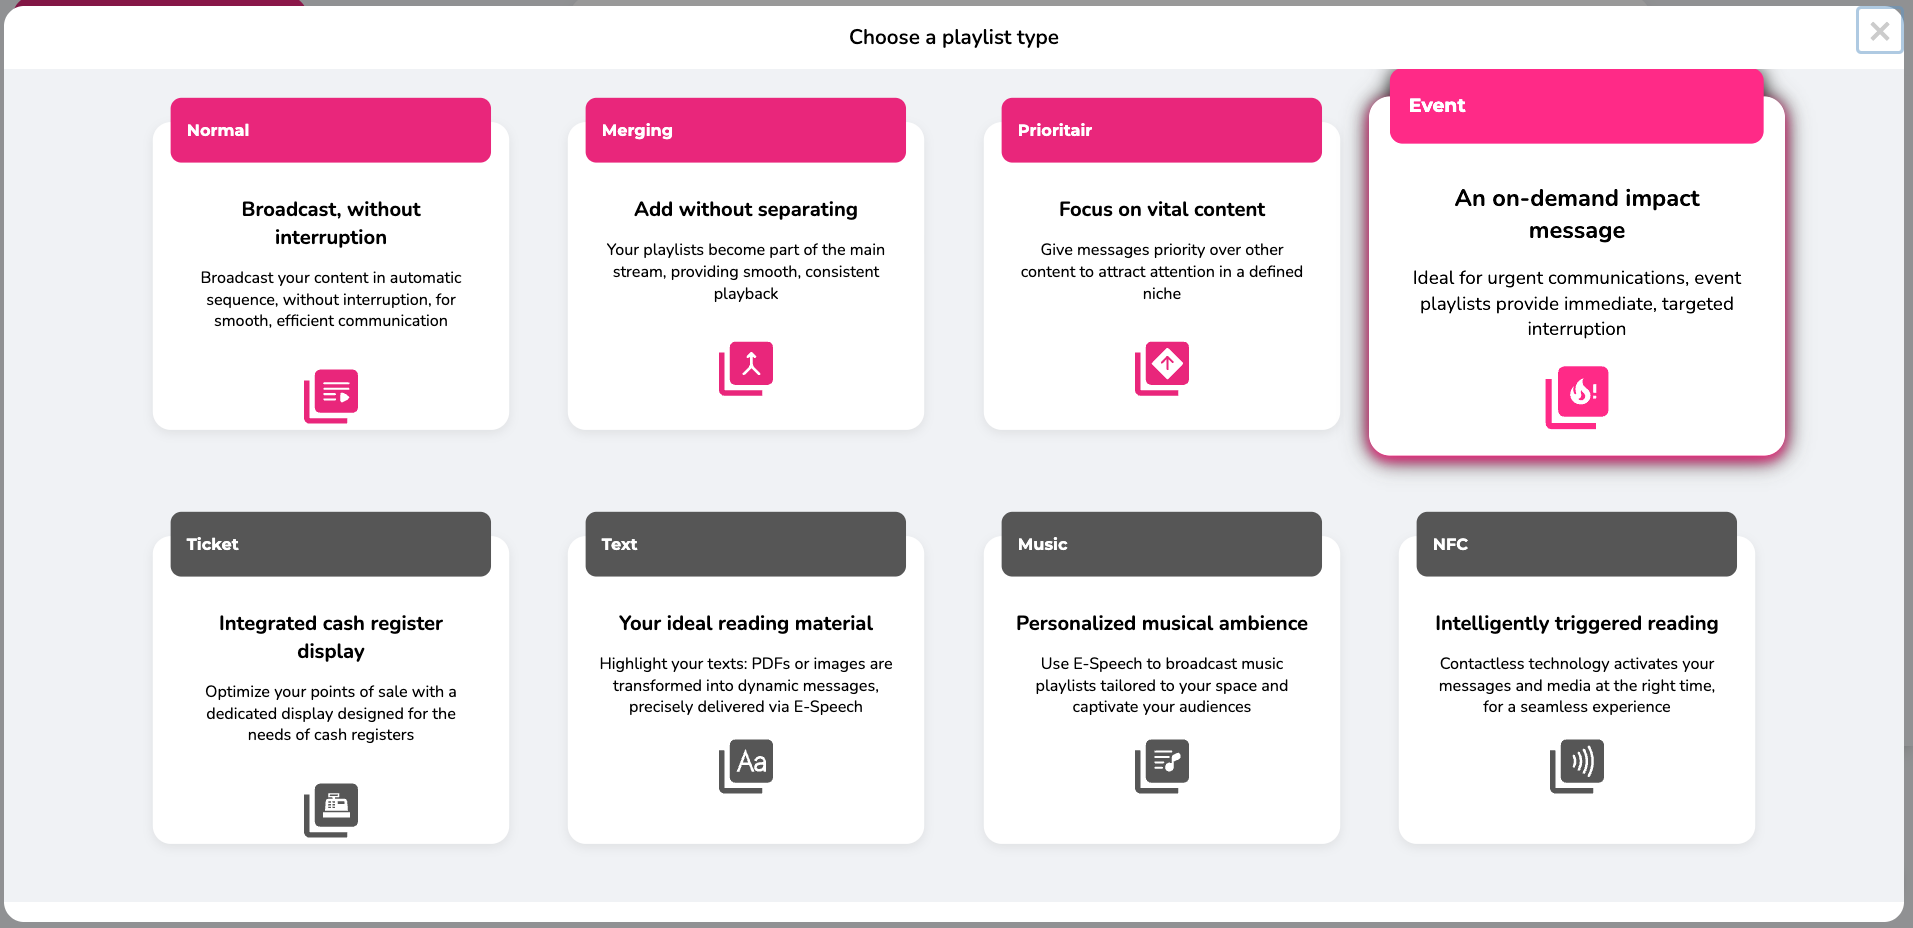
Choose a type of playlist according to your digital signage needs.
 |
Distribute your content automatically and easily. |
 |
Merge your playlists (works with split screen) for smooth and consistent playback of your media simultaneously. Example: One playlist per screen area, so you can have one area that is different on all screens and one that changes. |
 |
Broadcast priority messages. |
 |
Create a playlist to broadcast in case of an emergency, incident, or exceptional event; it interrupts current broadcasts. |
 |
Optimize your point of sale with this specialized checkout playlist. |
 |
Highlight text and PDF documents (E-SPEECH). |
 |
Broadcast music and audio playlists (E-SPEECH). |
 |
NFC technology enables specific messages to be broadcast without contact. |
¶ Organisation of the playlist and creation of the content
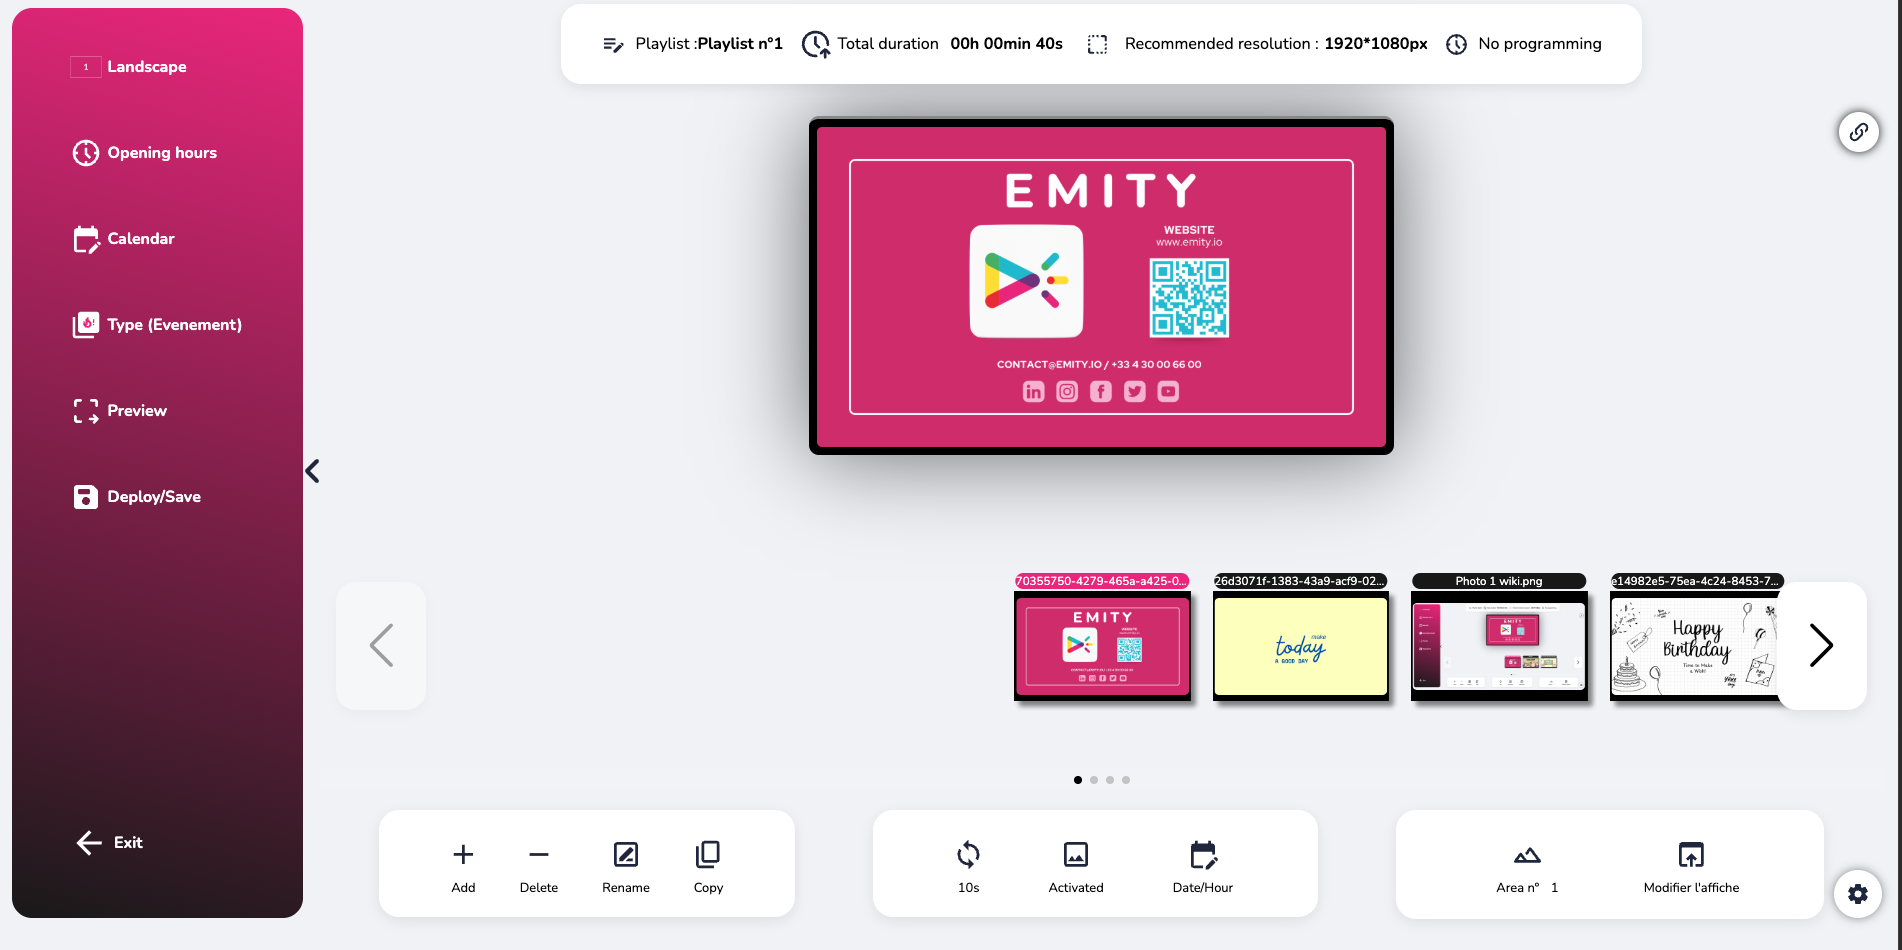
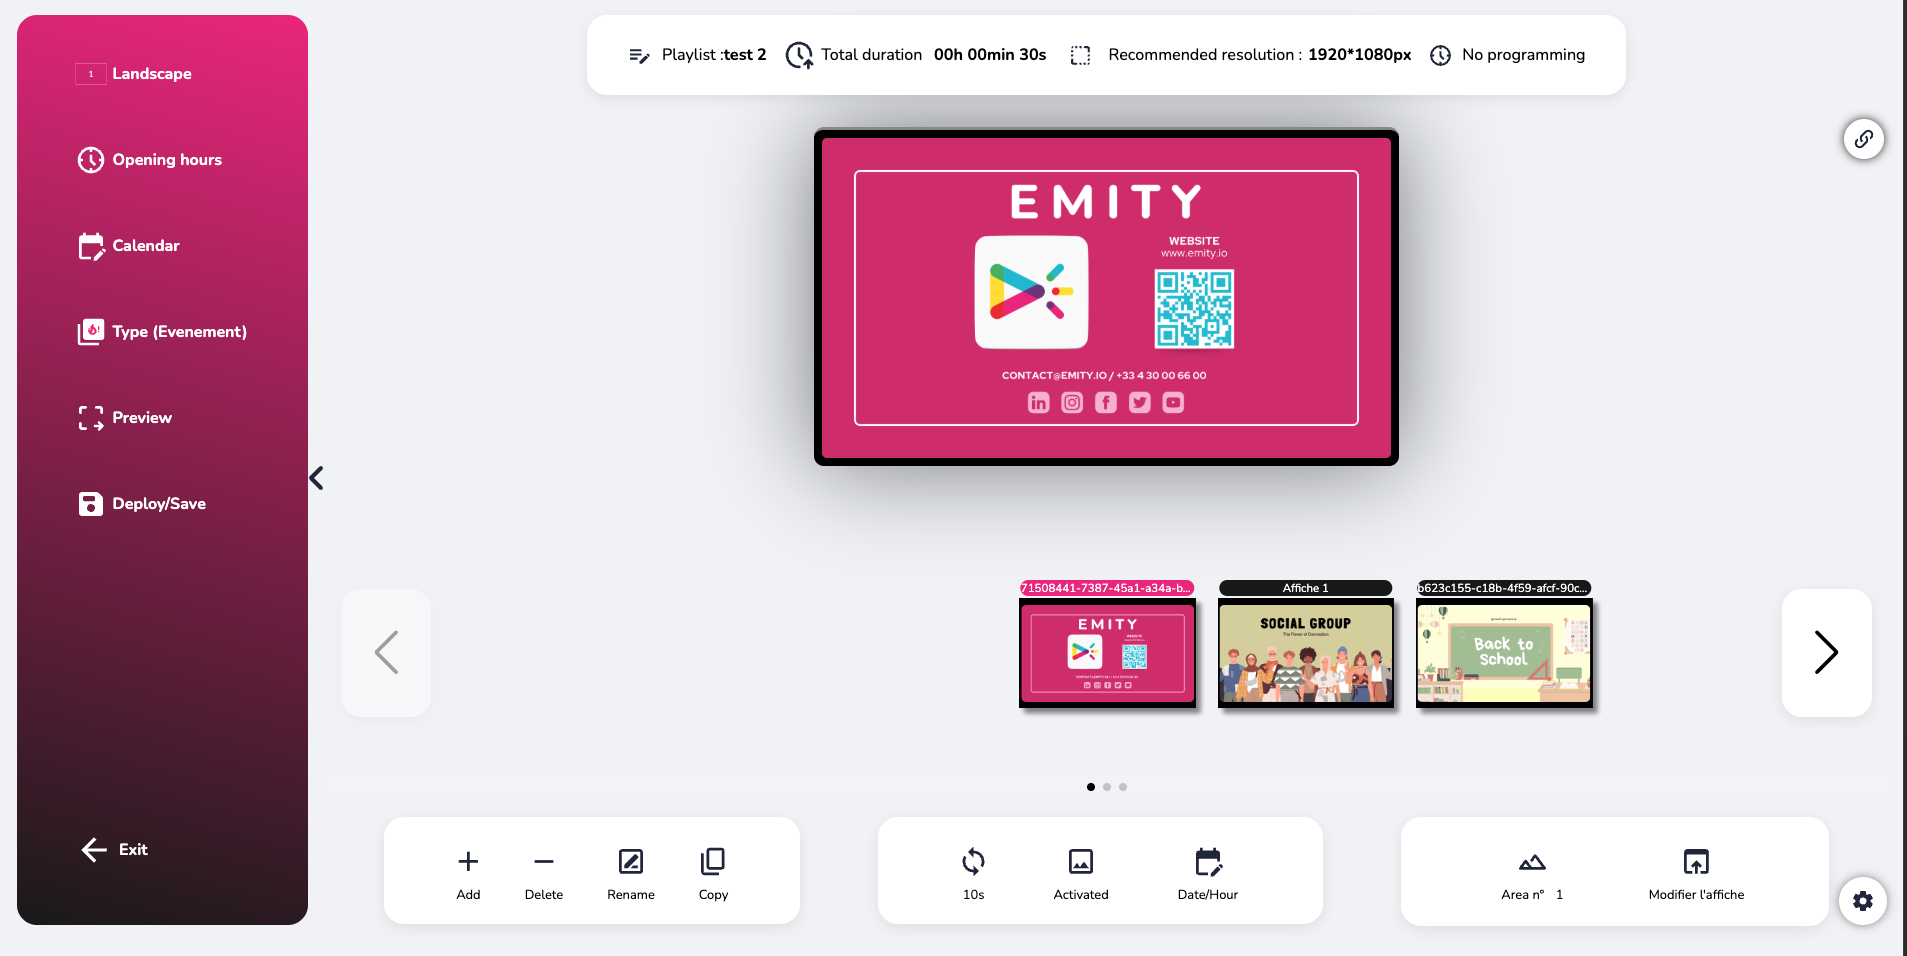
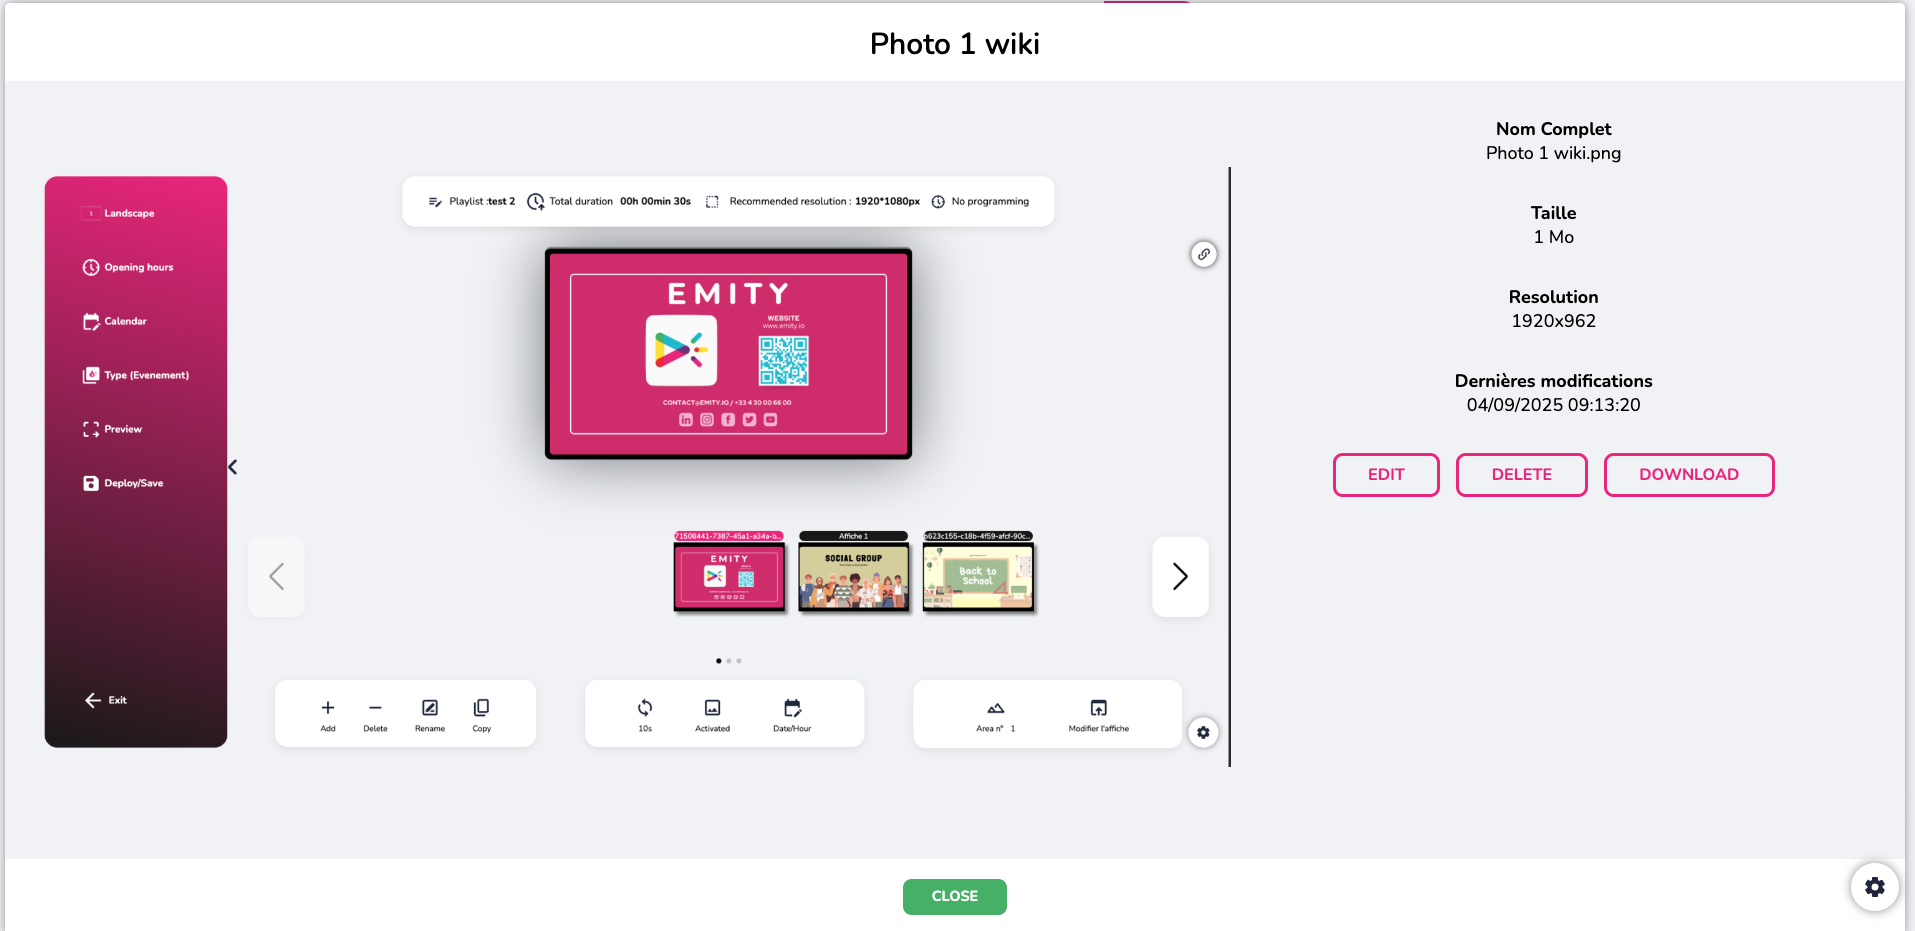
To begin creating a poster, you can go directly to the ‘playlist’ tab and select one. After choosing a playlist, you will be redirected to the poster and creation and editing page.

The bar at the top of your page shows the playlist you have chosen, the duration of that playlist, the recommended resolution for your media, and the playlist schedule.

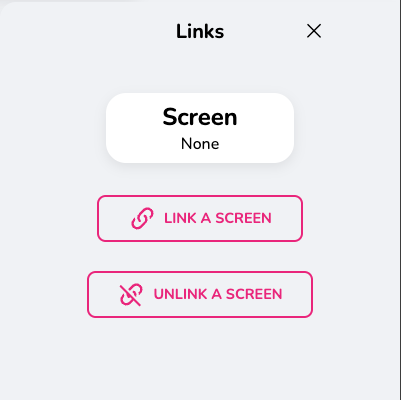
On the right, by clicking on this button, you will see the screen linked to this playlist appear. You also have the option to link another screen or unlink them.
The different areas have been created to make the platform easier to use. You will find three areas on your web page:
| ZONE 1 | Preview and order of posters |
| ZONE 2 | General control and configuration panel |
| ZONE 3 | Control panel and poster settings |
-
Zone 1 :
Presentation of the poster with the selected visual in large format. Below, thumbnails, with the option to change the order of the posters using drag and drop by clicking on the poster and moving it to the right or left. -
Zone 2 :
• “Landscape” allows you to divide your screen into several parts so you can view multiple pieces of content at the same time. It also allows you to set your playlist to portrait mode.
• « Opening hours » allows you to schedule the times and days when the playlist will be broadcast, with the option of setting a priority playlist.
• « Calender » shows the posters scheduled for the playlist.
• « Preview » allows you to see a real preview of your playlist before sending it to the screens.
• « Deploy/Save » saves your posters and sends them to the screens. If you only want to save them, deactivate your posters and then click on this button.
• « Back » takes you back to the main page with your playlists, media, and screens. -
Zone 3 :
 |
Add a poster |
 |
Delete a poster |
 |
Rename a poster |
 |
Copy a poster |
 |
Adjust the duration of a poster |
 |
Enable/disable a poster |
 |
Schedule the time and date for the poster to be displayed |
 |
This button represents the display of the media on the screen. If the poster covers the entire screen, the button cannot be clicked. It will become clickable when the screen is divided, with a choice between positions 1, 2, or 3. |
 |
Create and add visual content to your poster: design, photos, videos, widgets, text. |
¶ Screen orientation and division
-
Screen orientation and division
Landscape/portrait orientation
Set the orientation of your playlist relative to your screen by clicking on the portrait/landscape icon on the left (area 2):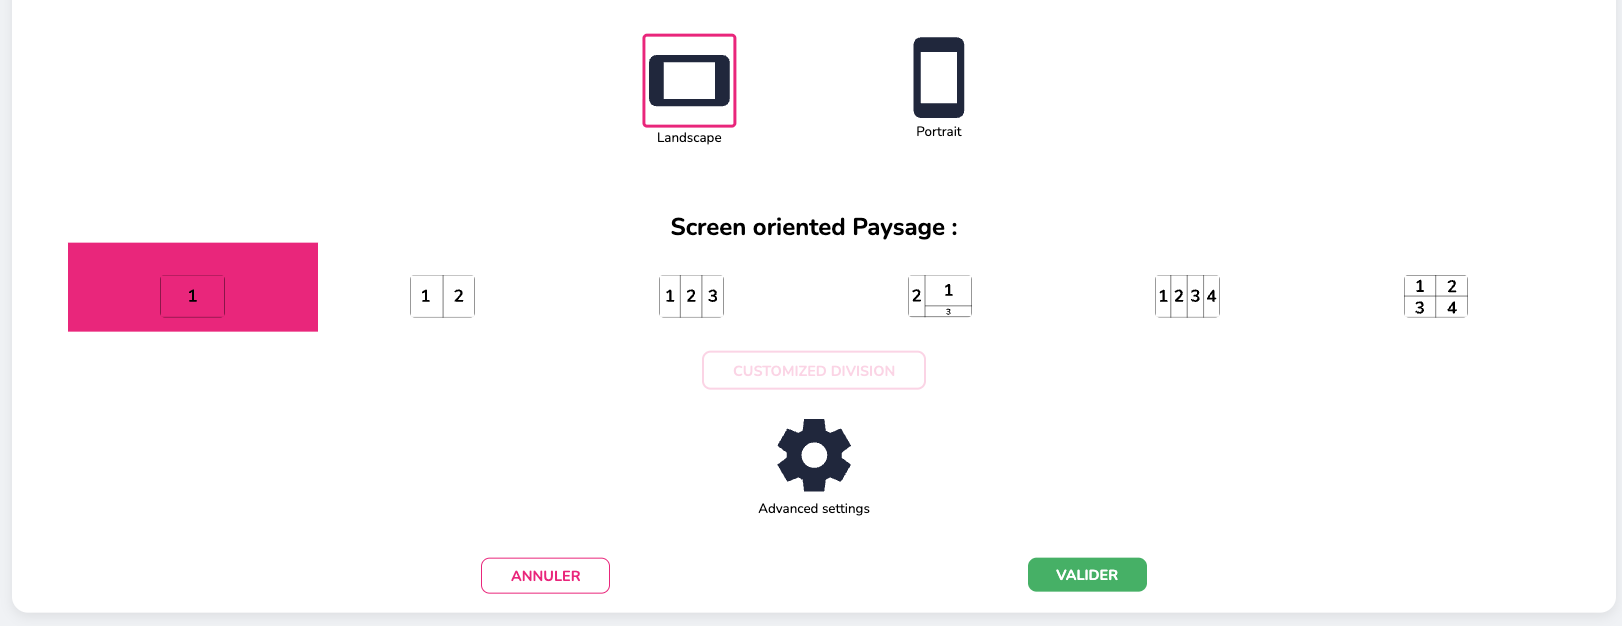
The custom division feature allows you to modify the poster space when you divide the screen into 2 or 3 equal parts. The new display dimensions will be shown. The advanced settings are used to modify the layout of the poster if it is in the wrong orientation on the screen. The auto/manual button is for LED screens, to set the exact number of pixels on the screen.
In the case of a multi-screen configuration: It is essential to indicate, in the poster settings, which poster will be displayed on the different sections of the screen.
In the case of an LED screen configuration: Controlling an LED screen is specific. The software manages this control, making it possible to set the number of LEDs on the assembled LED panels.
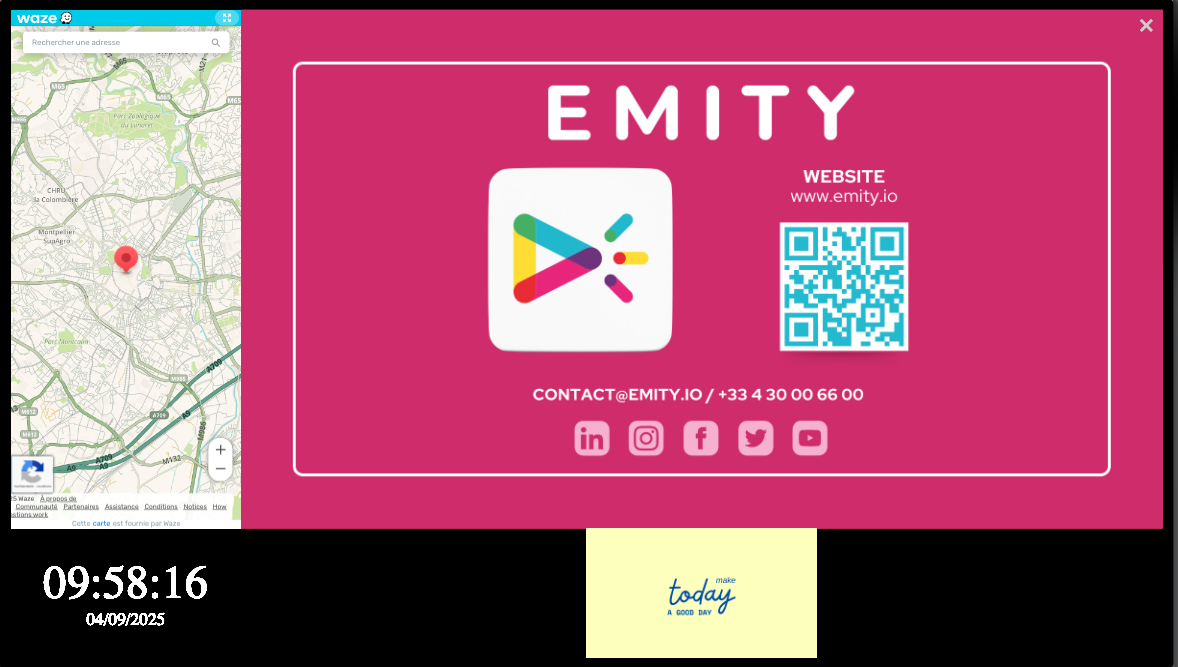
- Screen division :
With our software, it is possible to display an image across the entire screen or to divide the screen into 2, 3, or 4 parts.
The division allows you to display multiple pieces of information (time, weather, text, etc.).
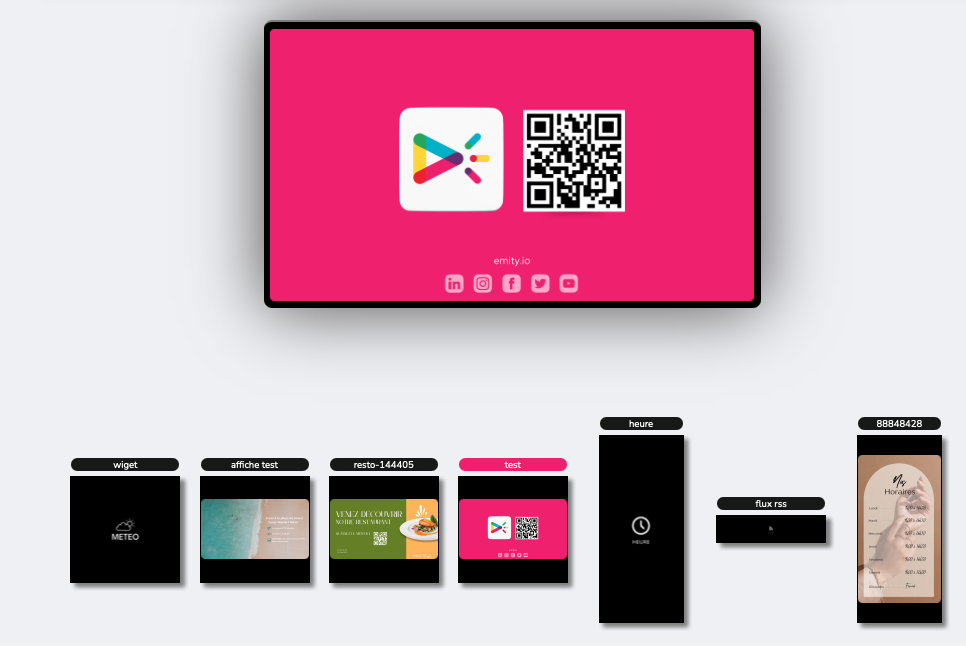
Here is an example :
¶ Adding a poster
When adding a new poster or clicking on ‘edit a poster’, you will have various selection options:
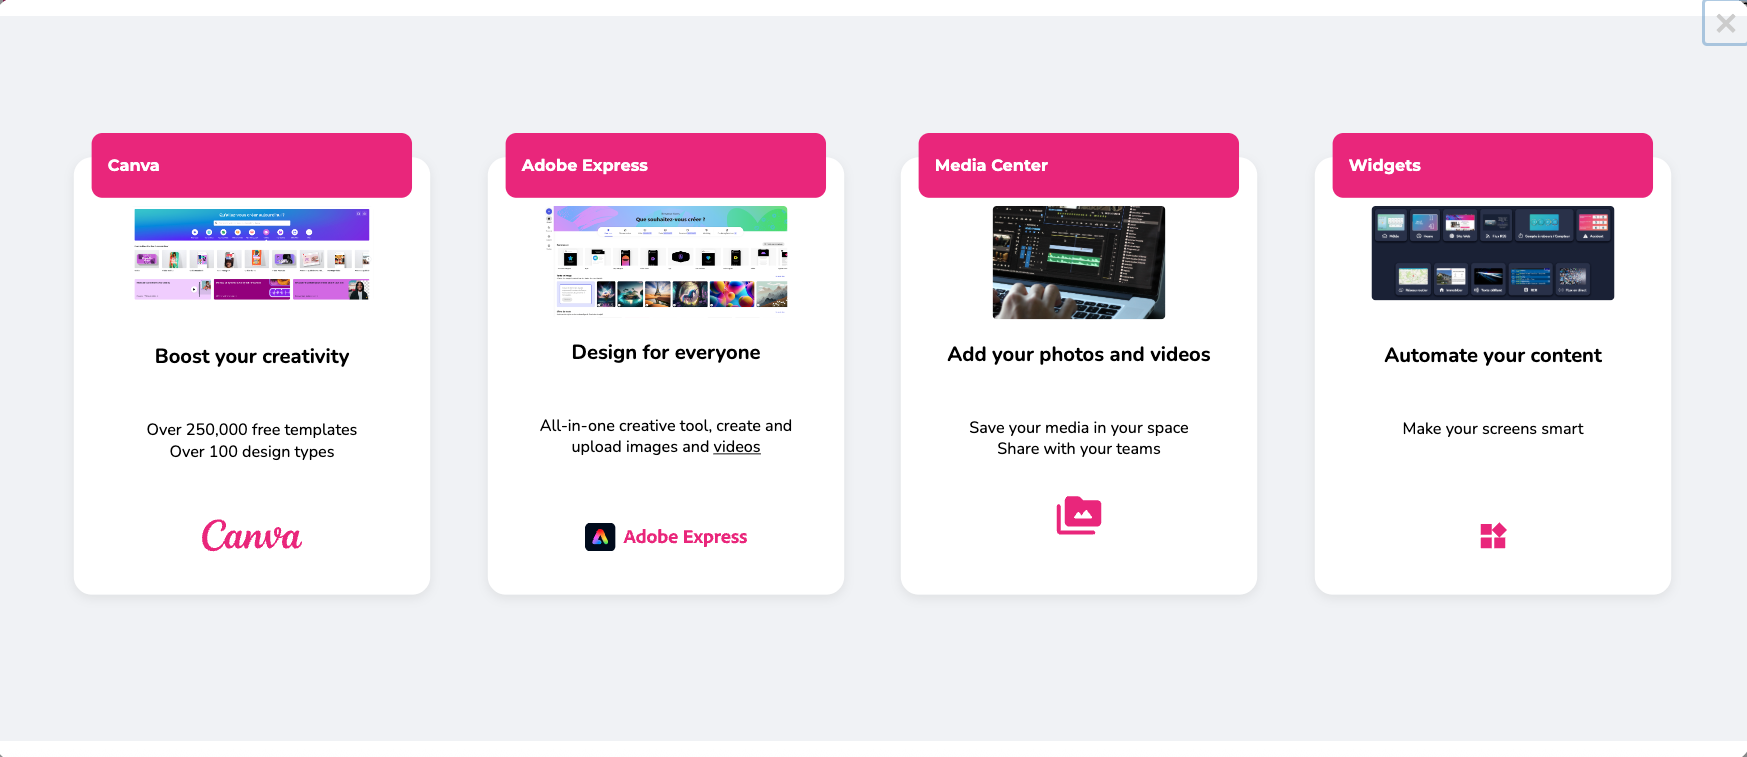
-
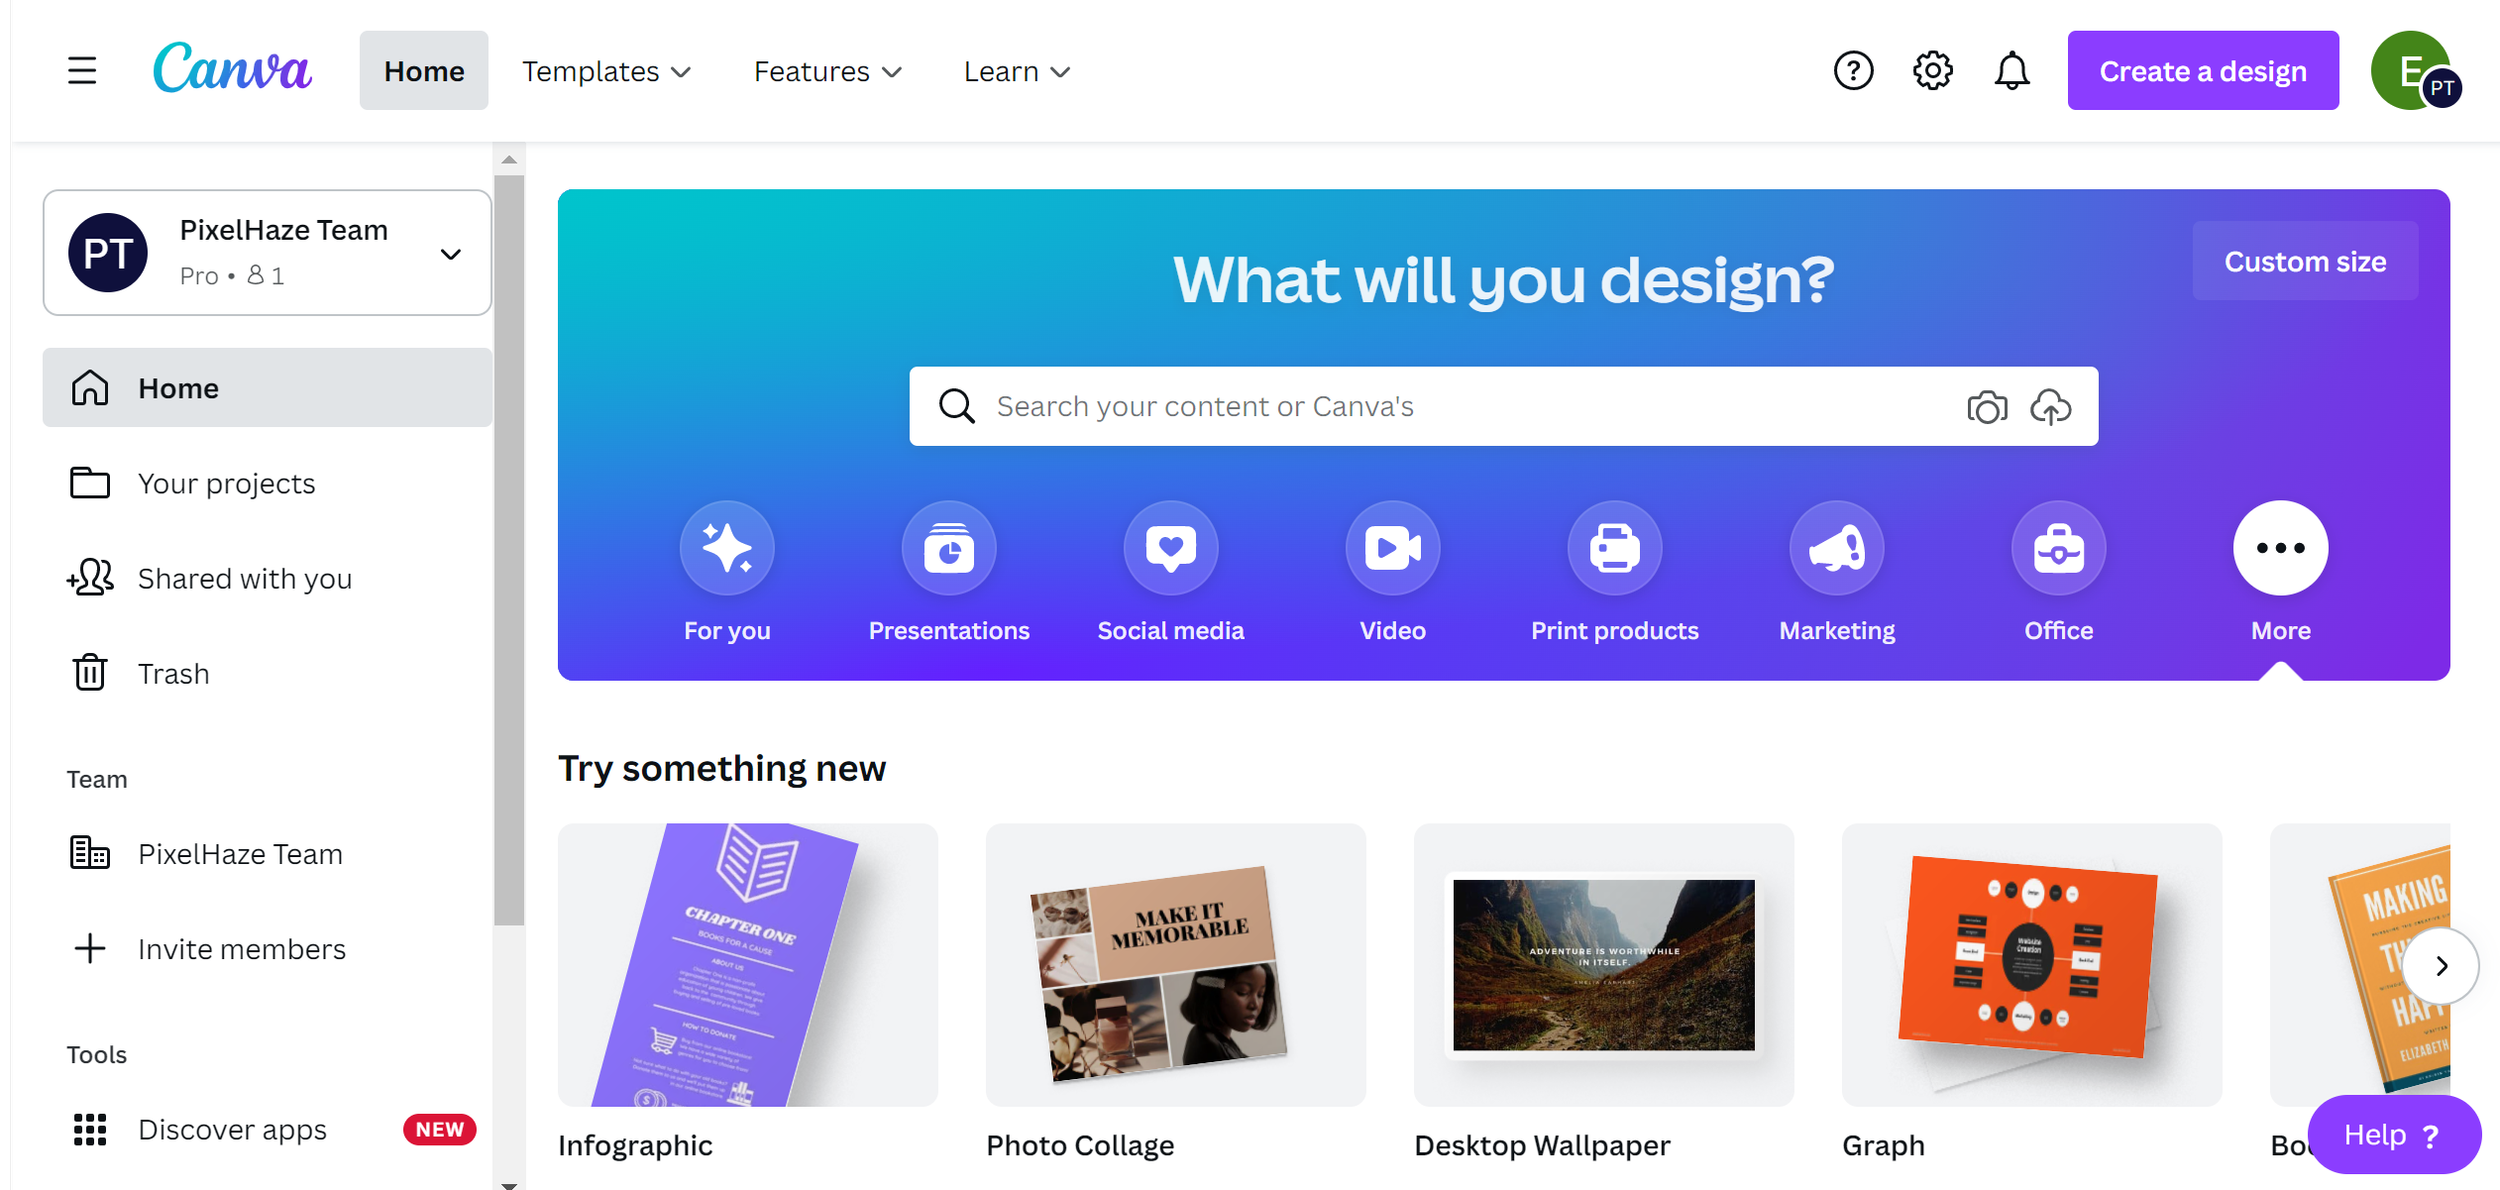
Canva
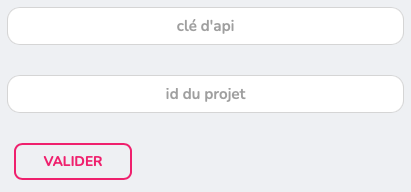
For creating personalized content with automatic saving to E-manager as soon as you click “publish.” You can retrieve your own files with the premium version of Canva. -
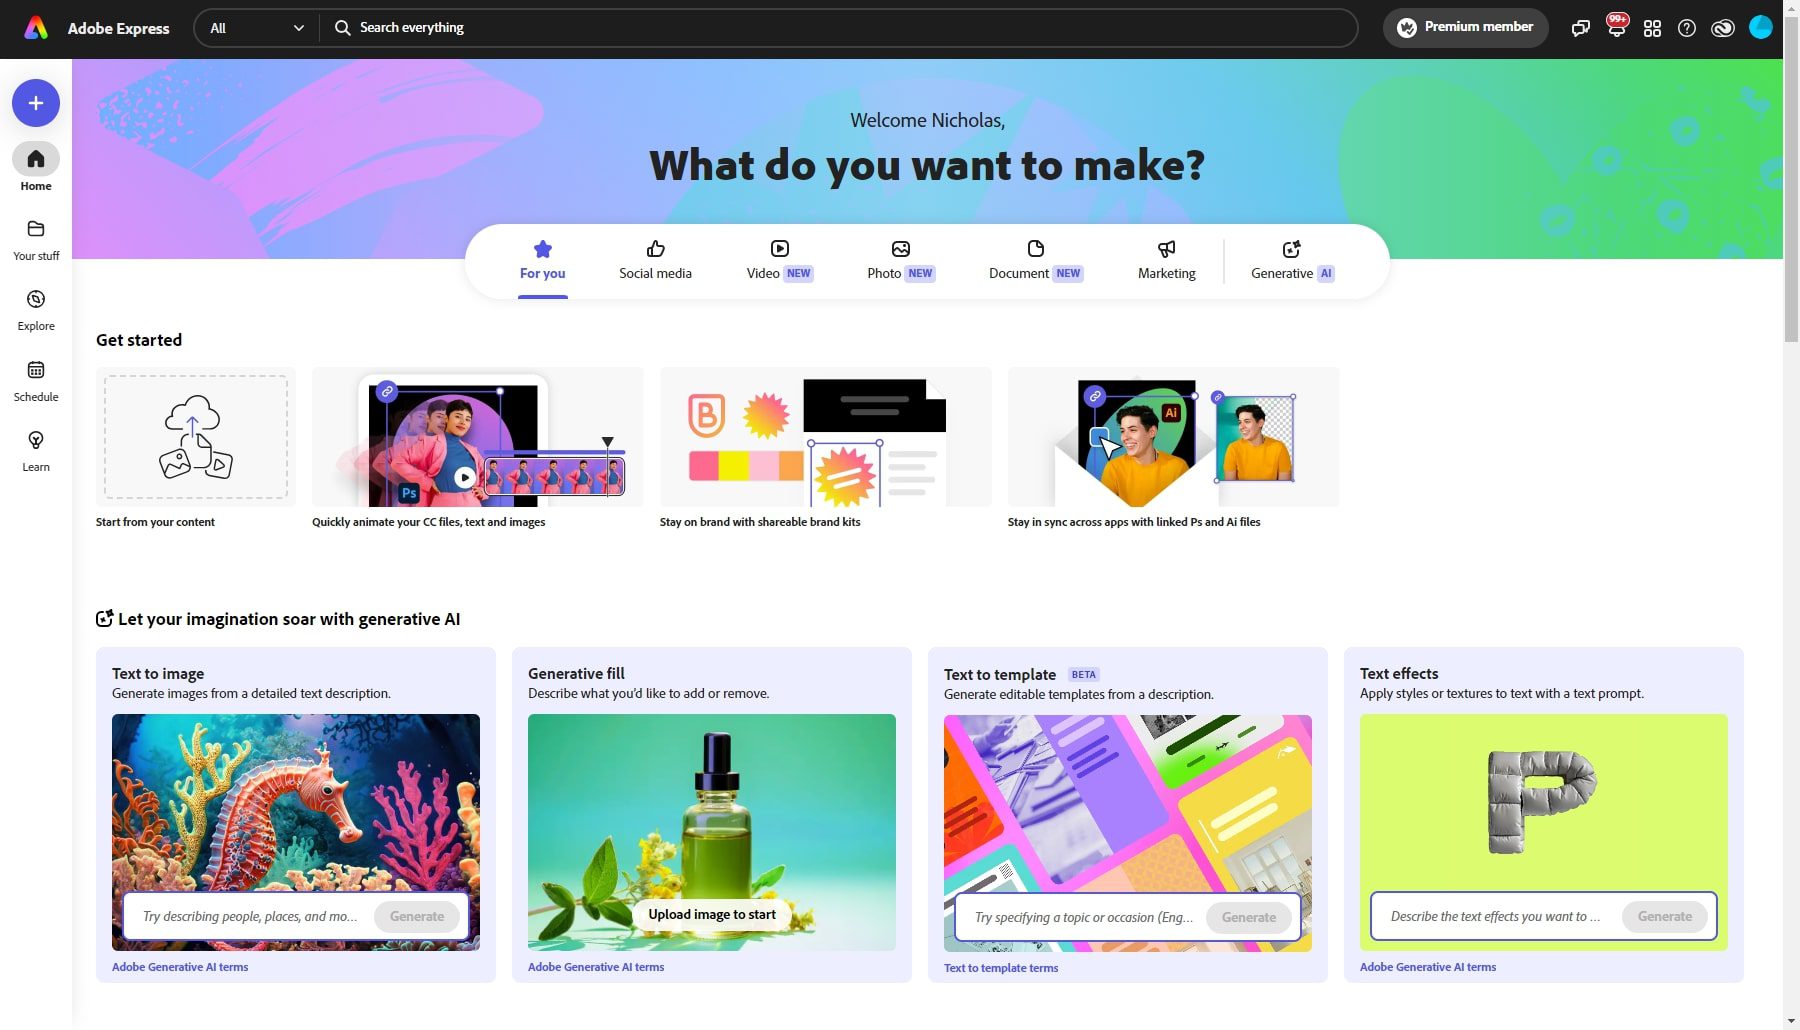
Adobe Express
Another creation tool, linked to the Adobe suite if you have it. Allows you to create and import videos! -
Media library
Media library of content downloaded to the E-manager platform: images, videos, texts, documents. -
Widgets
Widgets grouping together various content to be distributed, accessible with the premium package.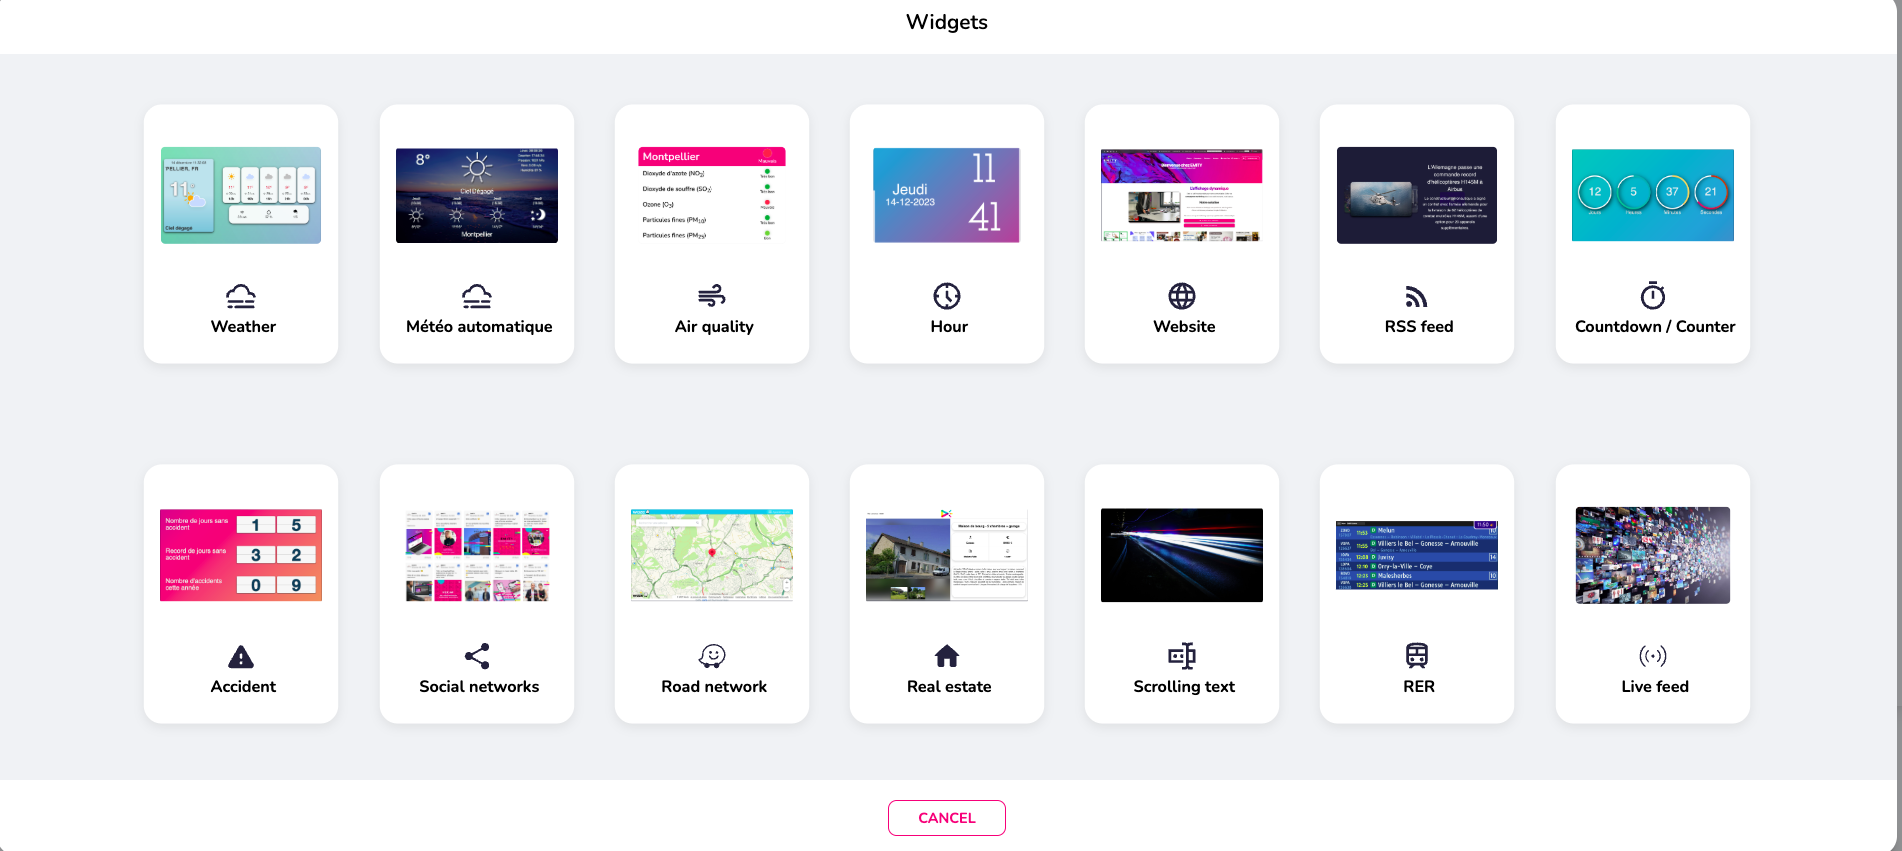
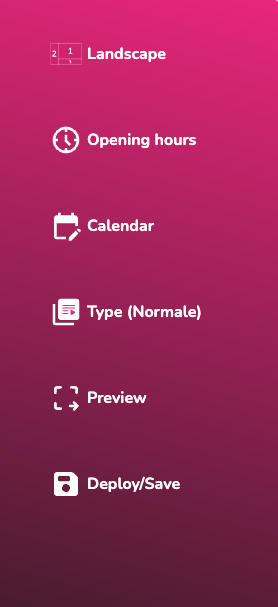
The left side menu, which will be discussed in detail later, allows you to manage the playlist display.
| 1 | Landscape/portrait and screen division |
| 2 | Hours and days of the diffussion of the playlist |
| 3 | Complete calendar of diffussion |
| 4 | Type of the playlist |
| 5 | Overview of the playlist |
| 6 | Direct or delayed deployment / Playlist backup |
¶ Widgets
This page offers a selection of tools called “Widgets,” available with the premium plan. You can display the weather, RSS news feeds, a clock, business software, websites, etc. Please note that no widgets are included as standard, and some widgets are exclusive to the excellence license.
For further details, go here: https://www.emity.io/nos-abonnements/
-
Weather
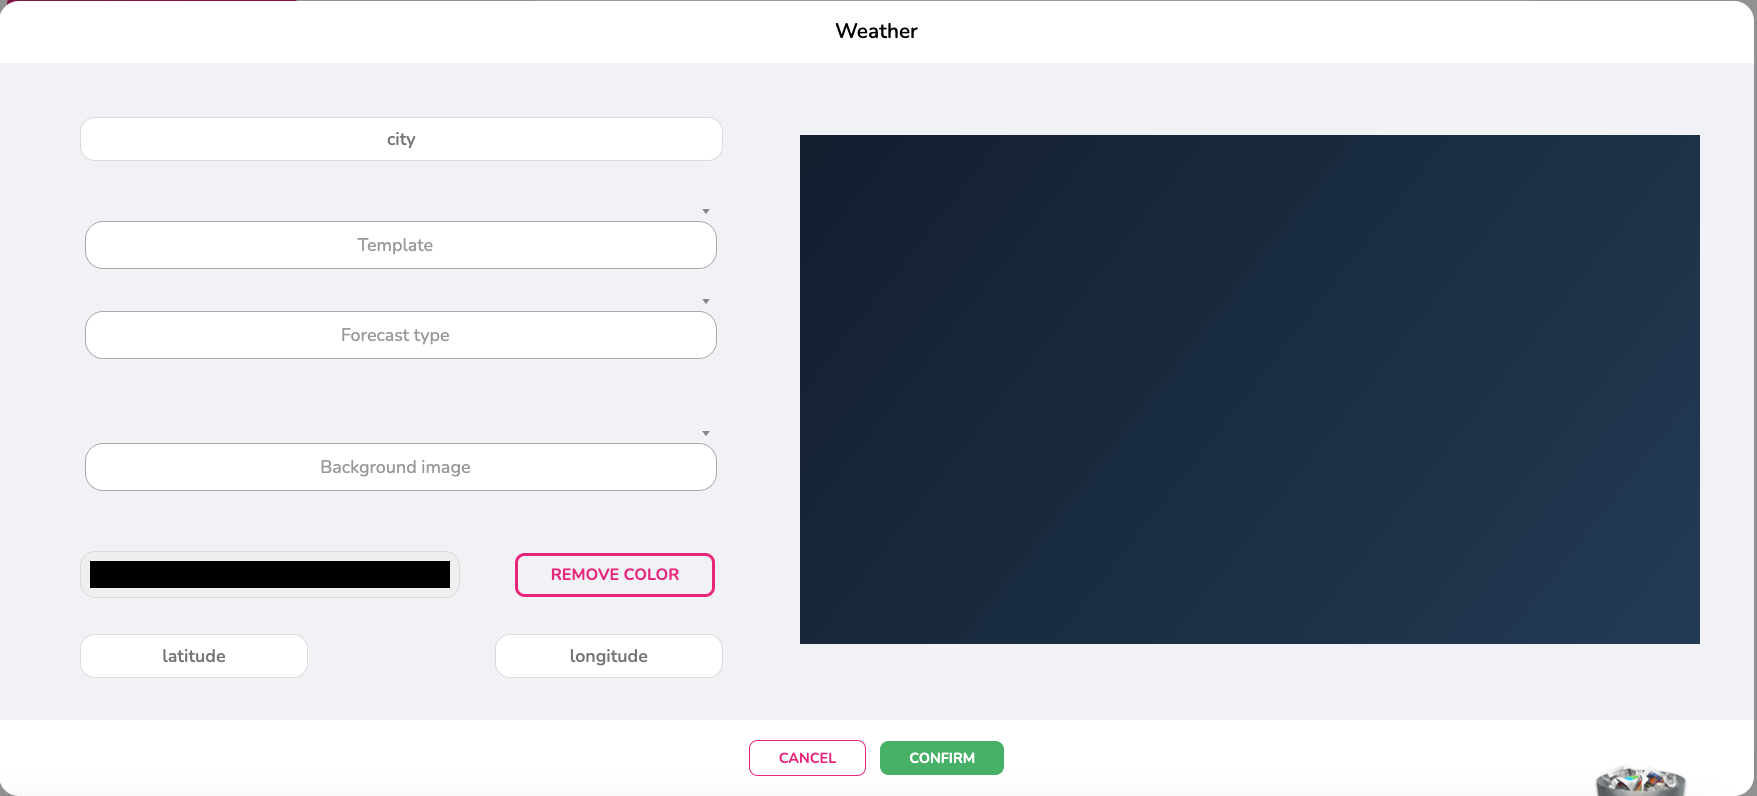
To configure the WEATHER widget, enter the postal code or name of the desired city. Select one of the available templates, the type of forecast you want, and a background image (from your media library) or a simple color. Then confirm. -
Time
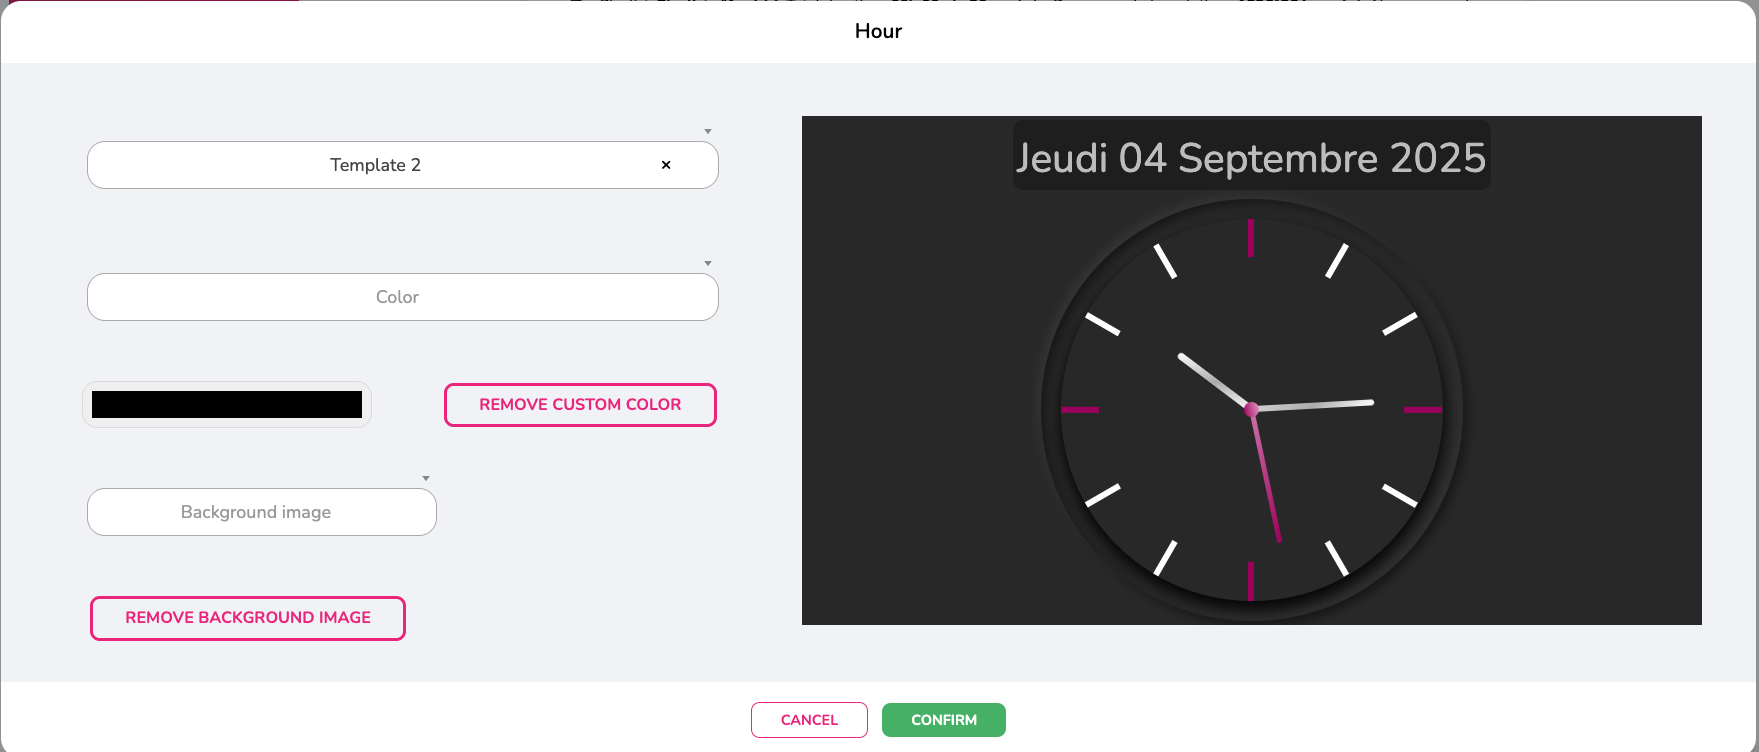
The TIME widget automatically adapts to your location. If you have a box in France and this information has been saved, the time and date will be updated automatically. Here too, you can choose a template model and a background image or color. -
Air quality
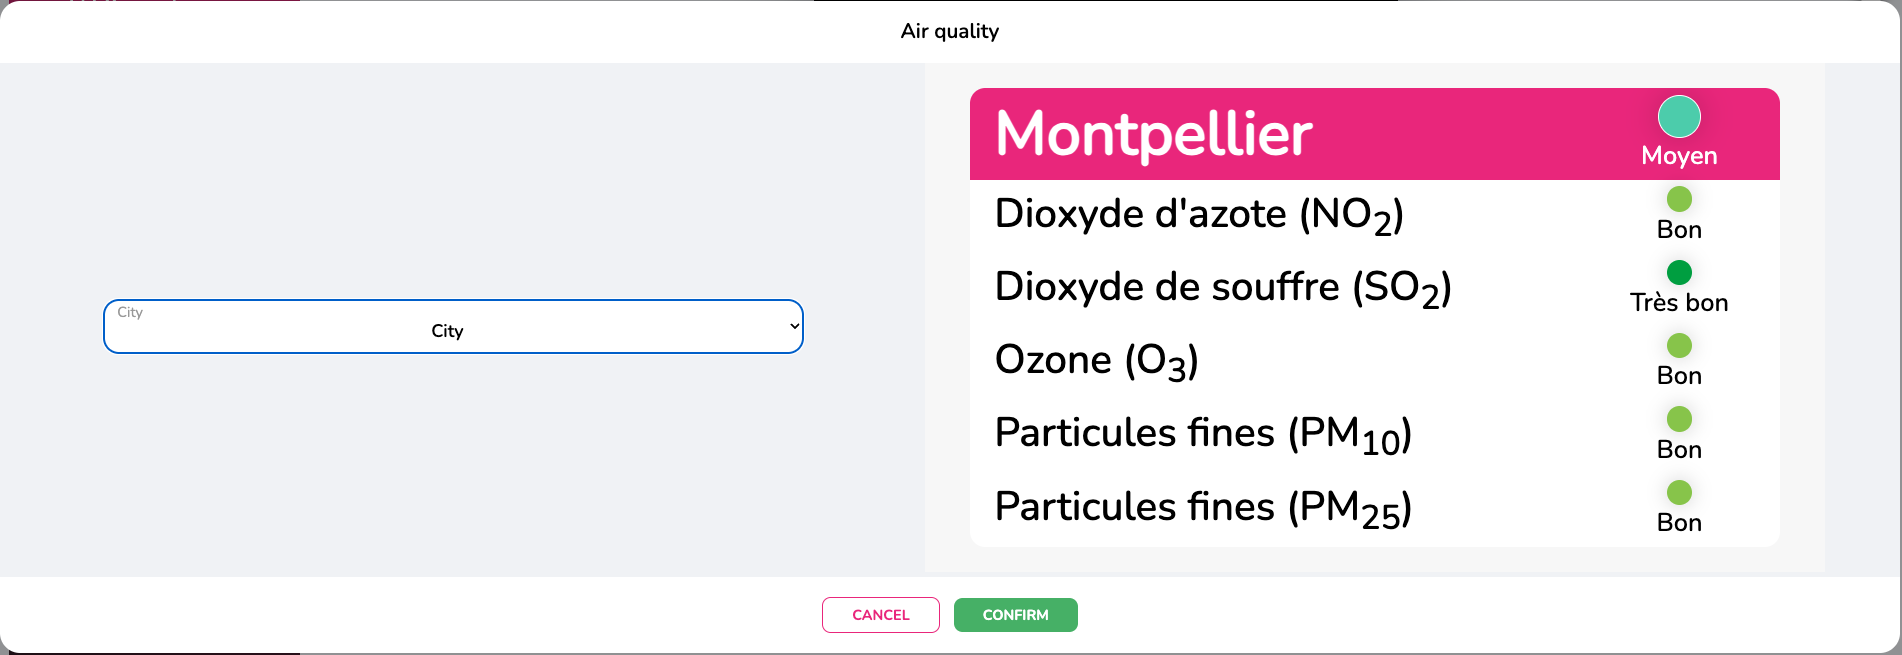
This widget allows you to highlight the air quality of the city of your choice, based on several representative criteria. If the city you want to display is not in the list, please contact us. -
Website
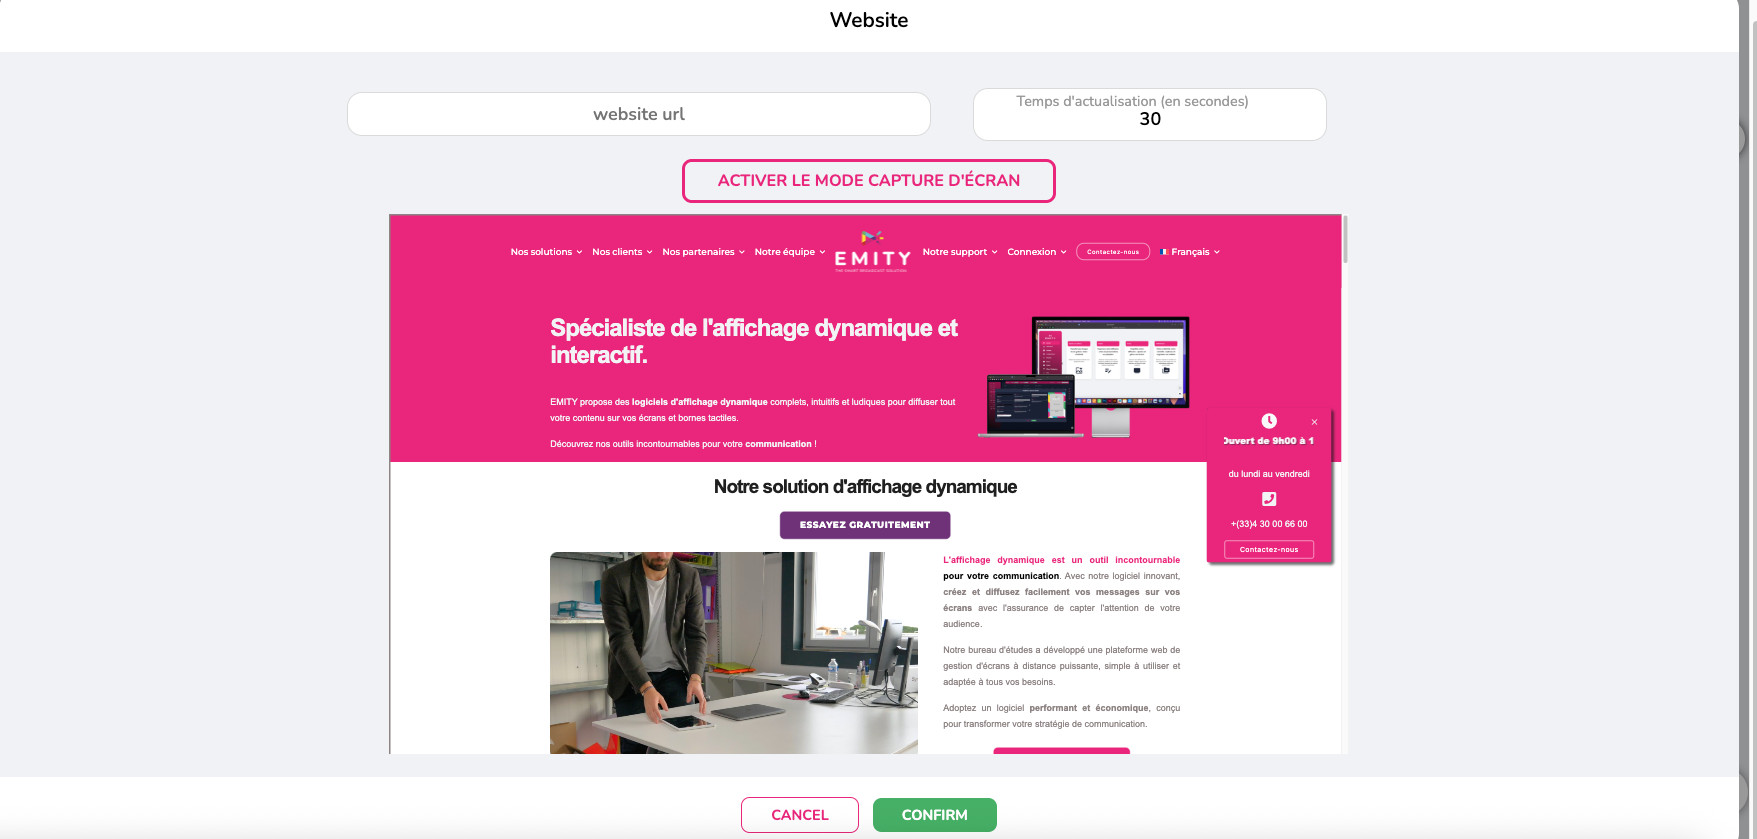
Enter the URL of the desired website and the frequency at which you want the page to be updated. You can also choose to display your web page statically by clicking on “Enable screenshot mode.” -
RSS feed
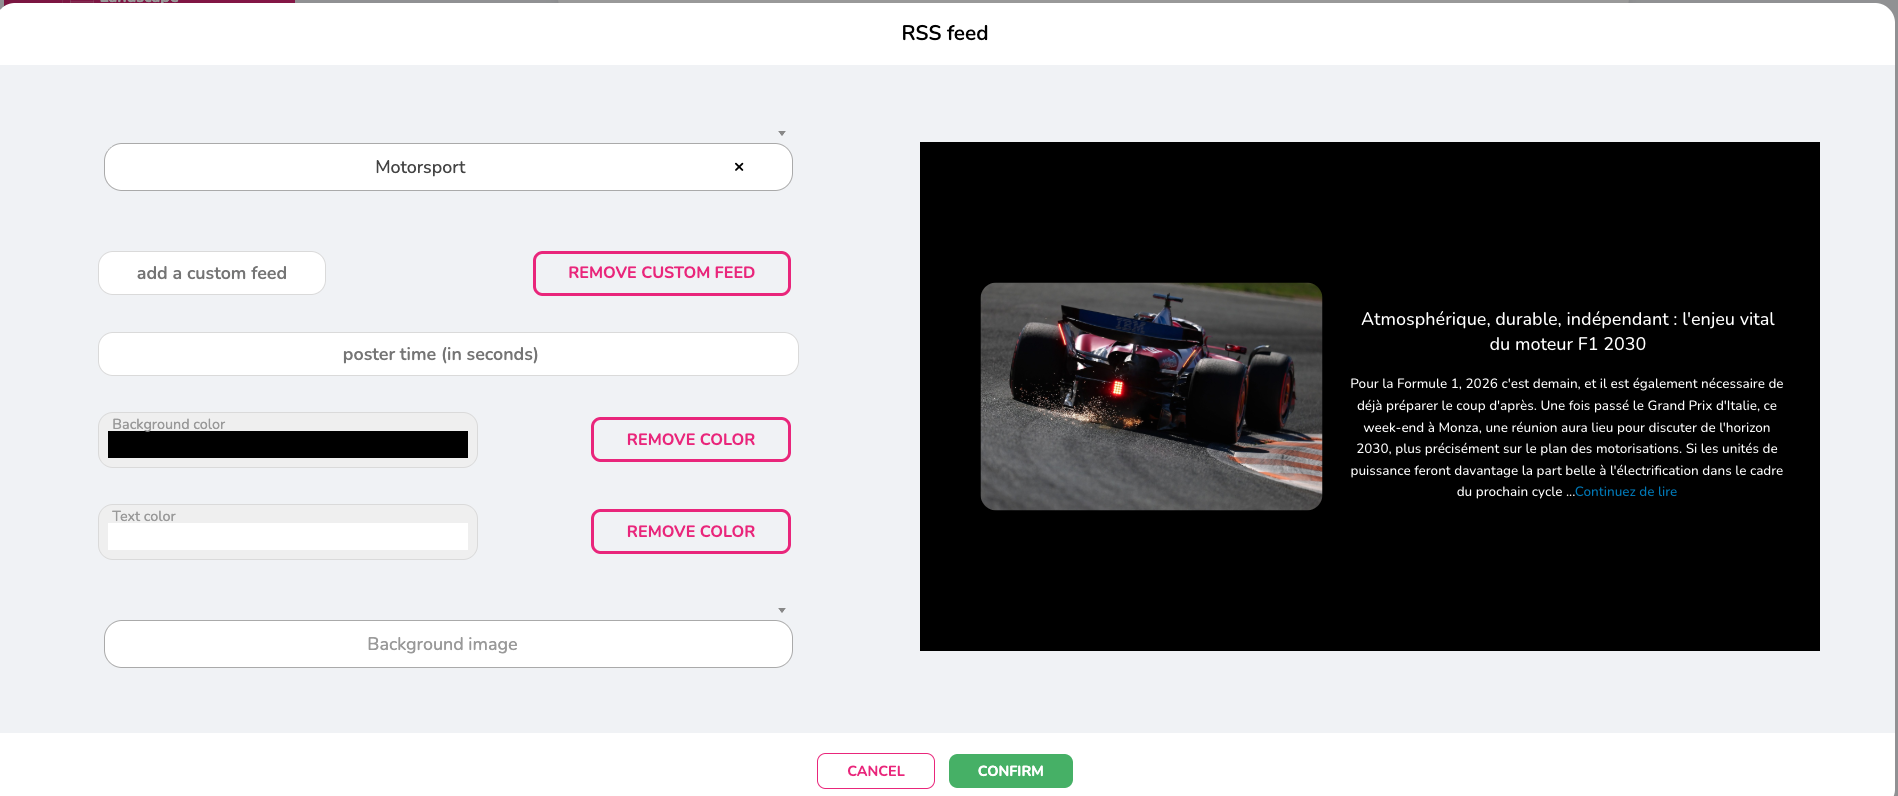
Choose from the many feeds available on the widget, or add a custom information source. Set the display duration for each piece of information, the background color/image, and the text color. -
Countdown / Counter
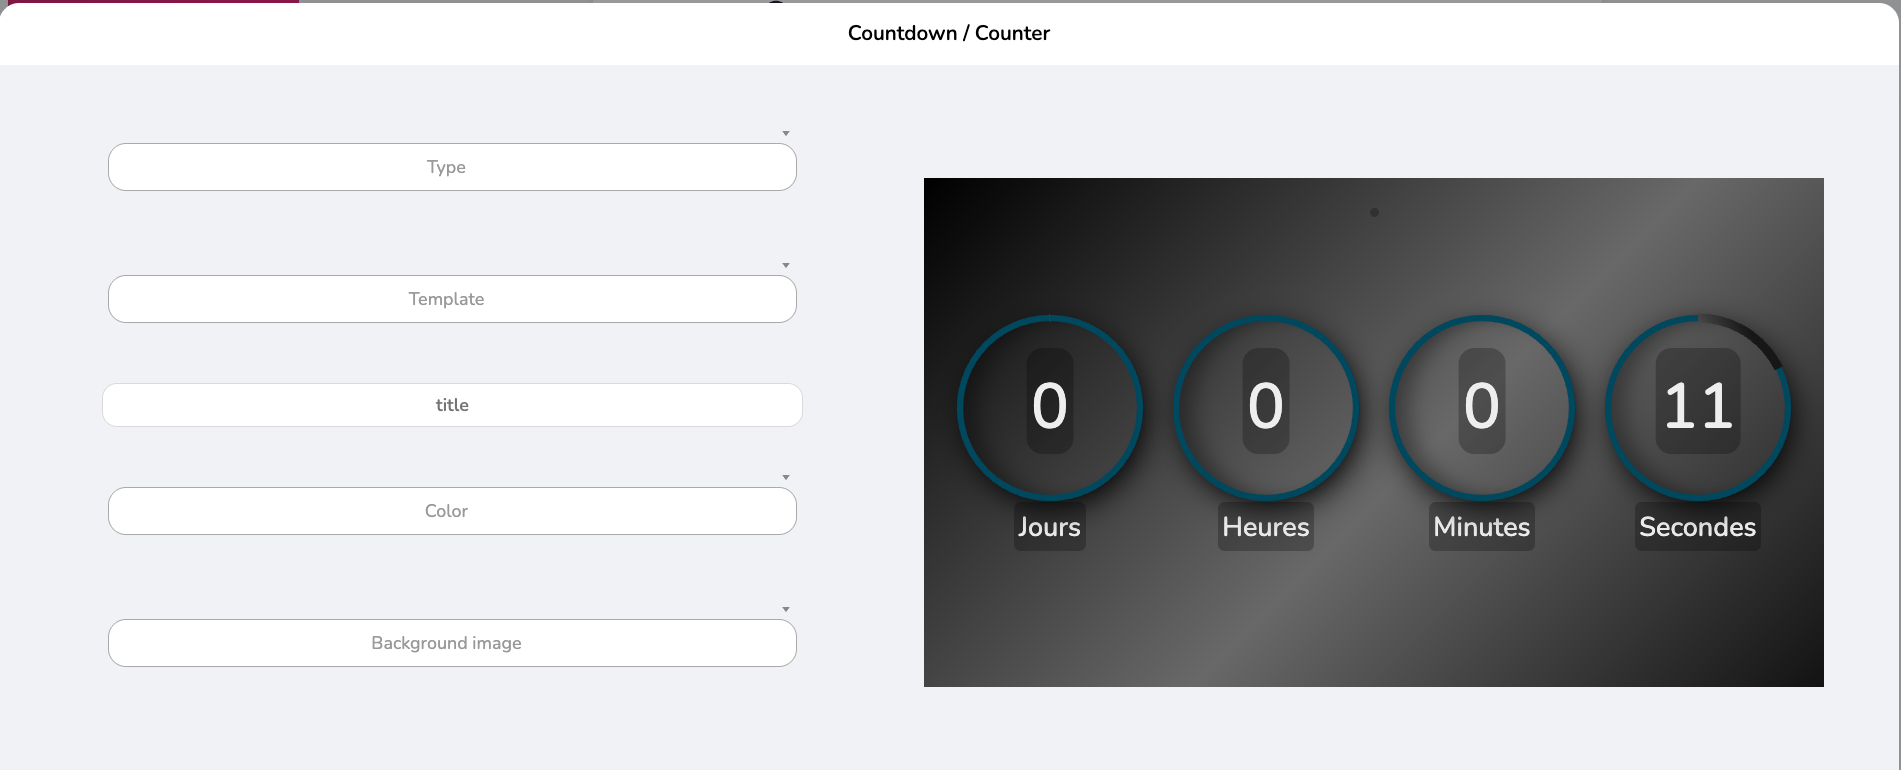
Set up a countdown or timer by defining a start and end date and/or time. Choose a design template and add a background image and title if you wish. -
Work accident

This widget allows you to highlight the number of days without workplace accidents in your company. Choose a display template, the type of event to highlight, then the desired colors, background, and dates. -
Social Network
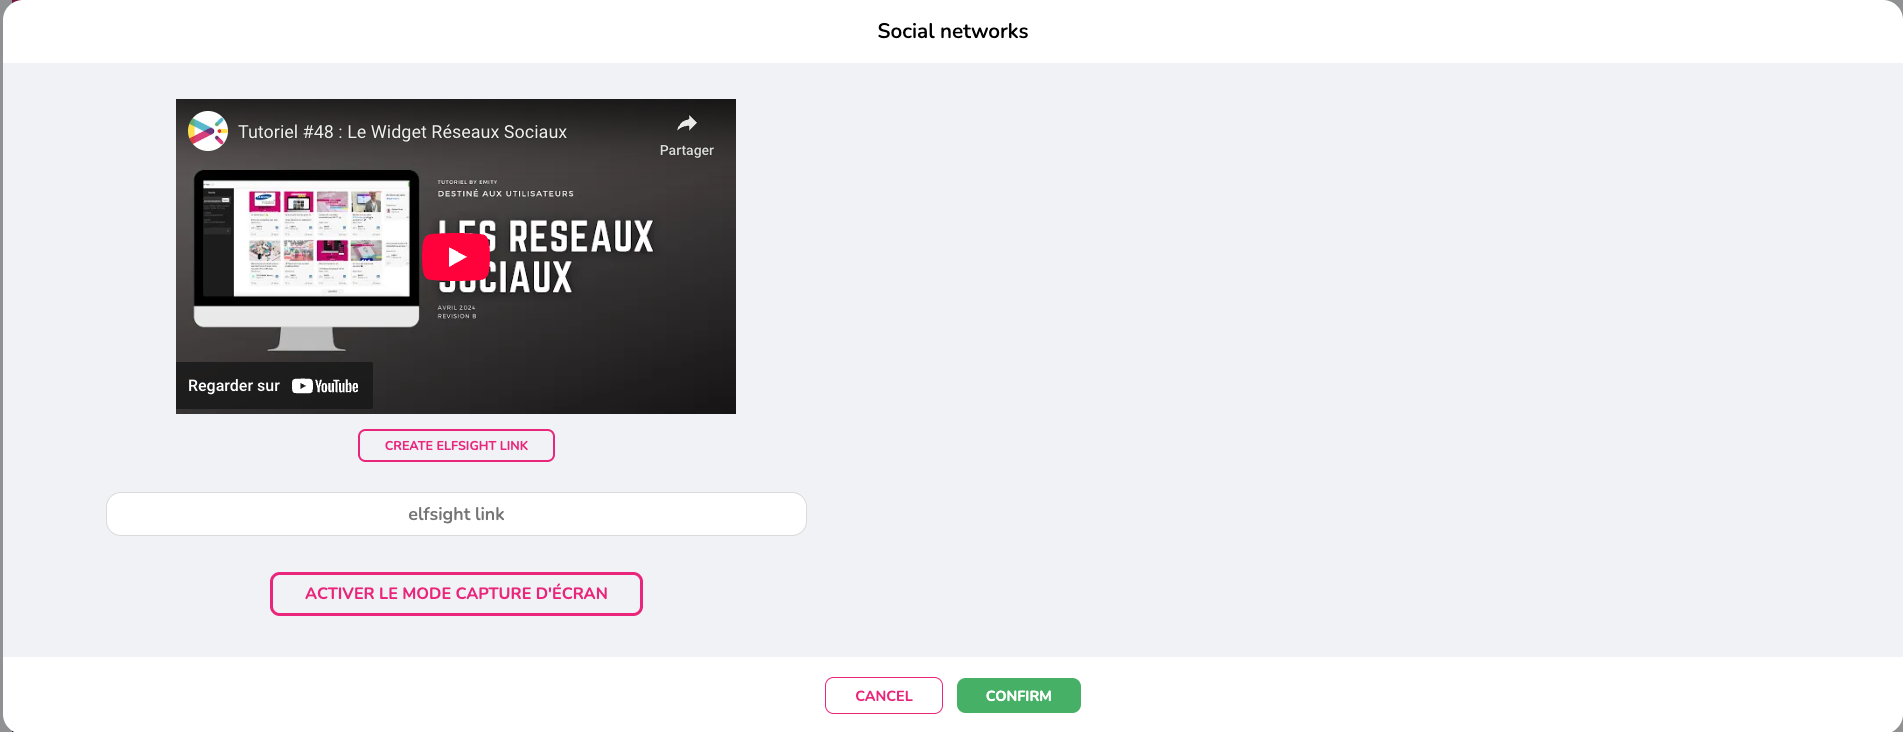
Share any social network thanks to our partner. Check out the tutorial to create the link needed to share your network. You can also opt for a static display by clicking on “Enable screenshot mode.” -
Waze
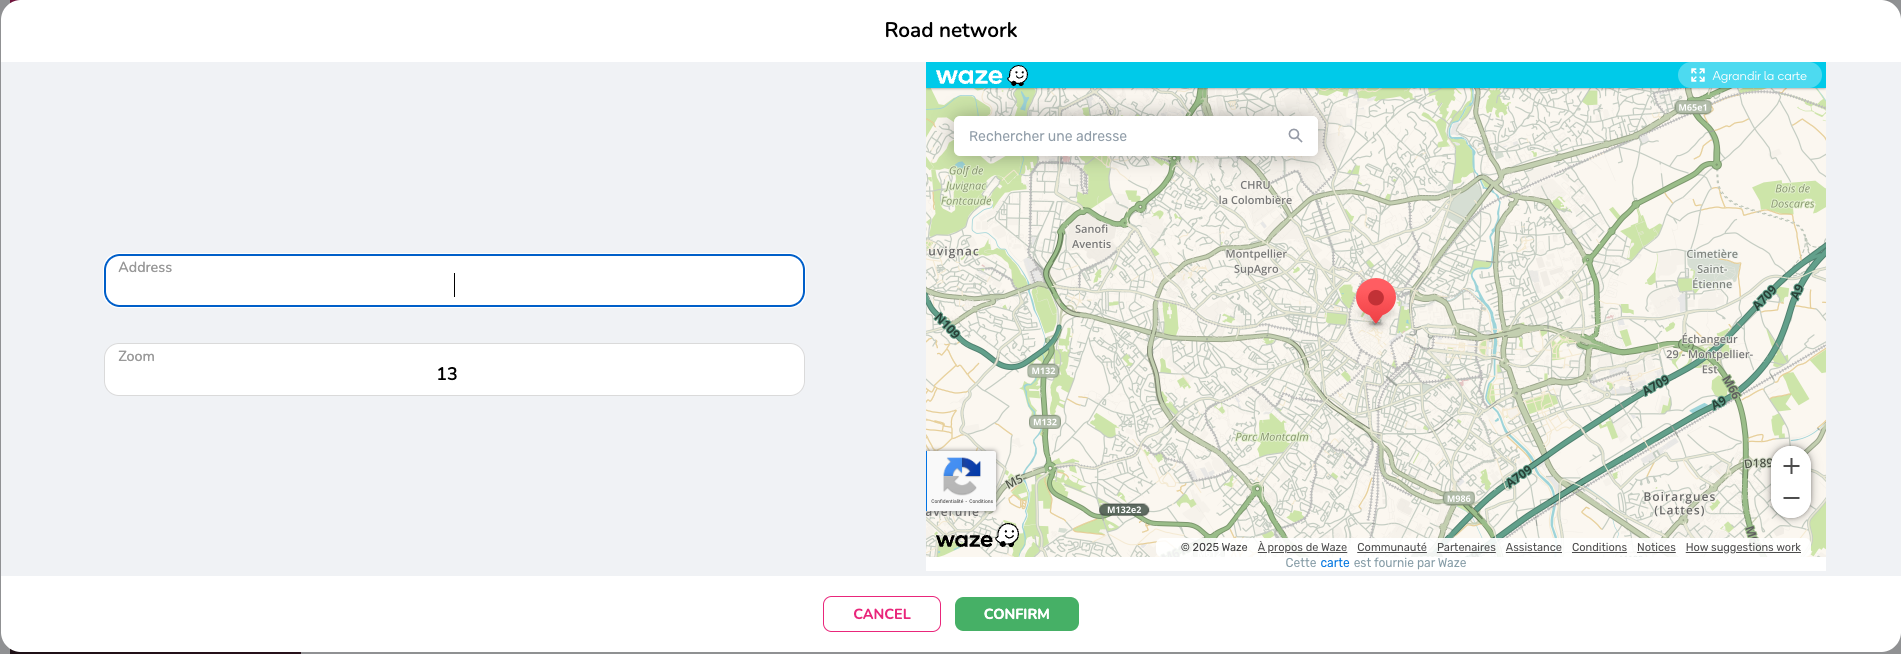
Enter the address and desired zoom level. Waze provides real-time traffic information from around the world. -
Real estate
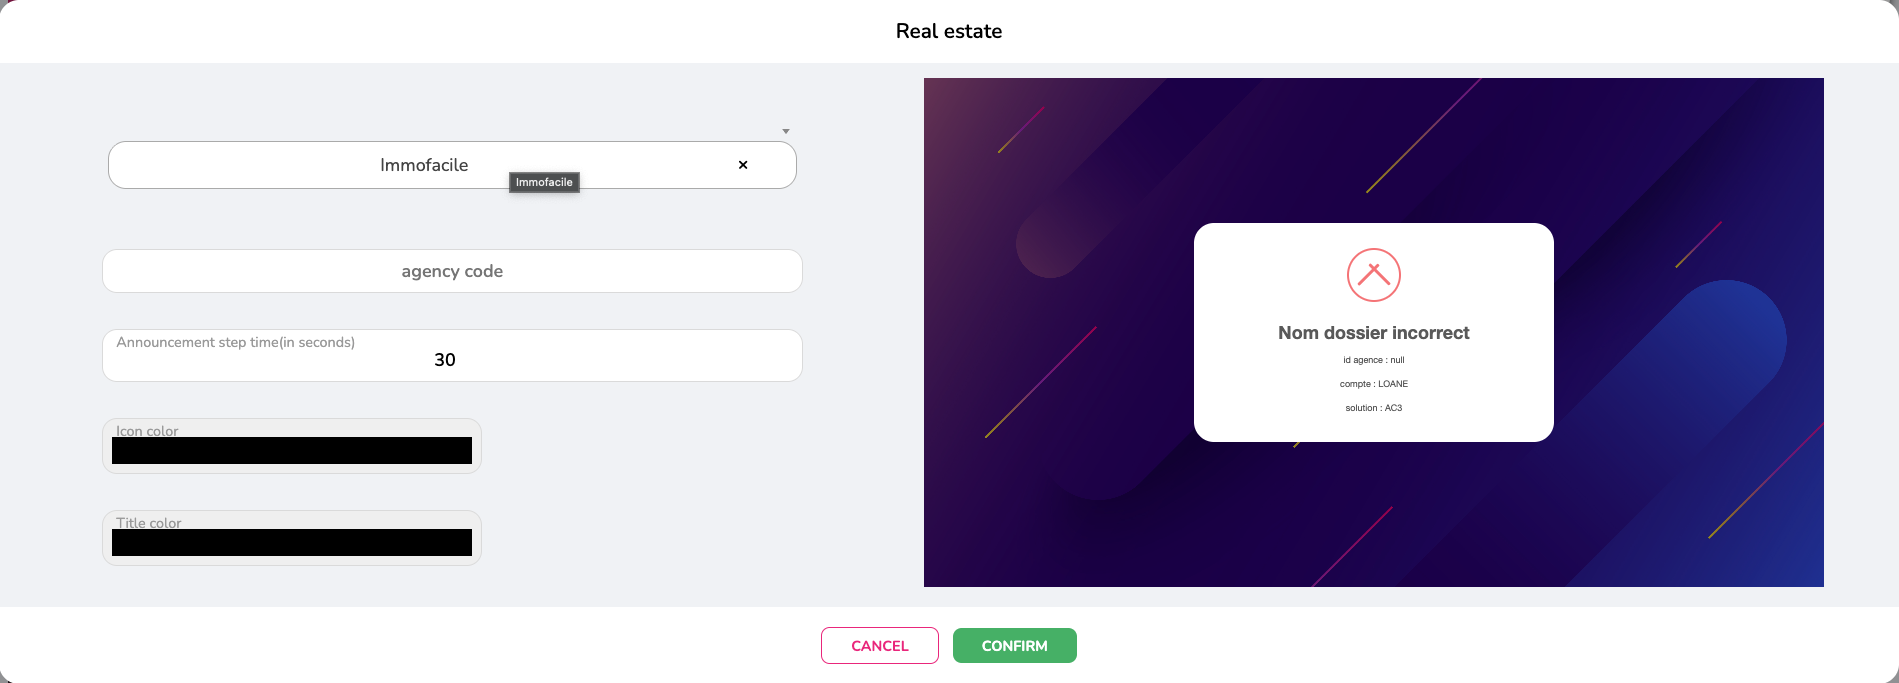
Service for real estate agencies that want to display their listings on their connected screens. Using an agency code, you can select all your properties and set the refresh rate between each listing. -
Scrolling text
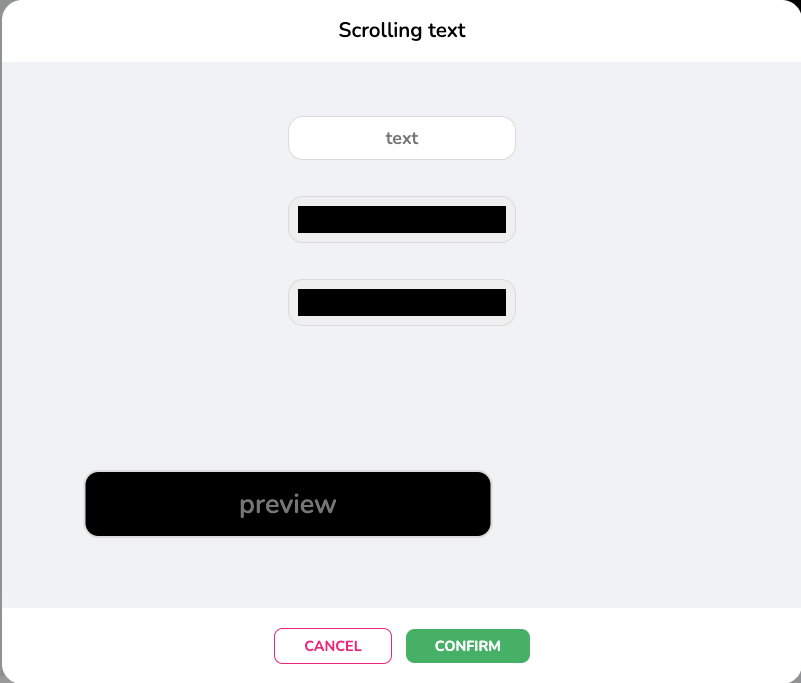
You can write text that will scroll across your screen. This widget is more suitable if you want to display a word or short phrase. -
Train
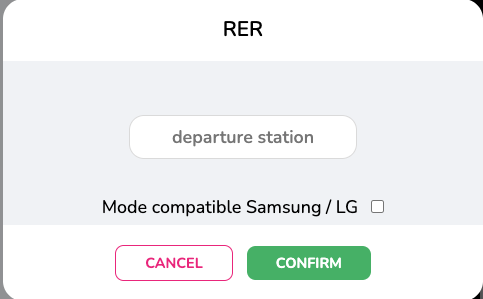
Display of train arrivals and departures in France. Simply enter the departure station. -
Live feed
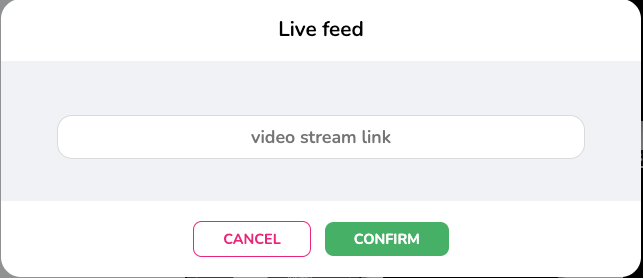
Display live internet feeds on your screens by inserting your link. -
Ephemeris
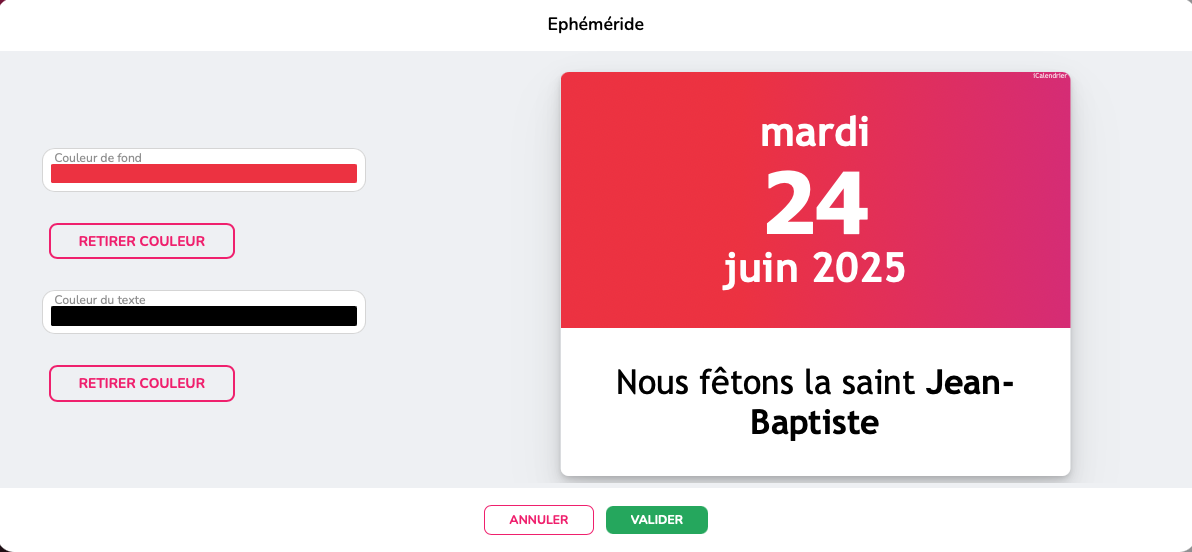
Share saints and holidays with a single click. Updates are automatic; just choose the background and text colors. -
City information
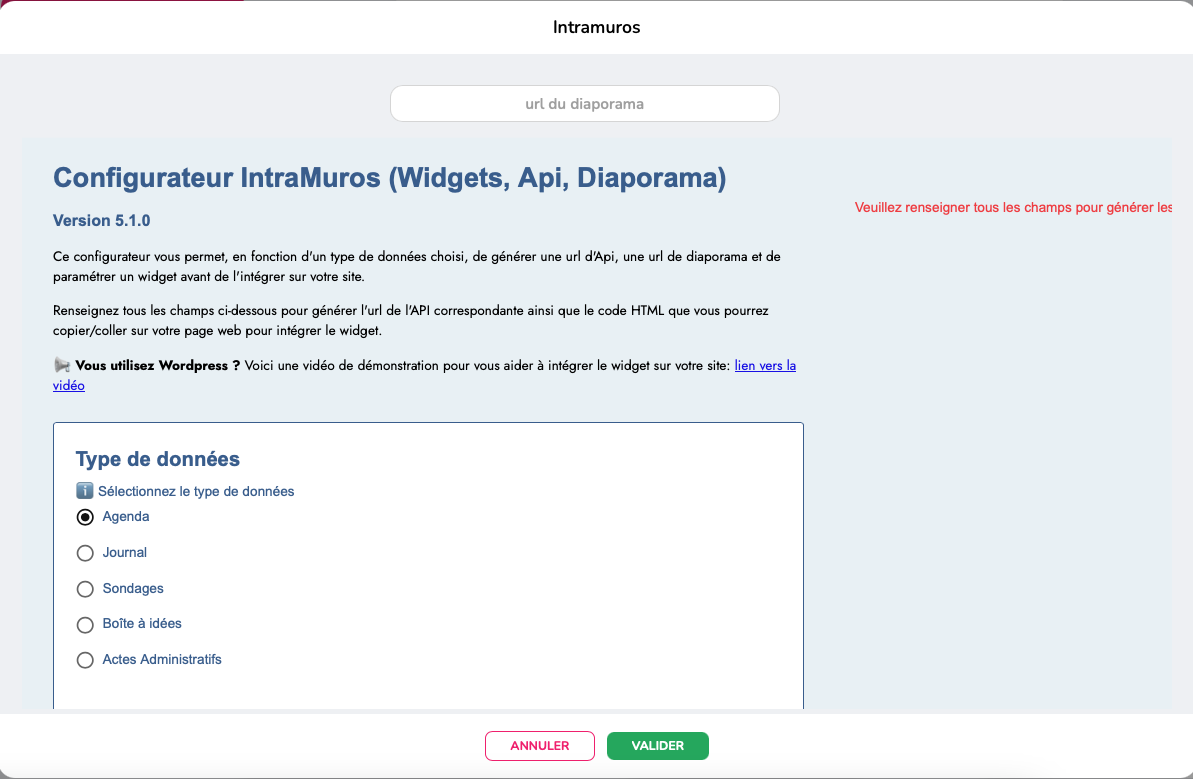
For local authorities. Keep residents informed about news, events, and services in your municipality. -
APIDAE
For the tourism sector. Share your news and information about your tourism offerings.
¶ Canva
The Canva button allows you to create content and quickly save it to E-MANAGER. The formats are adapted to your screen (after determining the orientation of the playlist in landscape/portrait), so all you have to do is create using your visuals as well as those from the platform. To use Canva, simply create an account (sign up for free or create a pro account) or log in with your credentials.
¶ Adobe Express
With this tool, you can take your creativity even further! Sign in for free or with your Adobe account and enjoy all the benefits of the suite. Create visuals, including videos, in just a few minutes and access a library of professional templates that are easy to customize.
¶ Programming
¶ Poster planning
By selecting the “Date/Time” icon (area 3), schedule the media broadcast:
• By default, if nothing is scheduled, the poster, and therefore the playlist, will be broadcast continuously.
• By selecting a period and a time, the poster will only be displayed during that period (e.g., from January 1, 2022, to February 1, 2022, from 12 p.m. to 1 p.m.), while other posters may have a different schedule.
• By selecting recurring days, the poster can, for example, be displayed every Monday and Tuesday during the period.
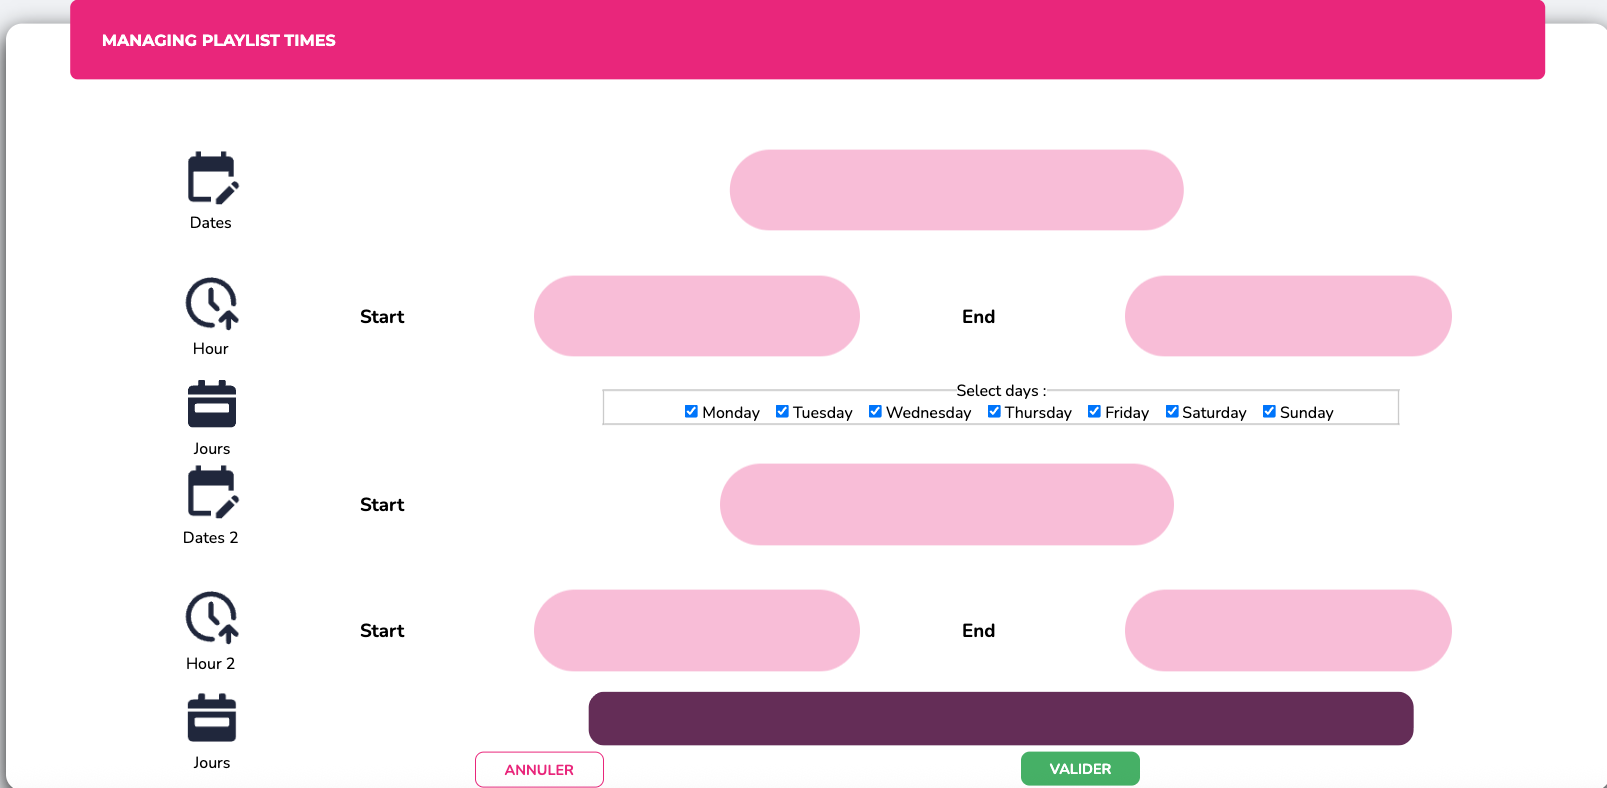
The system currently allows two simultaneous schedules :
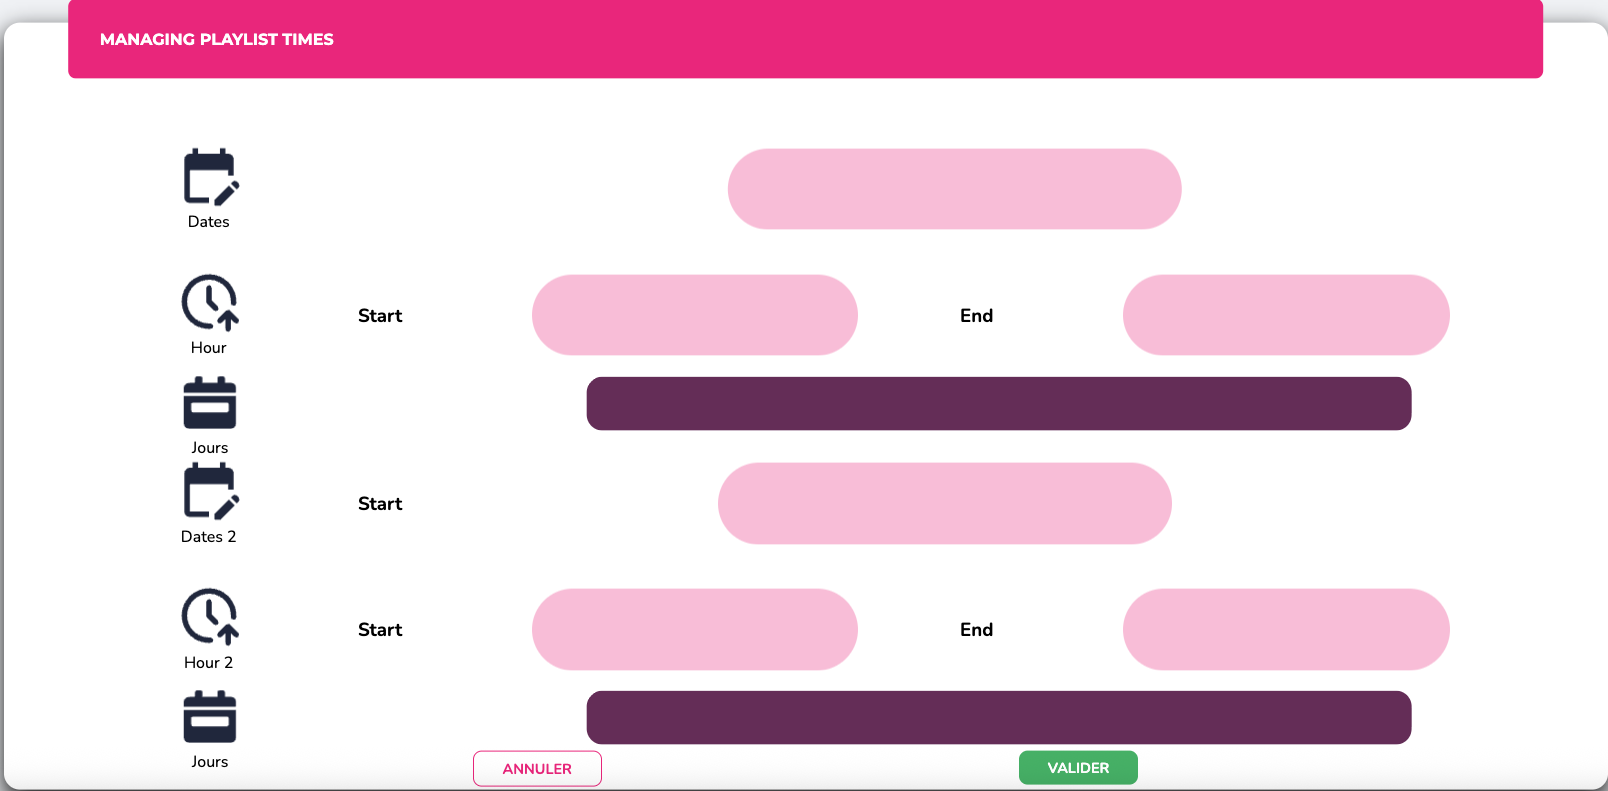
¶ Playlist planification
You can schedule the broadcast of your playlist using the playlist time management feature. First, sellent you playlist, then click on the ‘schedules’ button in the left hand menu. Your playlist will automatically play continuously if you do not schedule it. By adding times and days, the playlist will play according to this schedule.
If you have several playlists, you can prioritize one of them. This means that a certain number of posters from your playlist will appear on the screens on a recurring basis. By changing the playlist type from ‘normal’ to ‘priority’, you allow the selected playlist to be displayed according to the frequency you have determines.
See the section on ‘playlist types’.
¶ Screen planification
You can program your screens to turn on and off from our platform. To add the time you want your screen to turn on, first click on the “Screens” category on the E-MANAGER home page, then click on the screen of your choice, and then click on “Power” in the left-hand menu to add the start and end times.

Once programmed, your screen will automatically turn on at the scheduled times and display the programmed content via the connected box.
¶ Déployment
¶ Preview
Once you have finished editing your posters and playlists, we recommend using the preview function to check your creation before deploying it: Click on “Preview” in the left-hand menu (area 2). Below the image, you will see the number of active posters in this playlist and the display time scrolling by.
You can skip or return to the media by clicking on the left and right arrows (which appear on your poster when you hover over it with your mouse) and you can also remove or add sound
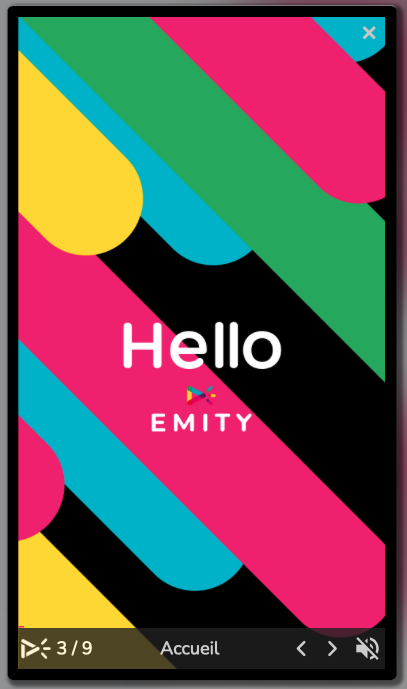
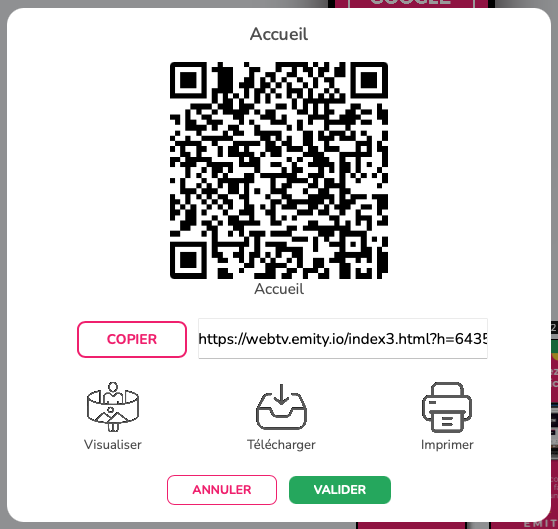
¶ Publication channel

By clicking on your player, you will see the WebTV option in the left-hand menu, which allows you to stream your content on a new screen. Your TV or computer can then stream your media programmed on the box. This feature is limited depending on the solution you have chosen.
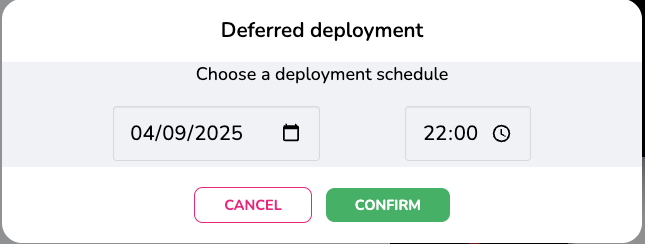
¶ Deferred deployment and backup

To save the contents of the playlist, press the “Deploy/Save” icon located in the left-hand menu (area 2). If you want to publish your playlist at a later date, simply click on the corresponding button and then select the desired date and time of publication.
¶ Applications & screen configuration
¶ Applications
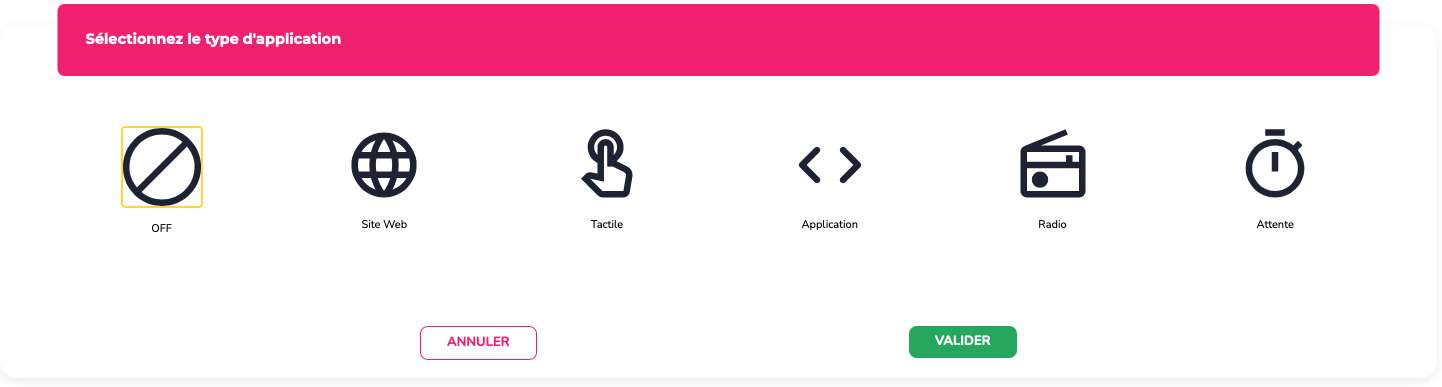
After selecting a player, you will see the « aplications » button in the side menu. This feature, available in the excellence package, allows users to :
• Display only one website on their screen
• Use the touch option to display interactive content when someone is using the touch screen, while still displaying dynamic content with playlists when it is not in use. This is where you can insert an E-click link.
• Launch a web application via a link
• Insert music into their programming.
• Configure and manage the flow of people in a location with the waiting list
¶ Configurations and groups
Screen configurations are useful for having a default display when adding a screen.
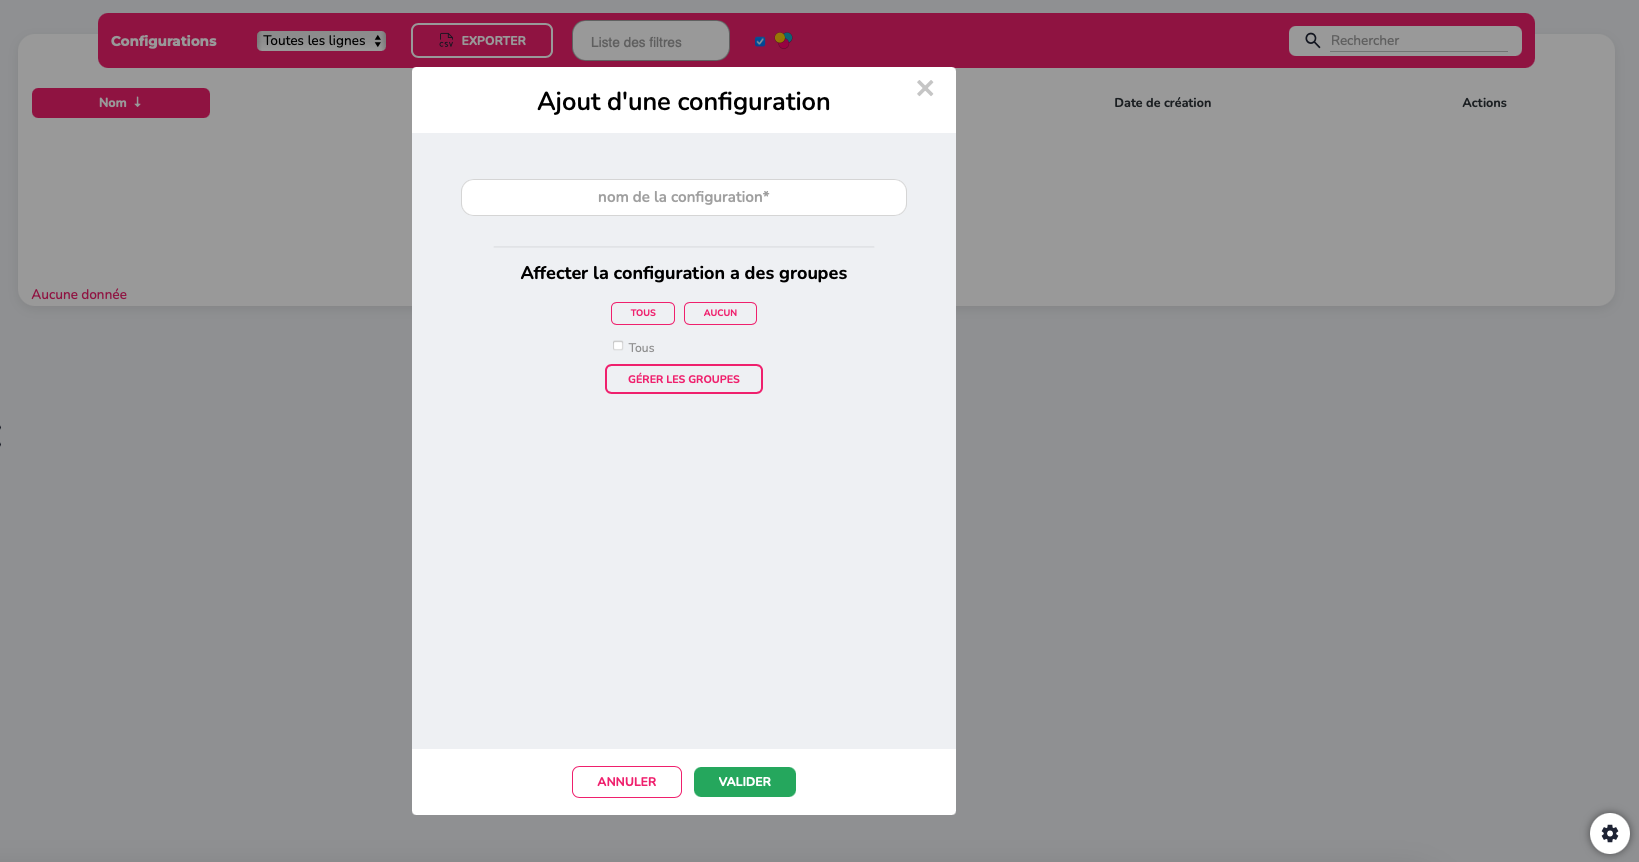
This is mainly used for large accounts that add multiple screens. Generally, this is done at the beginning of the account creation process. The configuration allows you to add posters, modify the feed, add broadcast times and dates, link playlists, etc. The most important thing here is to link the configuration to a group. This ensures that each time a screen is added to the group in question, the screen will take on the group's configuration.
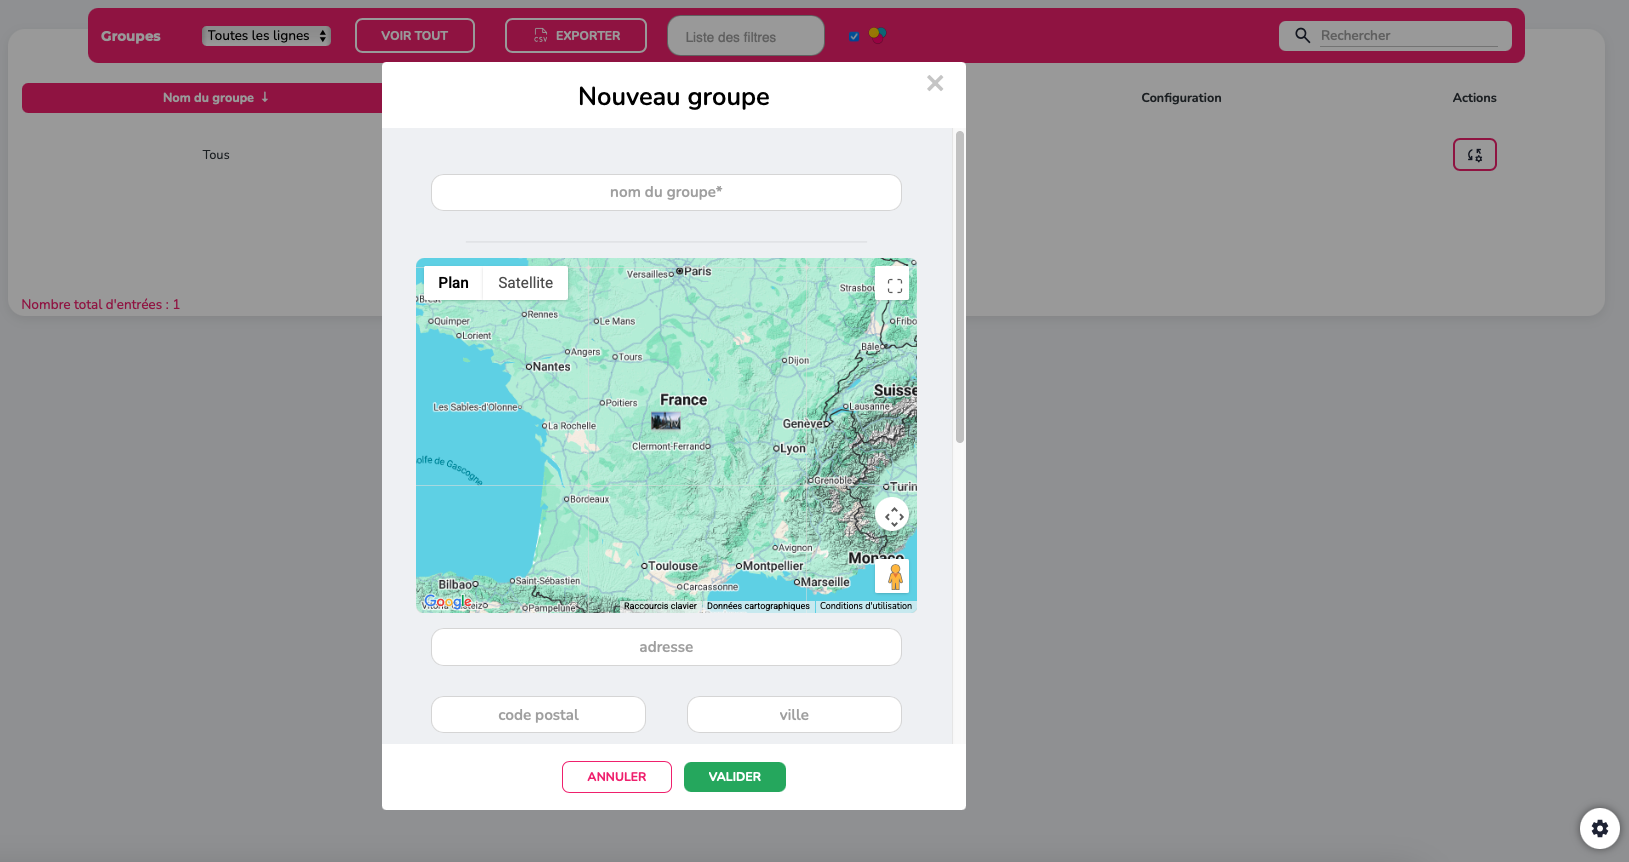
Groups allow you to combine multiple screens or filters.
¶ Administration
The administration side is more intended for the IT department, which will be able to monitor the proper functioning of the screens. It also allows you to create playlists, screen groups, and manage “Administrator” and “User” rights. Requiring additional training, a dedicated manual is available to the account administrator. Note that this module is particularly useful for managing large accounts containing numerous visuals.
The “Administration” section also allows you to organize screen management. This brings together the management of your accounts, screens, and playlists. In addition from the home page, you can check your account activity and get an overview of your use of the platform

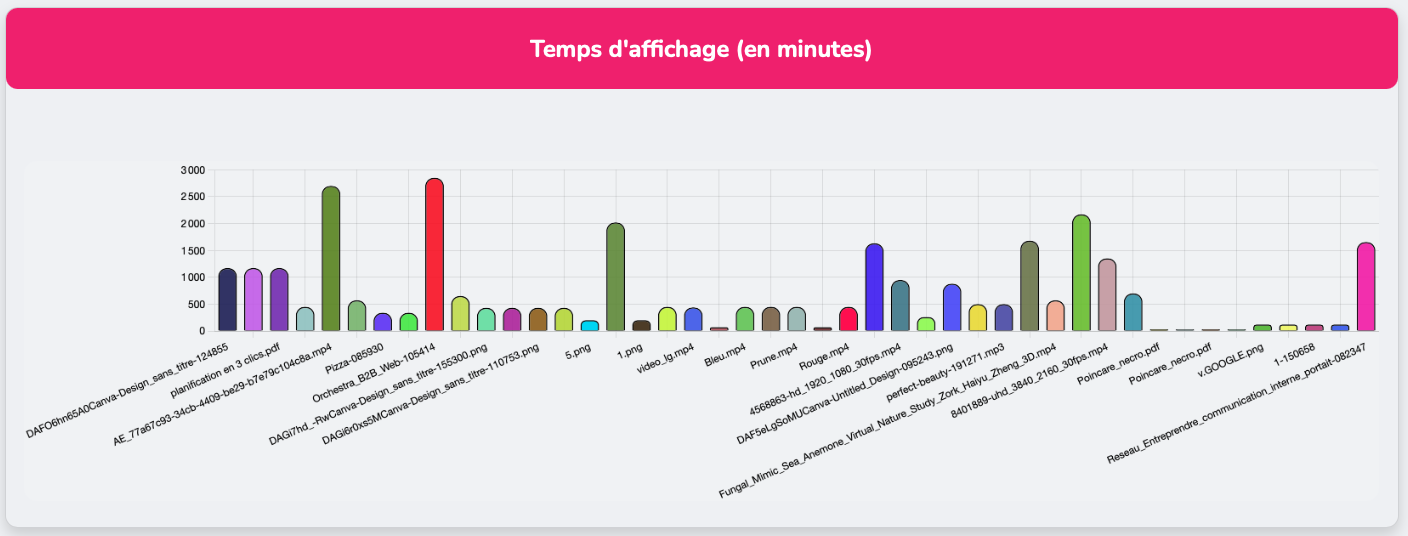
On the left-hand menu, you will also find a “Statistics” tab for a more detailed list of actions taken on your account. It is also possible to specify a specific date/period of activity to view.
¶ Customer service
Our customer service team is here to help you, support you, and answer all your questions as efficiently as possible.
We are available via online chat on our website. You can also contact customer service by email :support@emity.io
We have also posted a video guide online covering all the different steps involved in using our platform. You can find it here: https://www.emity.io/tutoriels/
or on our YouTube channel : https://www.youtube.com/channel/UCxjAkfG_v0QOr8YtFRCFA9w
A PHONE NUMBER is made available to our customers in order to take into account all the specificities of your requests. : 04 30 00 66 00
To contact customer service directly : 04 30 00 66 01
Customer service is open Monday to Friday from 9:00 a.m. to 12:30 p.m. and from 1:30 p.m. to 5:00 p.m.