¶ 🔆 First Start
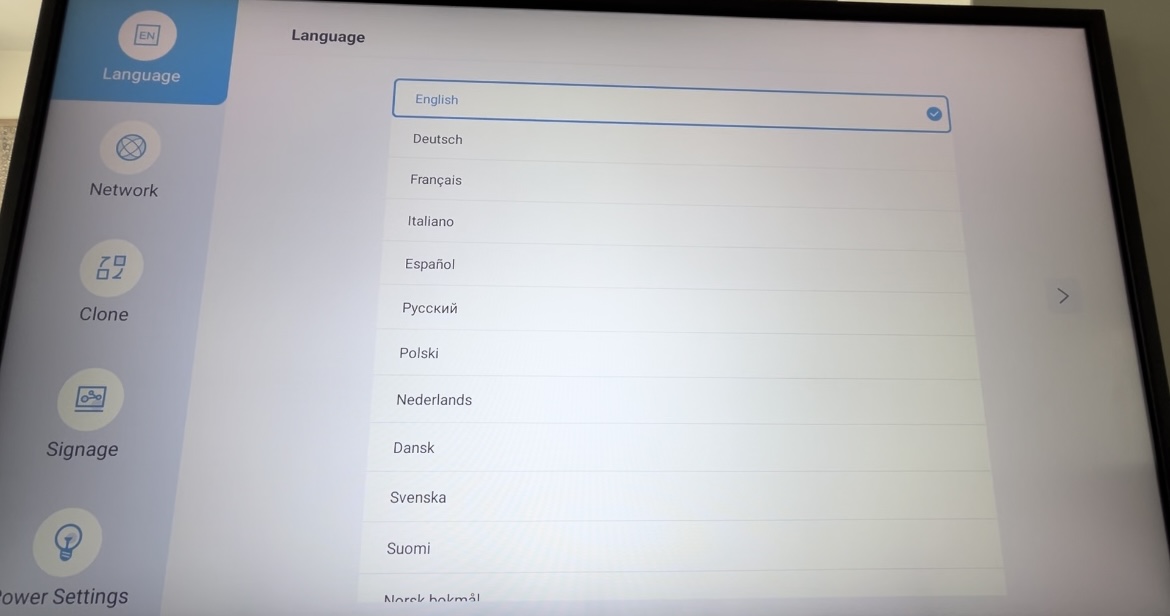
- Choose a language, then click Start.
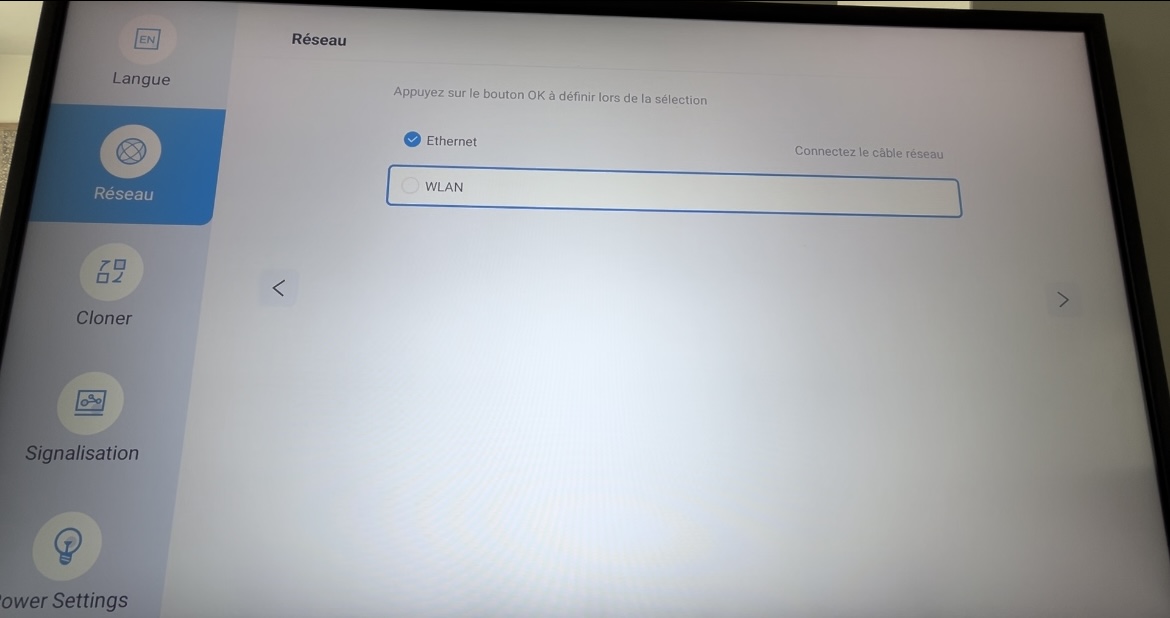
- Choose your network settings
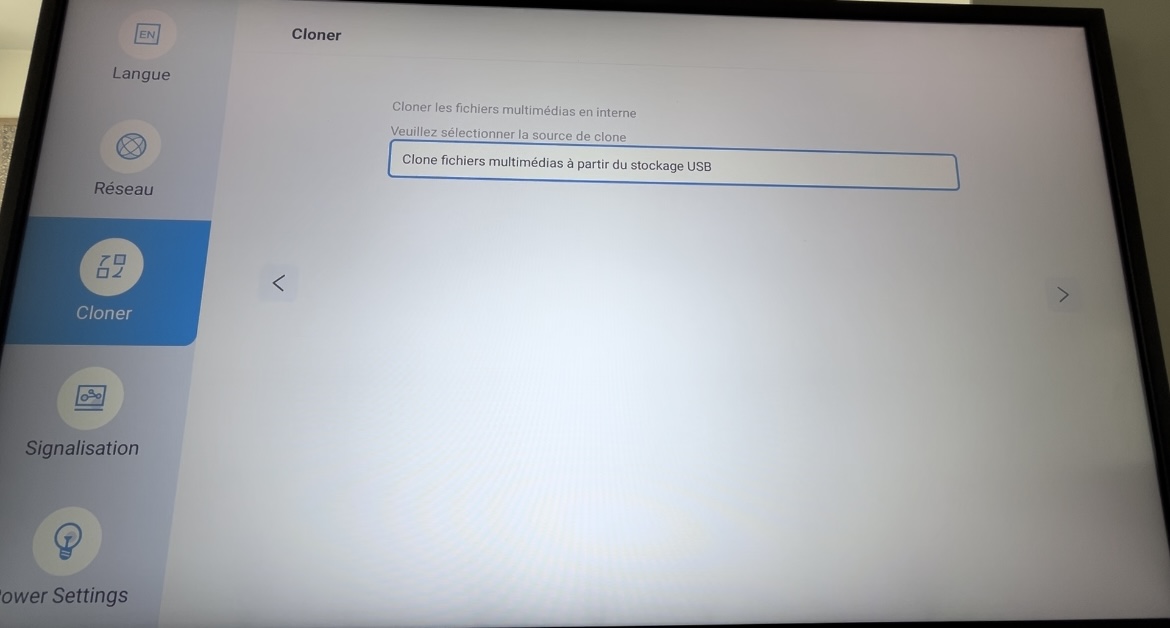
- Choose Clone media files from USB storage.
- Enter a name of your choice for this screen, then click Next.
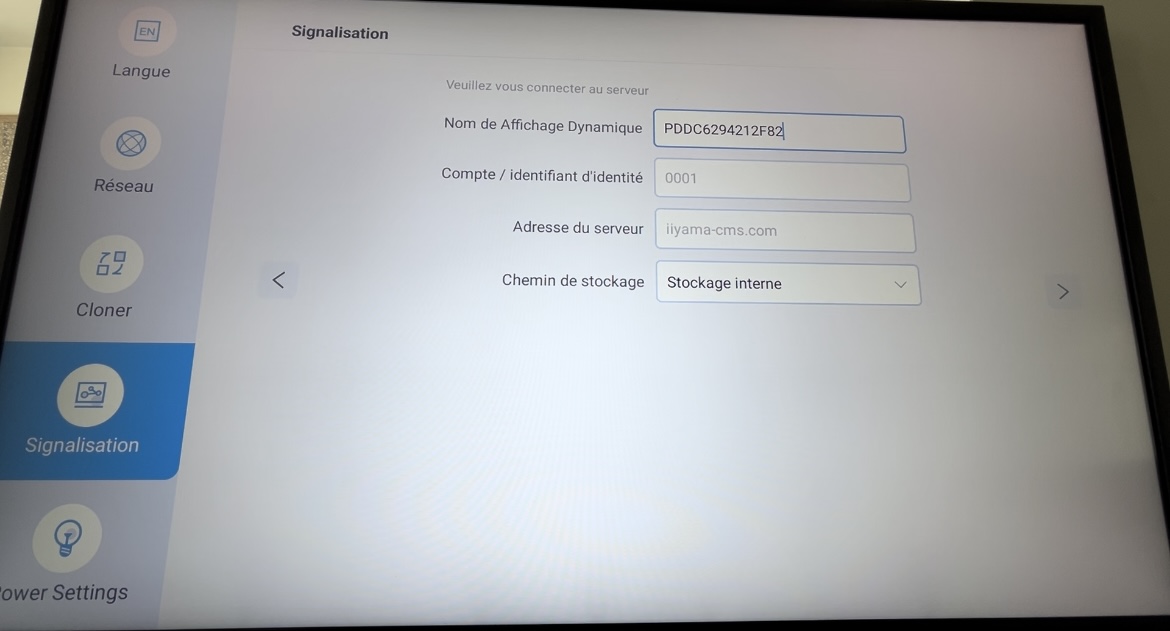
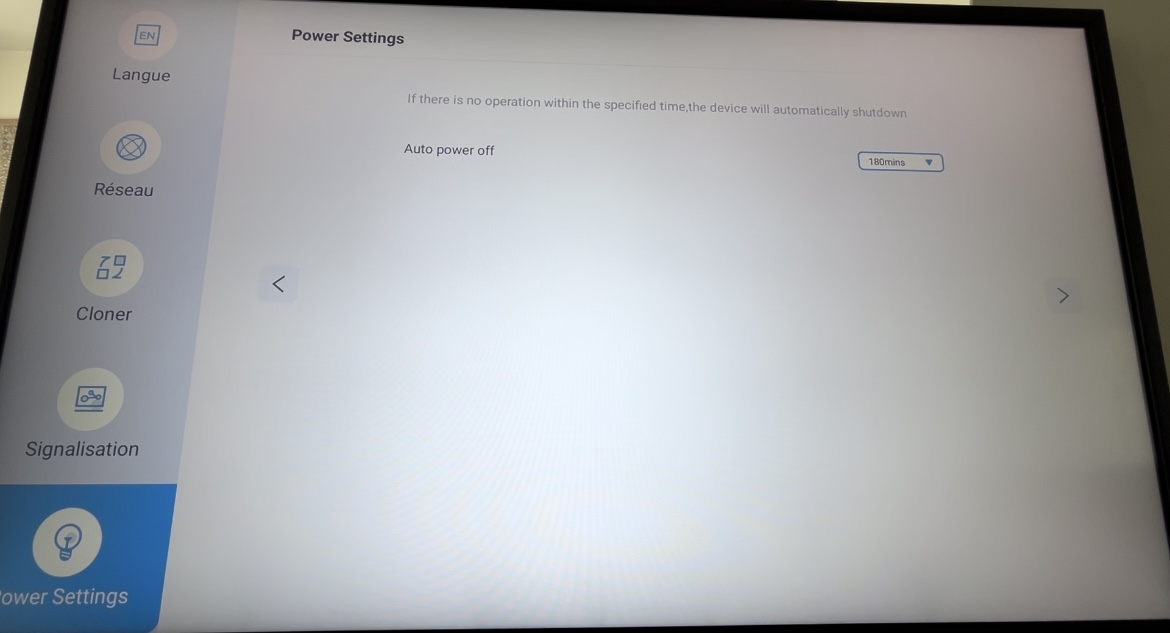
- Disable automatic screen shutdown (Auto power off: Never).
¶ Installation
¶ ⚡ Downloads
Download the APK files using the links above, then copy them to a USB drive.
¶ ⚙️ Android Mode Settings
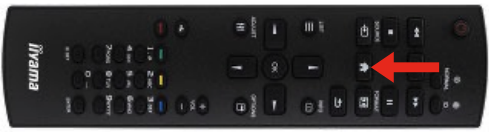
- At screen startup, press HOME then enter the number sequence 1 6 6 8 on the remote control.
1-1. This menu is also accessible from the Configuration 1 menu. -> Android launcher
- After this procedure, the screen should display :
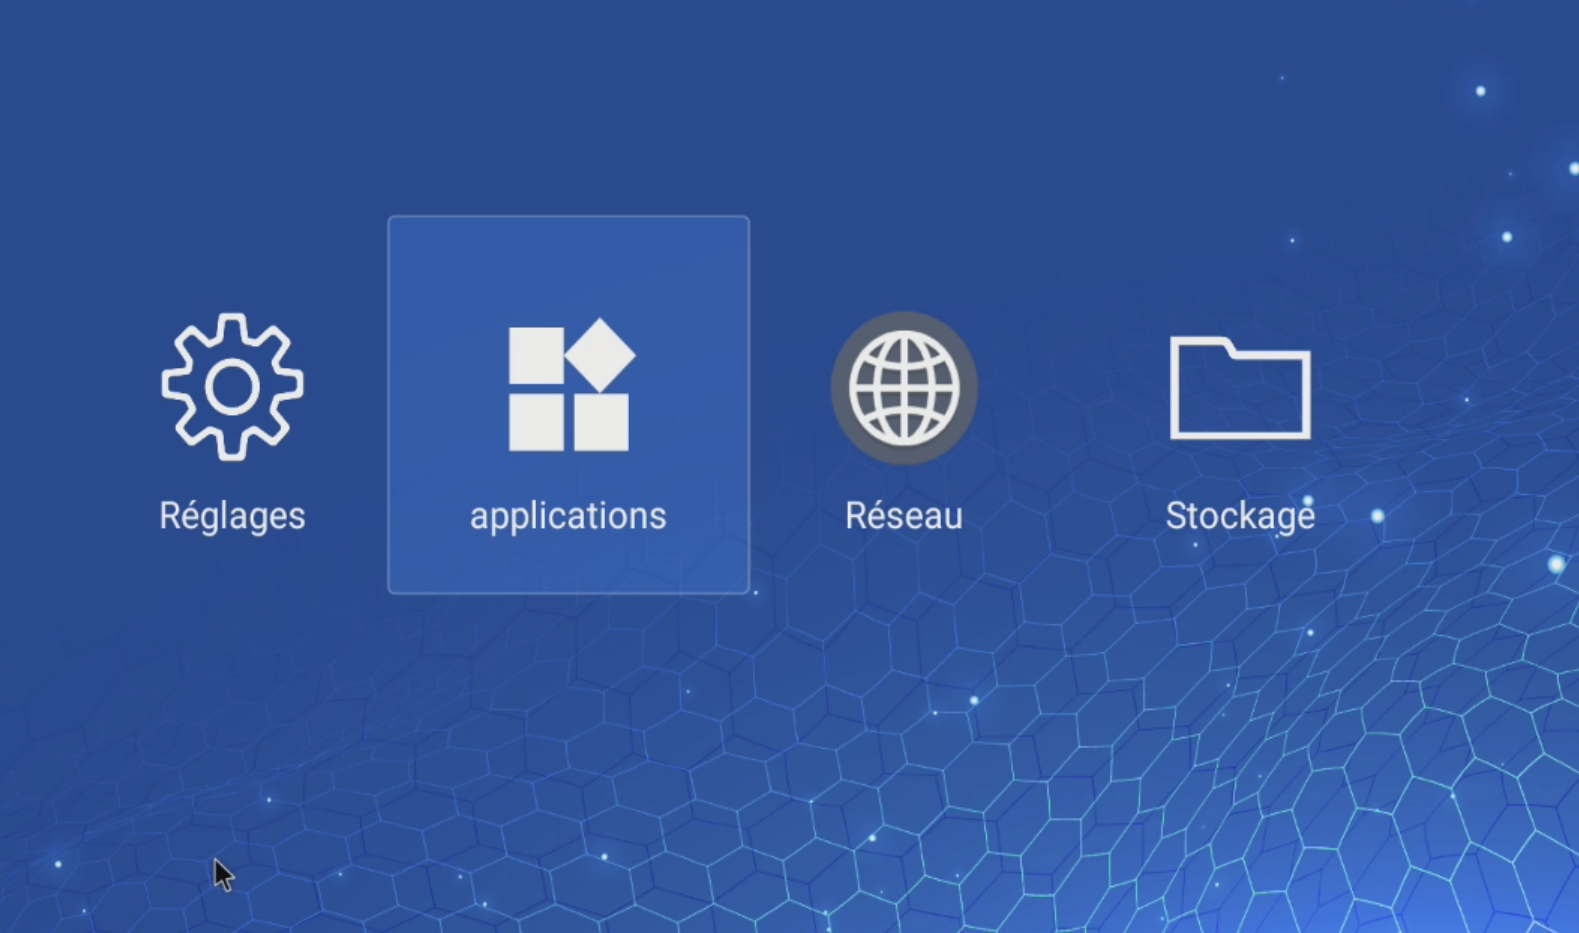
3.Click on Network, then enable Wired Network.
¶ 🔩 E-Box/E-SERVICE Installation
To install the applications, click on the file explorer (Storage), then select your USB drive.
- Install E-SERVICE, and at the end of the installation, press OK to prevent the software from launching.
- Do the same for E-Box.
¶ Configuration
¶ ⏰ Screen Power On/Off Settings
-
Click on the button then advanced options, Date Time. you have to be sure that the Auto sync option is activated.
-
You can then set the operating schedule. (Advanced Options then Calender). It is very important to select Custom in the Input menu of the *schedule.
¶ ⚙️ Application Launch Settings
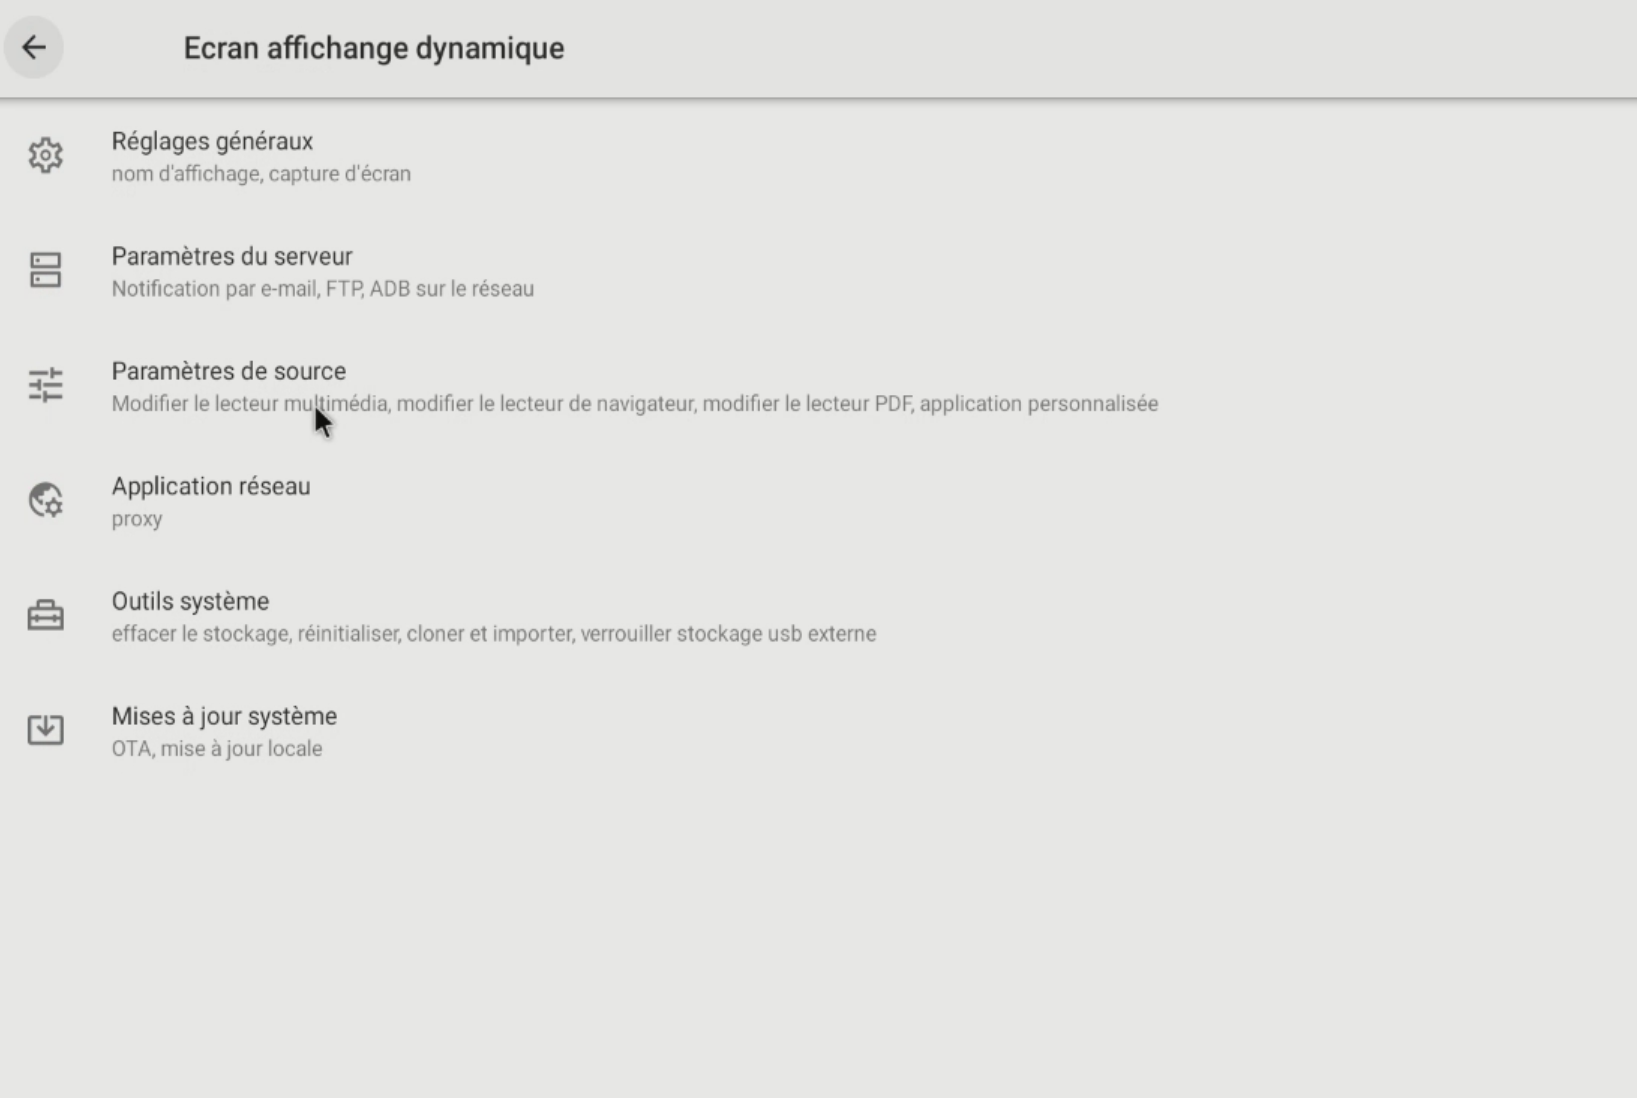
- Go to the Android menu, then select Digital Signage.
-
Select Custom Application.
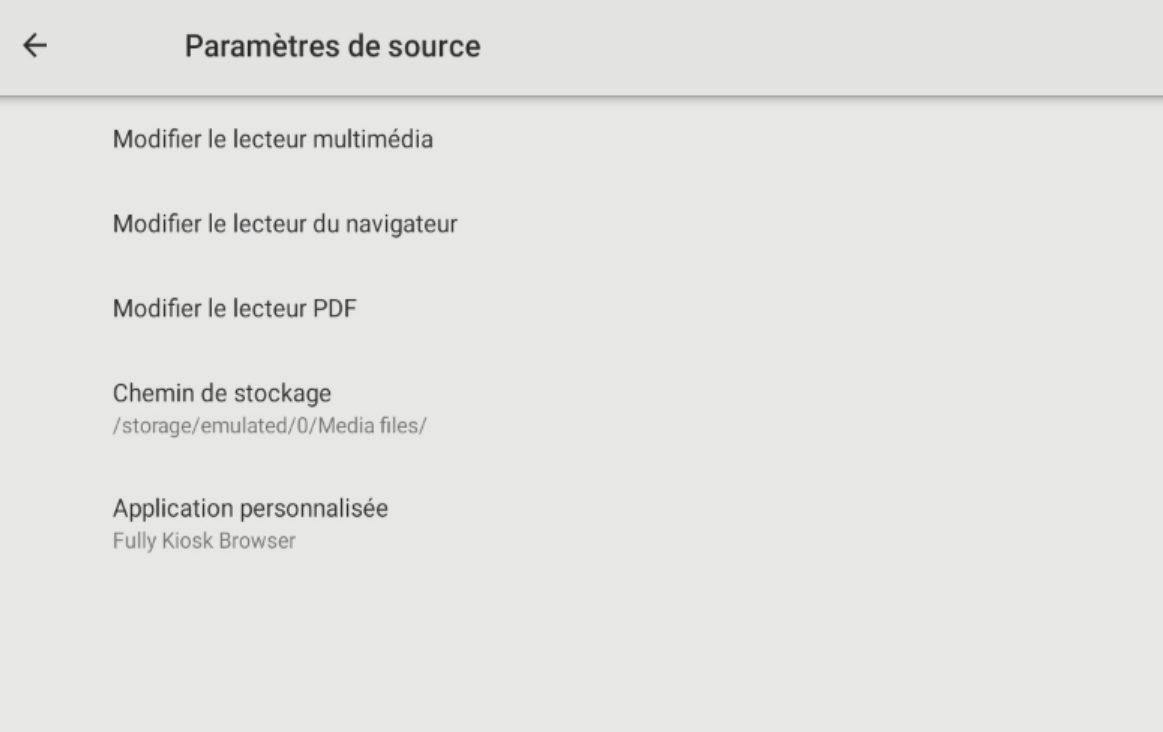
-
Sélect E-SERVICE then save.

-
Finally, press the button then select Configuration 1. Sélect Startup Source, clickk on Enter and select Custom.
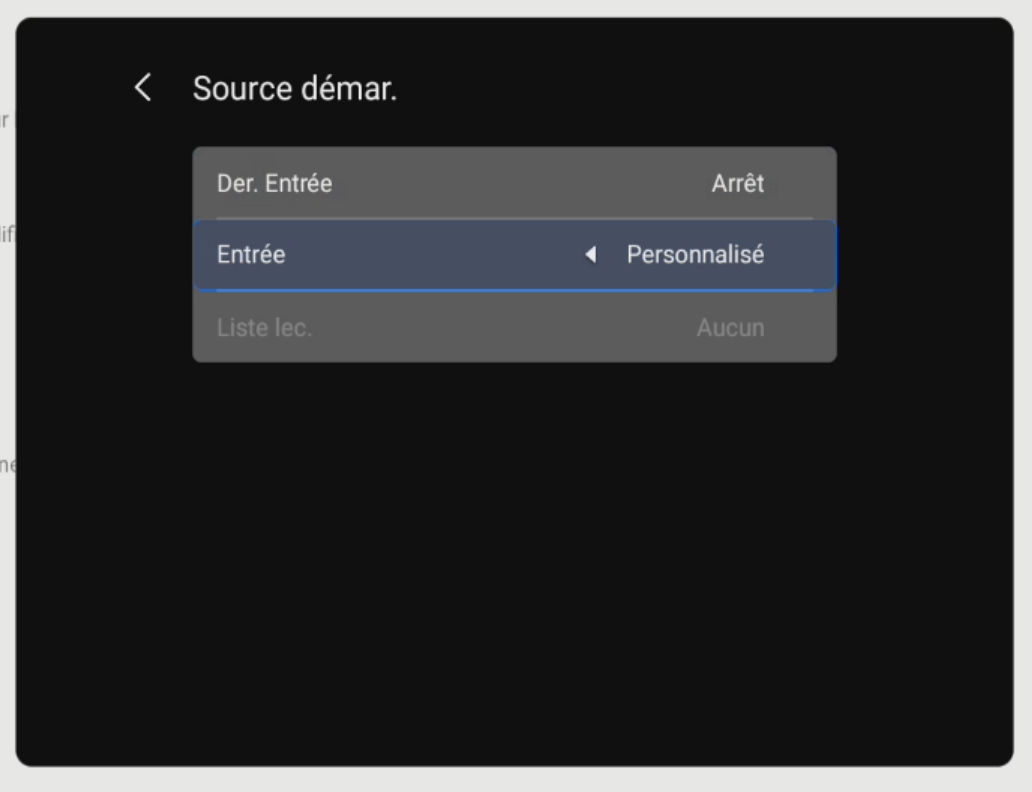
- Restart the screen; the software will launch automatically. You need to allow E-SERVICE to access the system by pressing Allow.
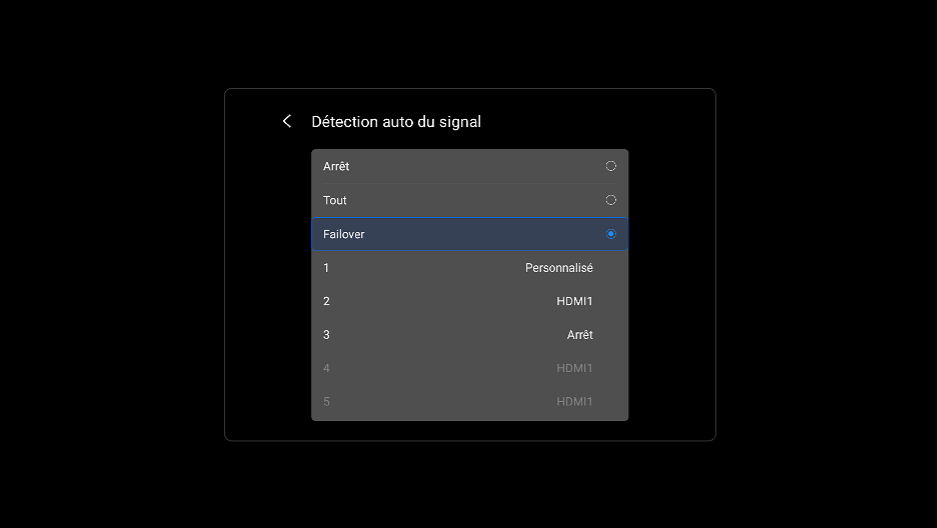
¶ ⚙️Automatic Signal Detection Settings (Fallover)
- Go to the Advanced Options menu by clicking the HOME icon.

- Select Fallover, then Custom as number 1, and your preferred source as number 2.
You have completed the screen configuration. A 4-digit code should appear on the screen. You can then add it to your account on the E-MANAGER platform.
![]()